
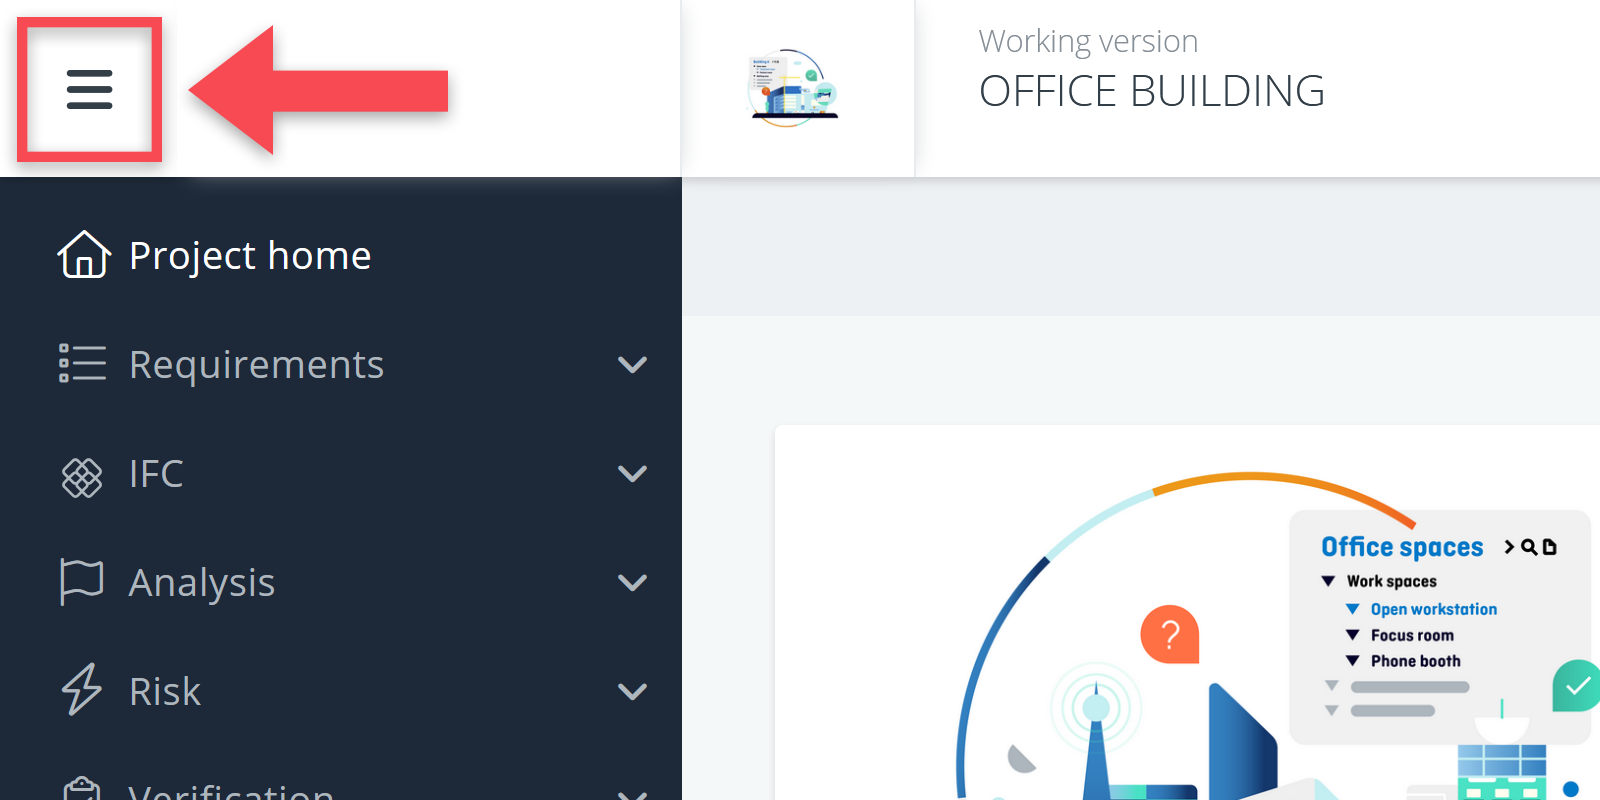
In your project model, there is a vertical menu bar on the left. This menu is the primary means of navigation in BriefBuilder.
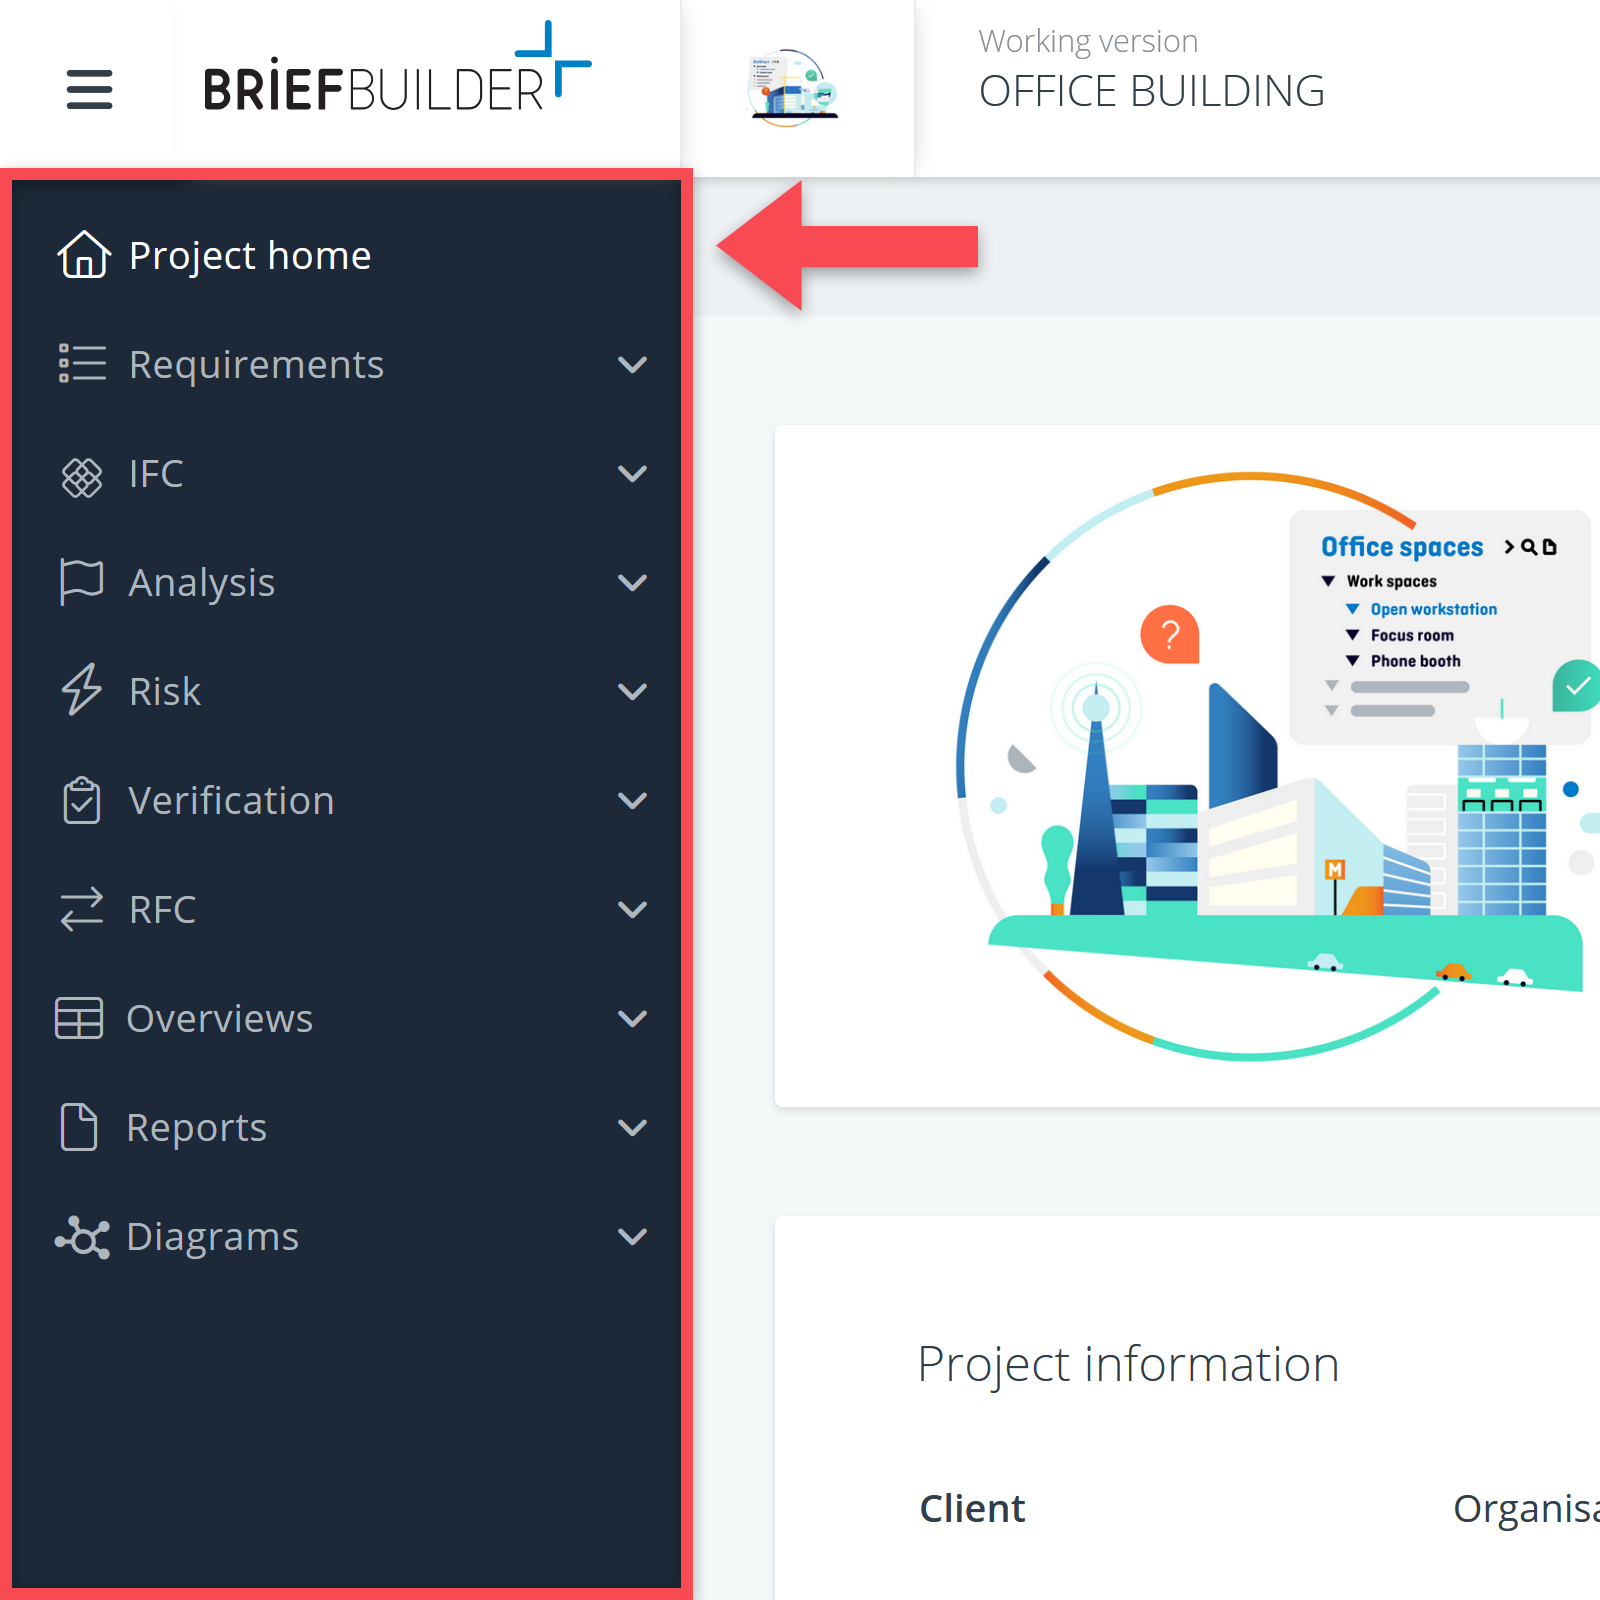
See below for a short explanation of each of the menu items.
Project home
The project home is the first page you see when accessing a project model. On this page you will find basic information about the project model such as its status and version.
Requirements
Under this header, you will find access to all the trees that can be used to formulate requirements concerning the project.
General
Here you can find the essential strategic, spatial and technical requirements that apply to the project.
| Objectives & principles | What needs to be achieved? And what are the general ideas and design principles that underpin the project? | |
| Spaces & locations | What kind of spaces and areas have to be realized? | |
| Systems & elements | What are the relevant technical systems and elements? |
Process
These requirements concern the delivery process. So, not so much what has to be delivered, but how it needs to be delivered.
| Processes & activities | What processes and/or activities need to be performed by the parties that are responsible for delivering the project? | |
| Products | What are the products (e.g. documents, samples) that need to be delivered to the client during the realization of the project? |
Use
Here is a set of objects that explain and specify the facility’s intended use in terms of the users, their activities and their equipment.
| Users | Who will be the users/occupants of the built facility? | |
| User activities | What are the (user) activities that need to be facilitated? | |
| User equipment | What kind of user equipment needs to be placed in the building? |
Services
These are requirements concerning the services (e.g. maintenance) that have to be delivered once the project is completed (if relevant).
| Services | What services are part of the contract scope? | |
| Performance failures | How to deal with possible performance failures? | |
| Quality measurements | How can the quality of the delivered services be measured? |
Standards
| Standards | What are the general standards (e.g. building codes) that apply to the project? |
Texts
| Requirement texts | What are all the requirement texts that apply to the project? (relevant in case you work with a traditional systems engineering set-up). |
IFC
The IFC module in BriefBuilder allows users to import an IFC file into a project model for the purpose of comparing requirements and design solutions.
Analysis
Requirement analysis in BriefBuilder allows you to tag and categorize requirements. It’s often used to add extra information to requirements. Listed under this header:
Risk
BriefBuilder’s risk logging feature allows you to capture and manage risks and corresponding mitigation actions. Under the risk header you will find:
Verification
Verification in BriefBuilder allows you to track and manage the verification of requirements. The following are listed under the verification header:
RFC (request for change)
The RFC feature in BriefBuilder is used to keep track of changes during a project. With it you you can systematically log, assess, and accept or reject change requests in relation to requirements.Under the header RFC you will find:
Overviews
Under this header, you find the links to a number of tabular overviews. These overviews can be very handy for getting an overview of the overall set of requirements. For editors, the overviews offer the possibility to work in a more ‘excel-like’ way.
The following overviews are available:
| Requirements overview | A tabular overview of all requirements |
| Cross tables | Excel-like cross tables |
| Quantities | Overview and calculation of quantities, such as total of sqms |
| Comments | Overview all the comments (and responses) that have been made |
| Files overview | Overview of all uploaded files in the model. |
Reports
It can be practical to have the contents of a BriefBuilder model available as a Word report. Here you can download and define Word reports.
| Requirement reports | Possibility to define, generate and compare requirement reports. |
Diagrams
In BriefBuilder, we currently offer three kinds of diagrams:
| Requirement diagrams | A diagram that depicts objects and relations between objects in a visual way (often used for adjacency diagrams). |
Settings
At the bottom of the menu bar, you can find the settings. These settings are only visible if your project role allows you to edit these settings.
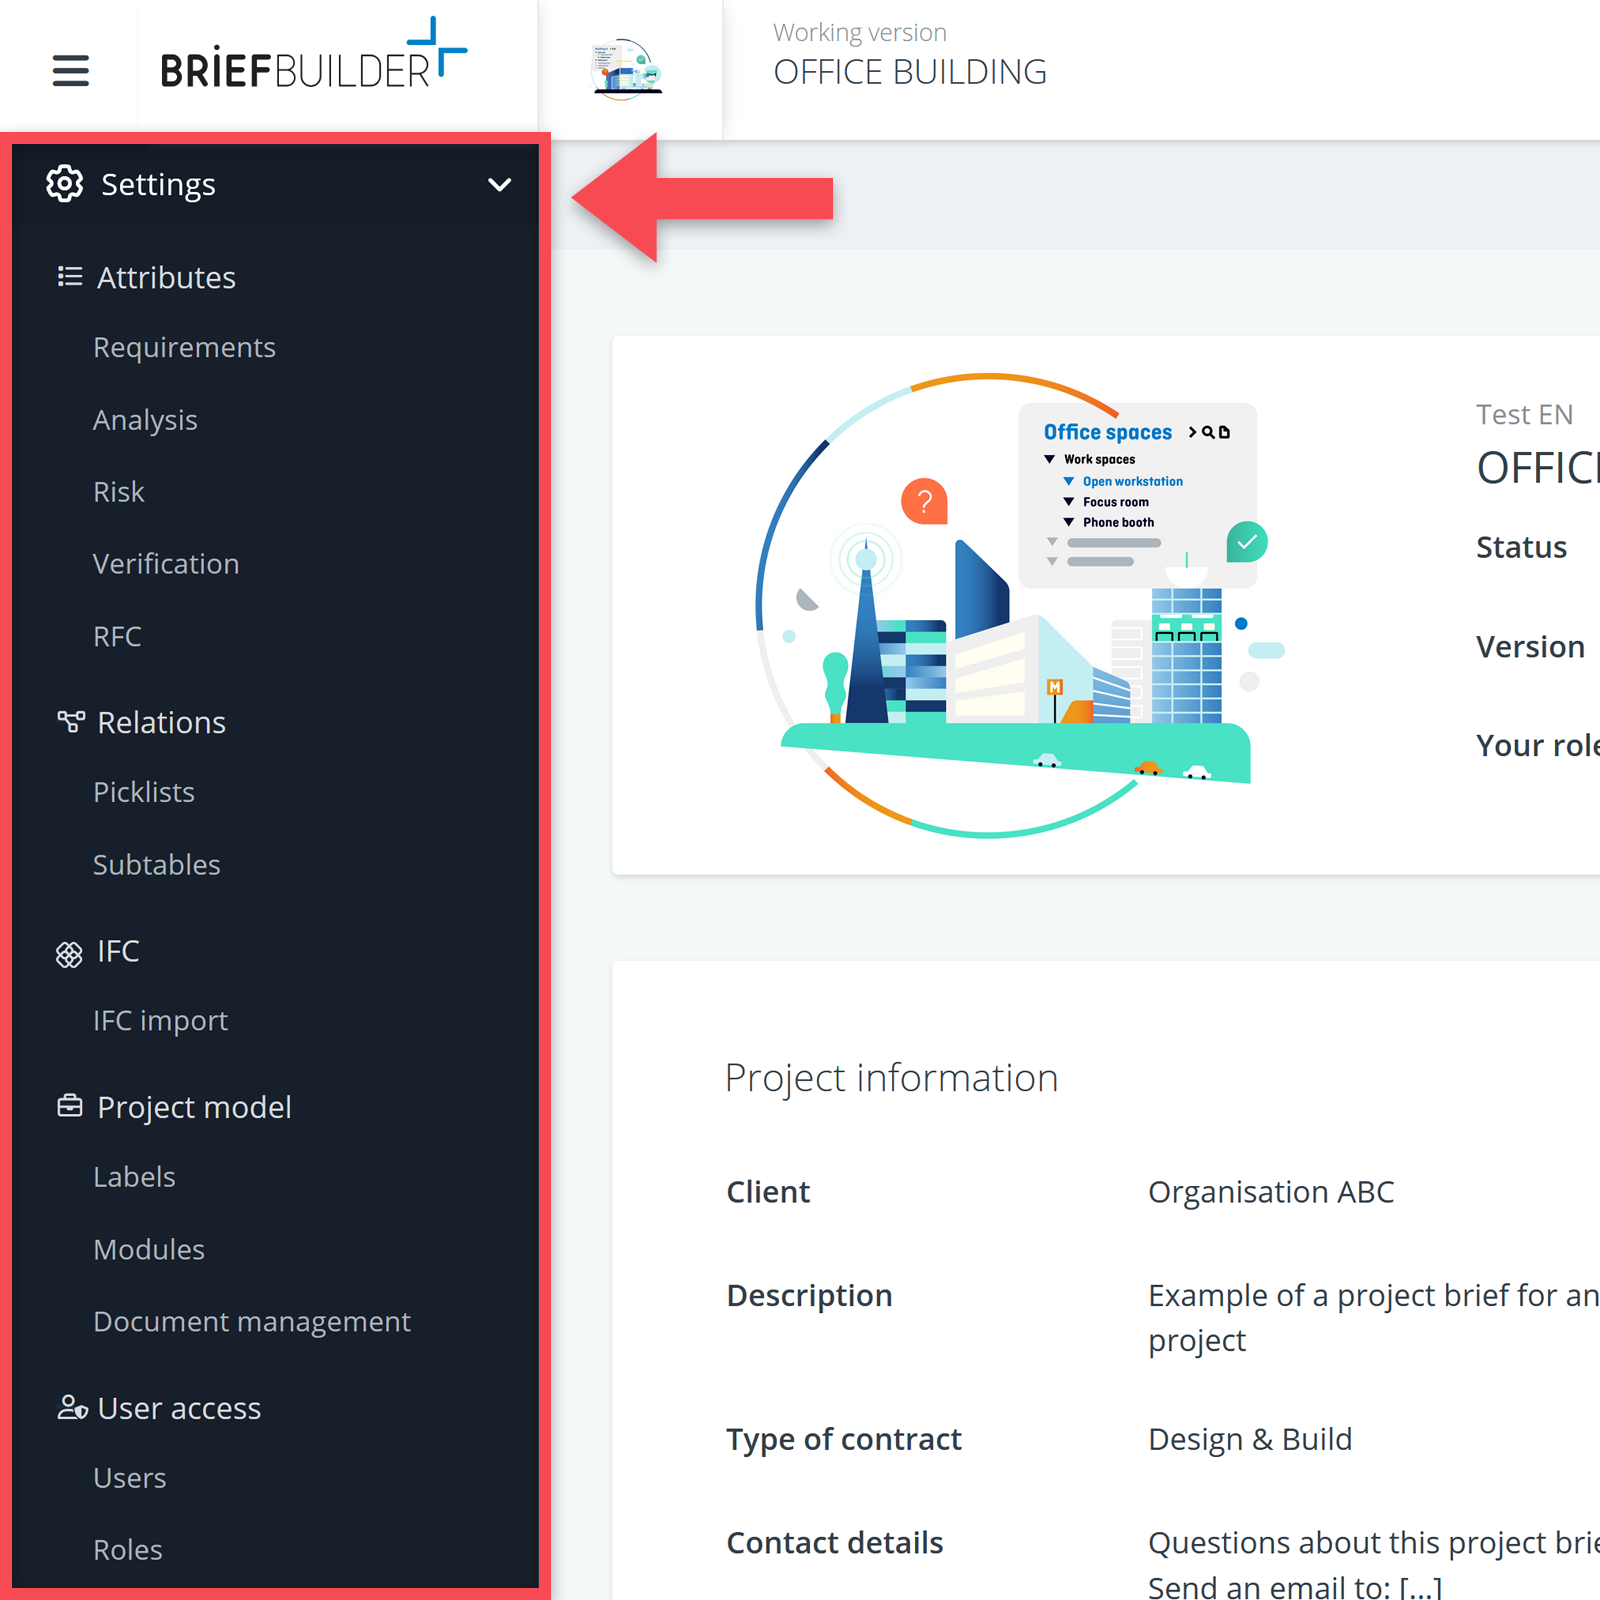
The settings menu is split up into five sub sections:
Attributes
- Requirement settings: Define how requirements are structured and formatted, i.e. in terms of standard properties.
- Analysis settings: Configure standard properties used in requirement analysis.
- Risk settings: Settings concerning the setup of properties and the layout of risks and actions.
- Verification settings: Settings concerning the standard properties for requirements verification and the verification phases.
- RFC settings: Settings concerning the setup and layout of requests for change.
Relations
- Picklists: Settings concerning relation picklists, allowing users to specify the required type of relation between objects.
- Subtables: Use these settings to divide large relation tables into smaller, organised subtables based on folders from the related object’s tree structure.
IFC
- IFC import: Settings concerning the setup of IFC data imports.
Project model
- Labels: Settings for configuring and managing object labels.
- Modules: Activate or deactivate modules in the project model.
- Document management: Setup concerning the linkage of DMS systems with BriefBuilder.
User access
- Users: Manage the users who have access to the project model and assign roles.
- Roles: Settings concerning the setup and permissions for project model roles.