
In BriefBuilder, there are dedicated modules for requirements verification. Verification is the process of checking whether requirements have been met. Are solutions compliant with the defined requirements?
By taking a systematic approach to verification, you can avoid requirements being overlooked or ignored during the design and/or construction process.
Typically, it is the design and engineering team that is responsible for verification. In some projects (e.g. Design & Construct projects), they even have a formal obligation to demonstrate that they are compliant with the client’s requirements.

Managing verification data in BriefBuilder
In BriefBuilder, part of the verification can be done inside the application by means of our IFC integration. However, in many cases verification will take place outside of BriefBuilder, e.g. by means of tests, calculations, simulations or inspections. For those verifications, BriefBuilder can be used to manage and administer verification information.
In BriefBuilder, we distinguish between four types of verification information.
- Verification plans: when, how and by whom should requirements be verified.
- Verification results: the outcome of the verification, i.e. compliant or not.
- Demonstation documents: documentation that demonstrates the compliance.
- Verification assessments: an assessment or approval of the verification outcome.
We’ll briefly discuss these four aspects below.
Verification plan
A verification plan is a description of when and how you will verify compliance with a particular requirement. Such a plan usually consists of the following attributes:
- The phase in which verifications will take place (e.g., design phase, construction phase)
- The selection of requirements that should be verified in a phase.
- The verification method that will be used (e.g., calculation, inspection)
- The person or party that is responsible for executing the verification (e.g., architect, electrical engineer).
The verification plan can be made by either the construction client or the contract party (contractor/design/engineering team). In the latter case, the verification plan usually has to be approved by the client before it is executed.
Verification result
The verification result encompasses information about the actual verification. Typical attributes are:
- The outcome of the verification (e.g., compliant, non-compliant, requires attention)
- Notes concerning the outcome (e.g., “non-compliant because ….”)
The verification results are usually added by the design and/or delivery team that is working on the project.
Demonstration document
Demonstration documents are documents or files that can be linked a verification result to demonstrate compliance. Examples of demonstration documents are test reports, inspection reports, calculations, specification sheets, and compliance certificates.
Demonstration documents can be manually uploaded in the BriefBuilder model or they can be fetched from a document management system (DMS).
Verification assessment (optional)
Verification assessment is the activity of reviewing or approving the verification outcomes and the related demonstration documents. It is an activity that is usually done by the design team’s quality manager or the client’s project manager. The goal of such a ‘four eyes approach’ is to ensure that the verification outcomes are valid and correct.
Typical attributes are:
- Assessment outcomes (e.g. accepted versus rejected)
- Possible follow-up actions (e.g. re-verification, adjustment of requirements, adjustment of the (design)solution)
Working with verifications in BriefBuilder
In BriefBuilder, there are three places where you find and work with verification data:
(1) on the detail view of an object
(2) in the verification table (aka ‘compliance matrix’)
(3) on the verification dashboard.
All three options will be discussed briefly below.
(1) Verification on detail view
On the detail view of an object, the verification data can be viewed by clicking on the icon in the upper right corner of the BriefBuilder screen.
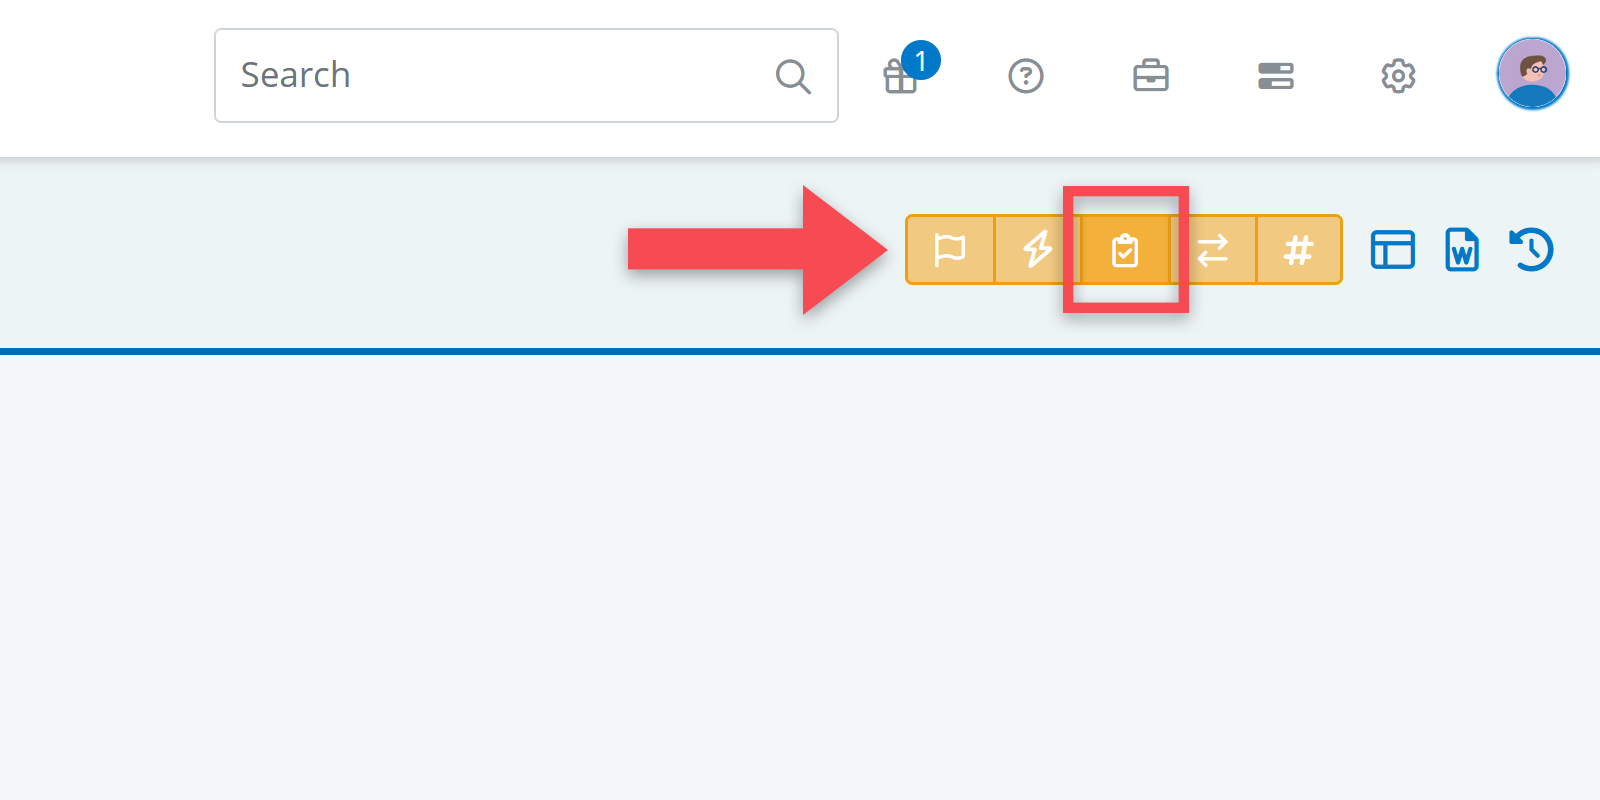
If you click on this button, you will see several new icons added to each requirement. For each verification phase you’ll see:
Verification plan: this is where you are able to see, or define, whether a requirement has to be verified in a particular phase.
Verification outcome: this is where you are able to see, or add, a an outcome for verification.
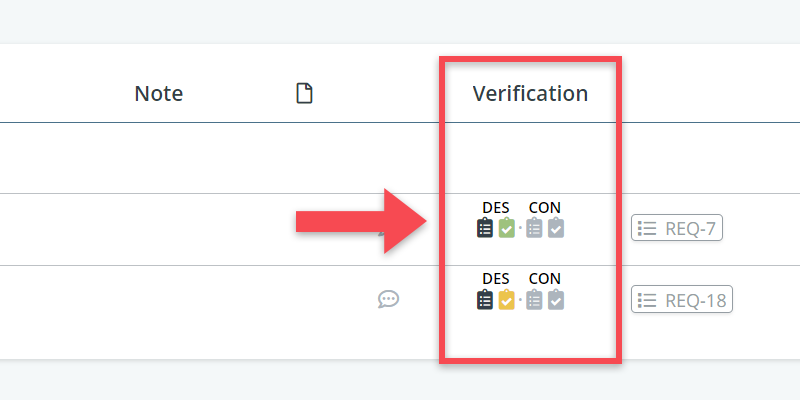
If you click on those icons, you are able to edit the data, such as adding an outcome of defining a verification method (assuming that you have the right permissions).
(2) Verification table (aka compliance matrix)
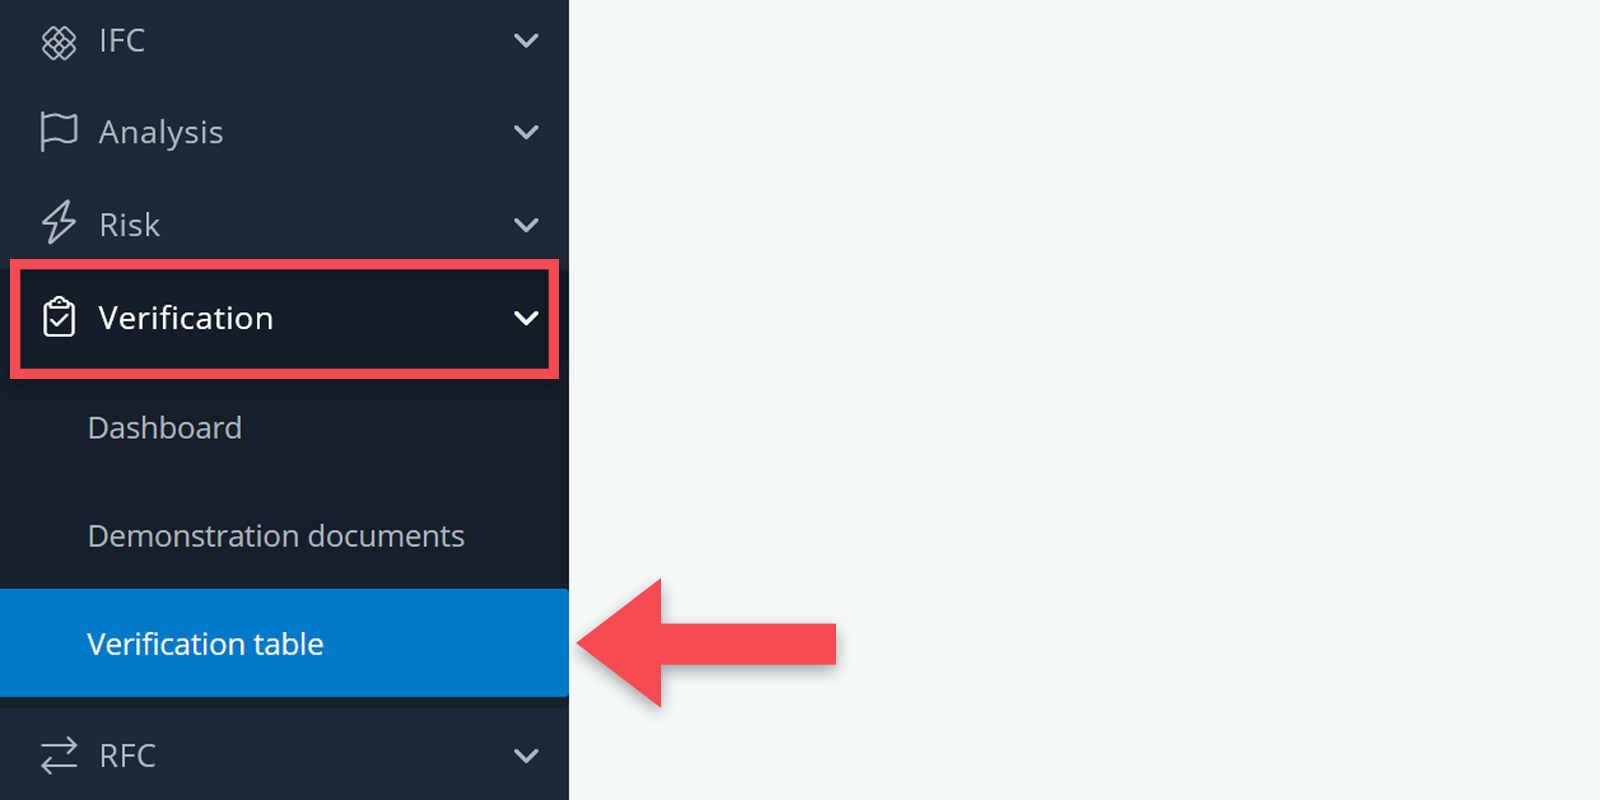
The verification table can be found under the button Verification in the navigation menu.
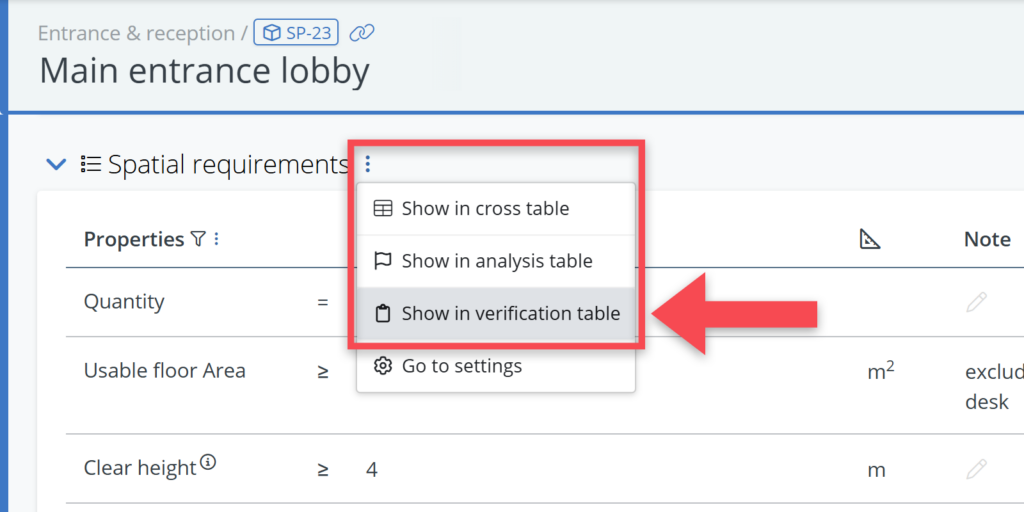
The verification table is a great tool if you want select a particular group of requirements that should all have the same plan or the same result. For example, all the requirements concerning room sizes, or all requirements concerning acoustics.
See below for short explanation. A more extensive explanation can be found here.
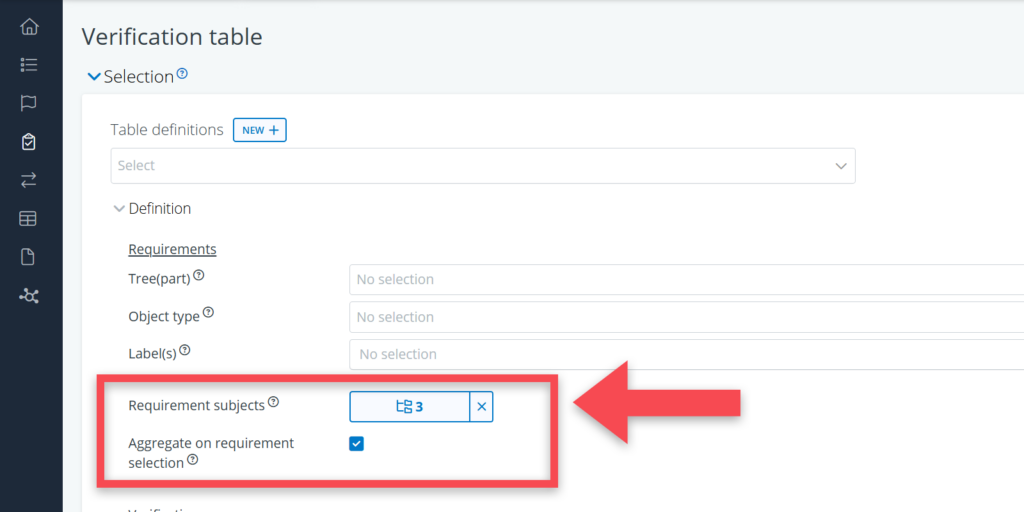
1. Use the Selections to focus on a particular set of verification data (e.g., a particular verification phase of a particular set of requirements) and click on Show.
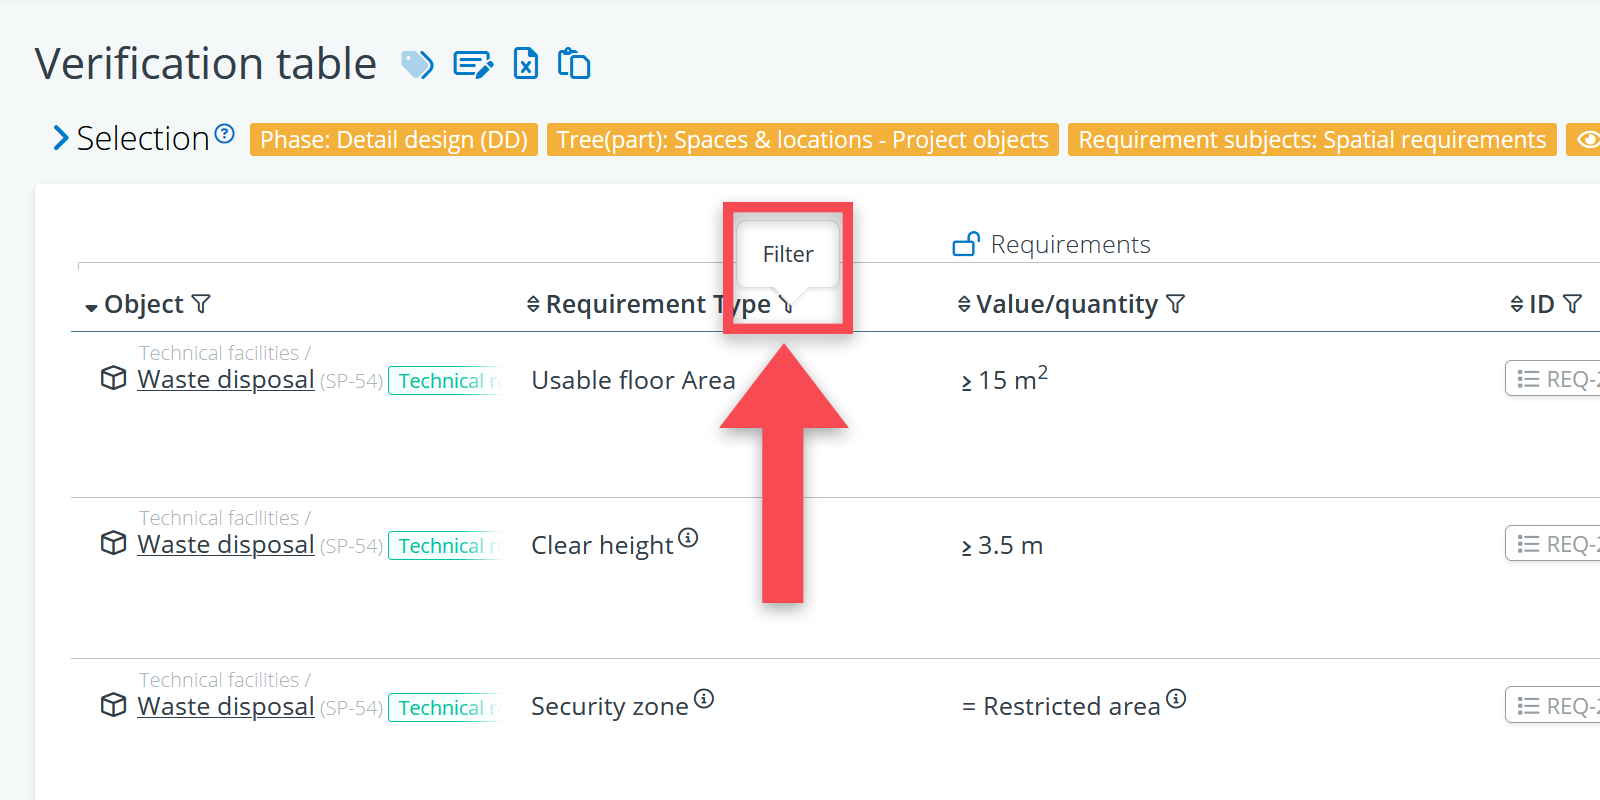
2. In the table, use filters in the table to narrow down your data set.
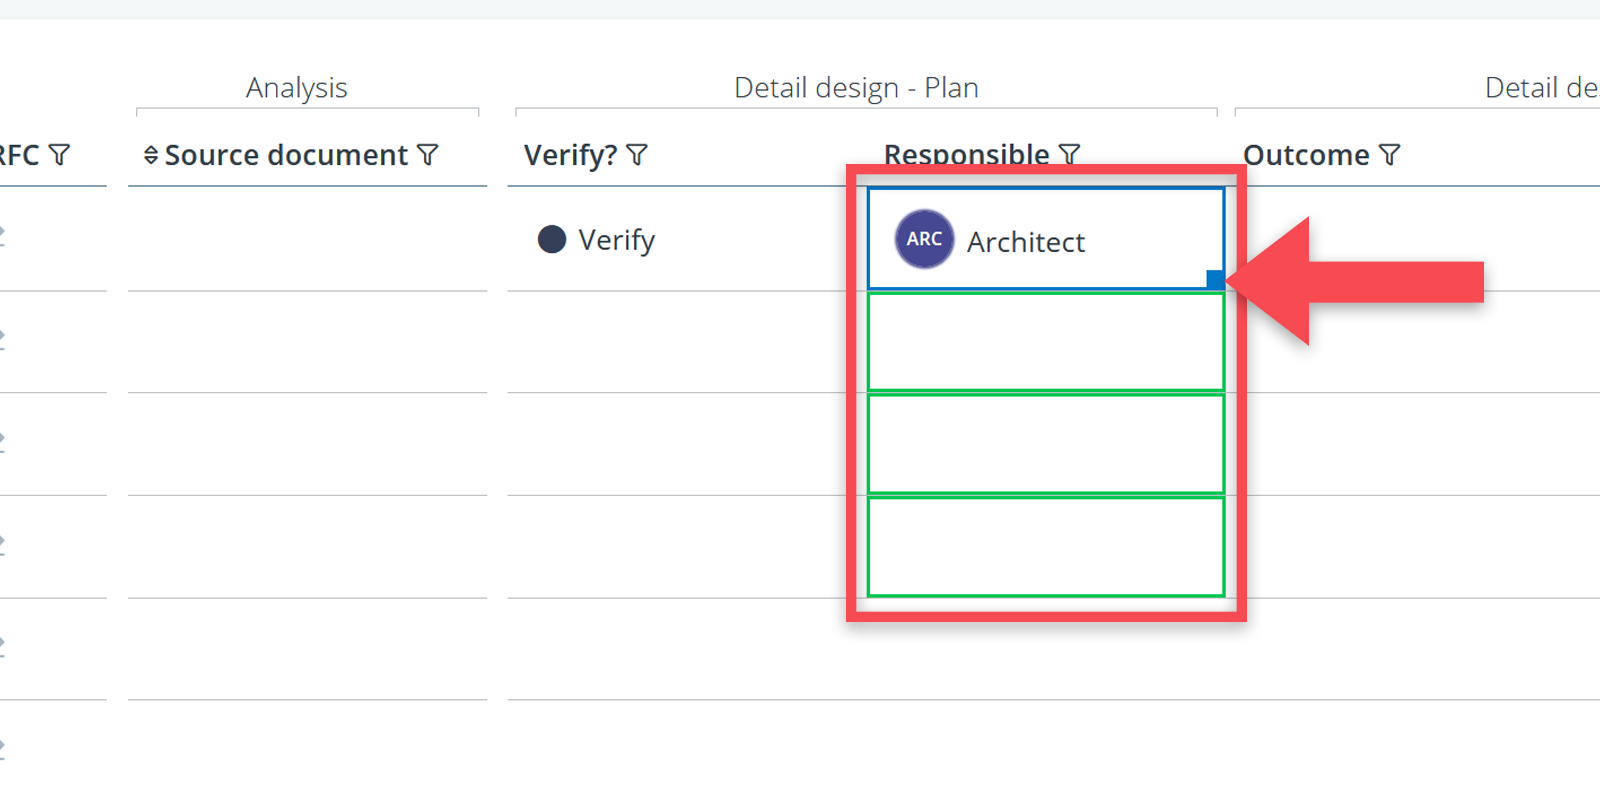
3. Enter the verification data in the Verification columns of the table (e.g. a method or outcome).
(3) Verification dashboard
The verification dashboard gives you a quick visual overview of the overall verification process.This dashboard can be found via the navigation menu as well, under the header Verification.

The dashboard’s charts show the different verification data (results, responsibilities, methods, …) per verification phase.
Clicking on any part of the charts will instantly take you to that particular set of requirements in the verification table. It’s an easy way to access certain verifications without needing to set up a filter or selection yourself.
More info?
Check out the other articles about verification in this section.