
It can be practical to have the contents of a BriefBuilder model available as a Word report. This article explains how to generate and predefine such reports.
First, we will explain how you can generate a Word report, which is something that can be done by any user of the model.
Next, we will explain how you can make a report definition, which is a predefined report that is available to all users of a project model. Making report definitions can only be done by users with the right permissions (typically the requirements manager).
Generating Word reports
The video below explains the basics of how you can generate Word reports.
As the video explains, you can generate Word reports from three different places:
- The report button in the main menu
- The report button in the tree menu at the top of each individual tree.
- The report button in the top right corner of an object detail page.
See below for step-by-step explanations.
Word reports – via the main menu
In the navigation menu, there is an item called Requirements reports. This is where you can create reports of the entire model or of parts of it.

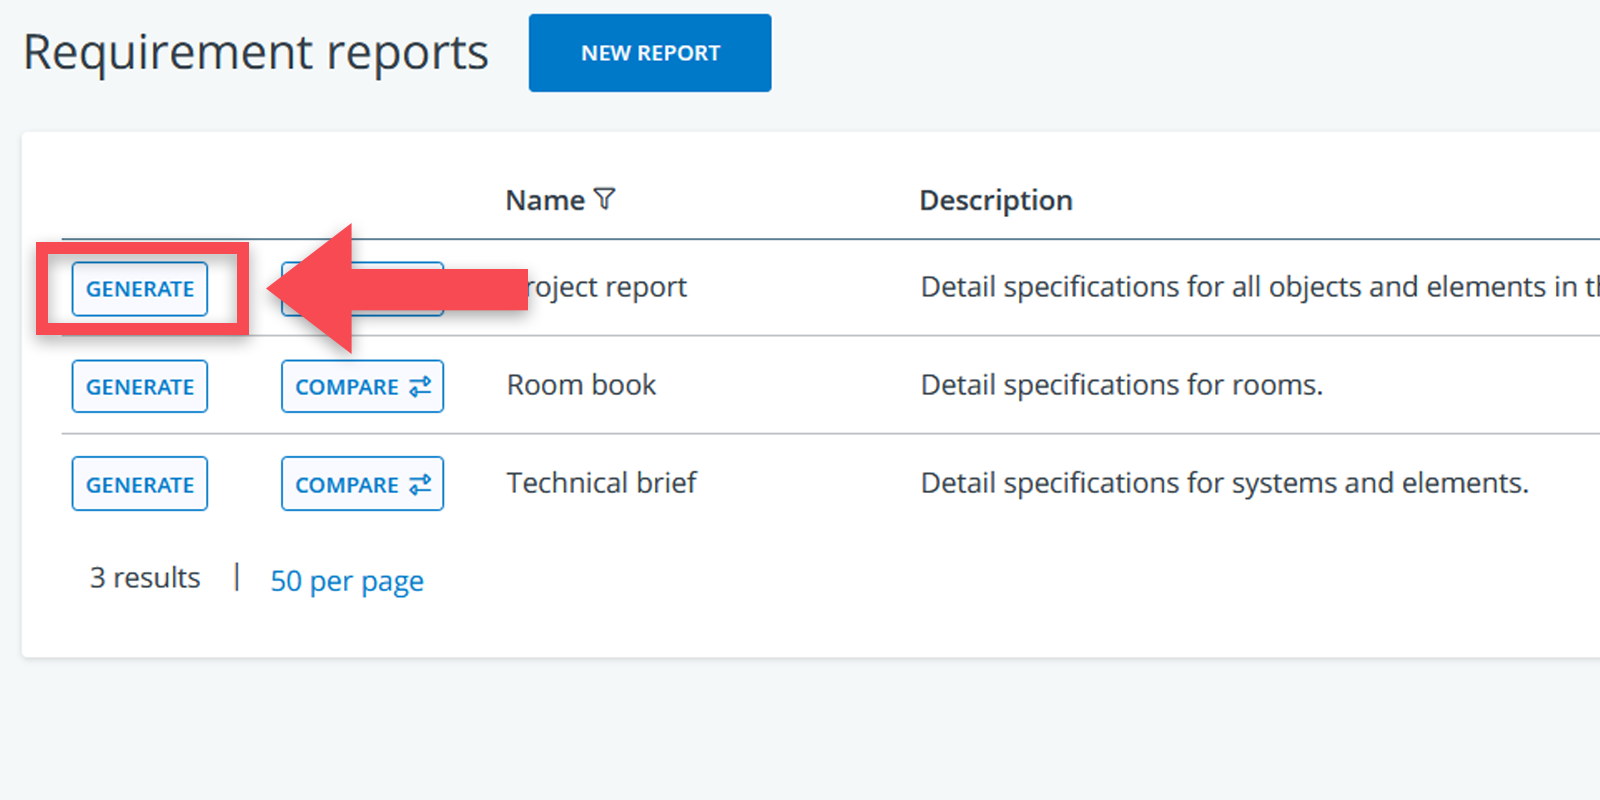
When you access the requirement reports page, there might already be a set of predefined reports present. If one of these reports fits your needs, all you need to do is click on the Generate button in front of the report’s name.
Next to the Generate button there is also a Compare button. This button is intended for if you want to use your requirements report to view the differences in requirements between two different versions of the model. Read more about version comparison reports on this page.
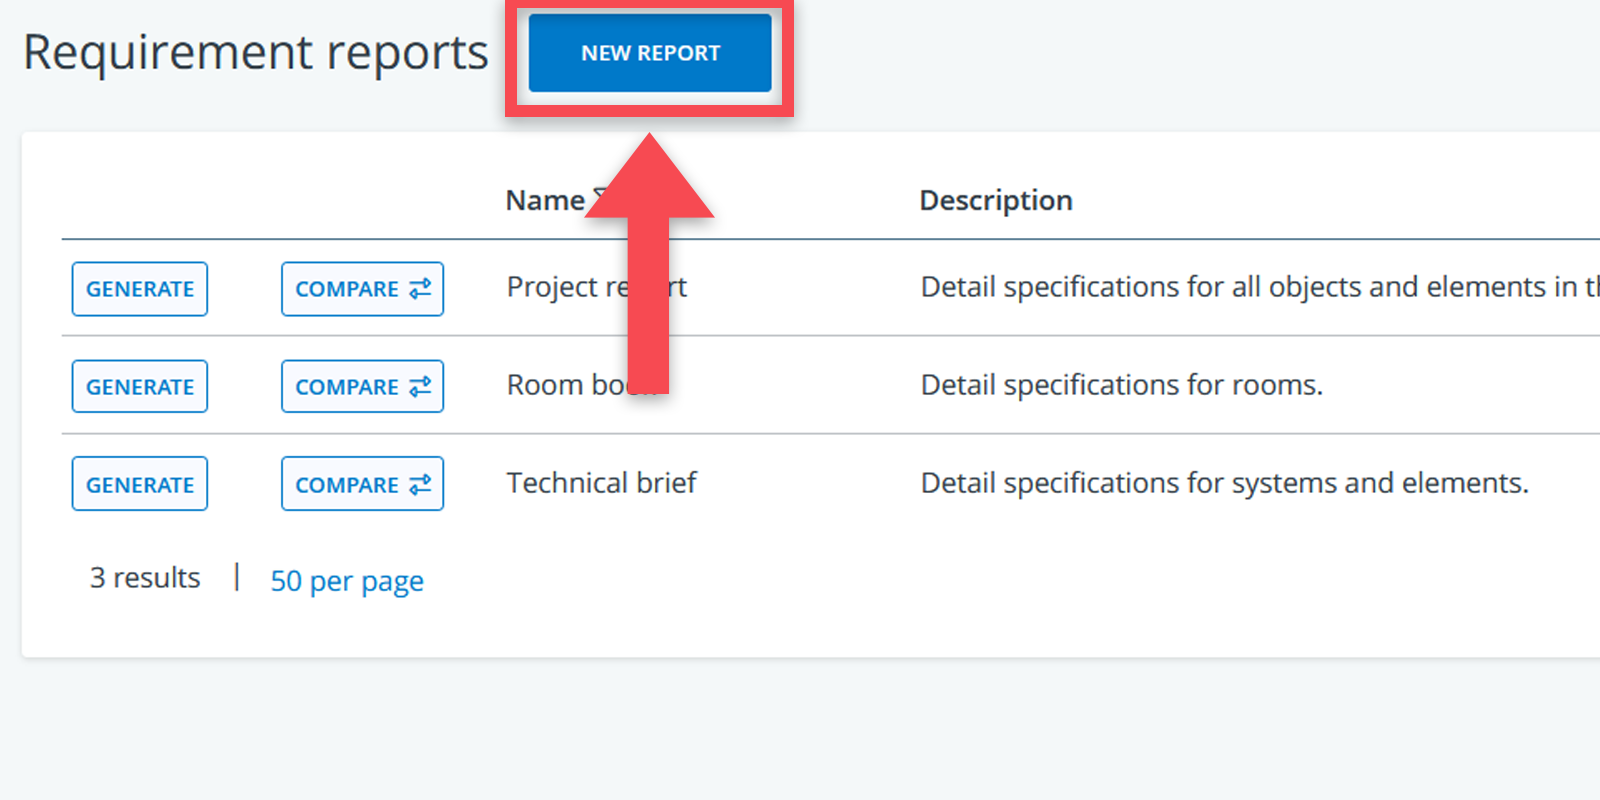
If there are no predefined reports yet—or if you want to generate your own report—you have to do the following:
1. Click on the button New report
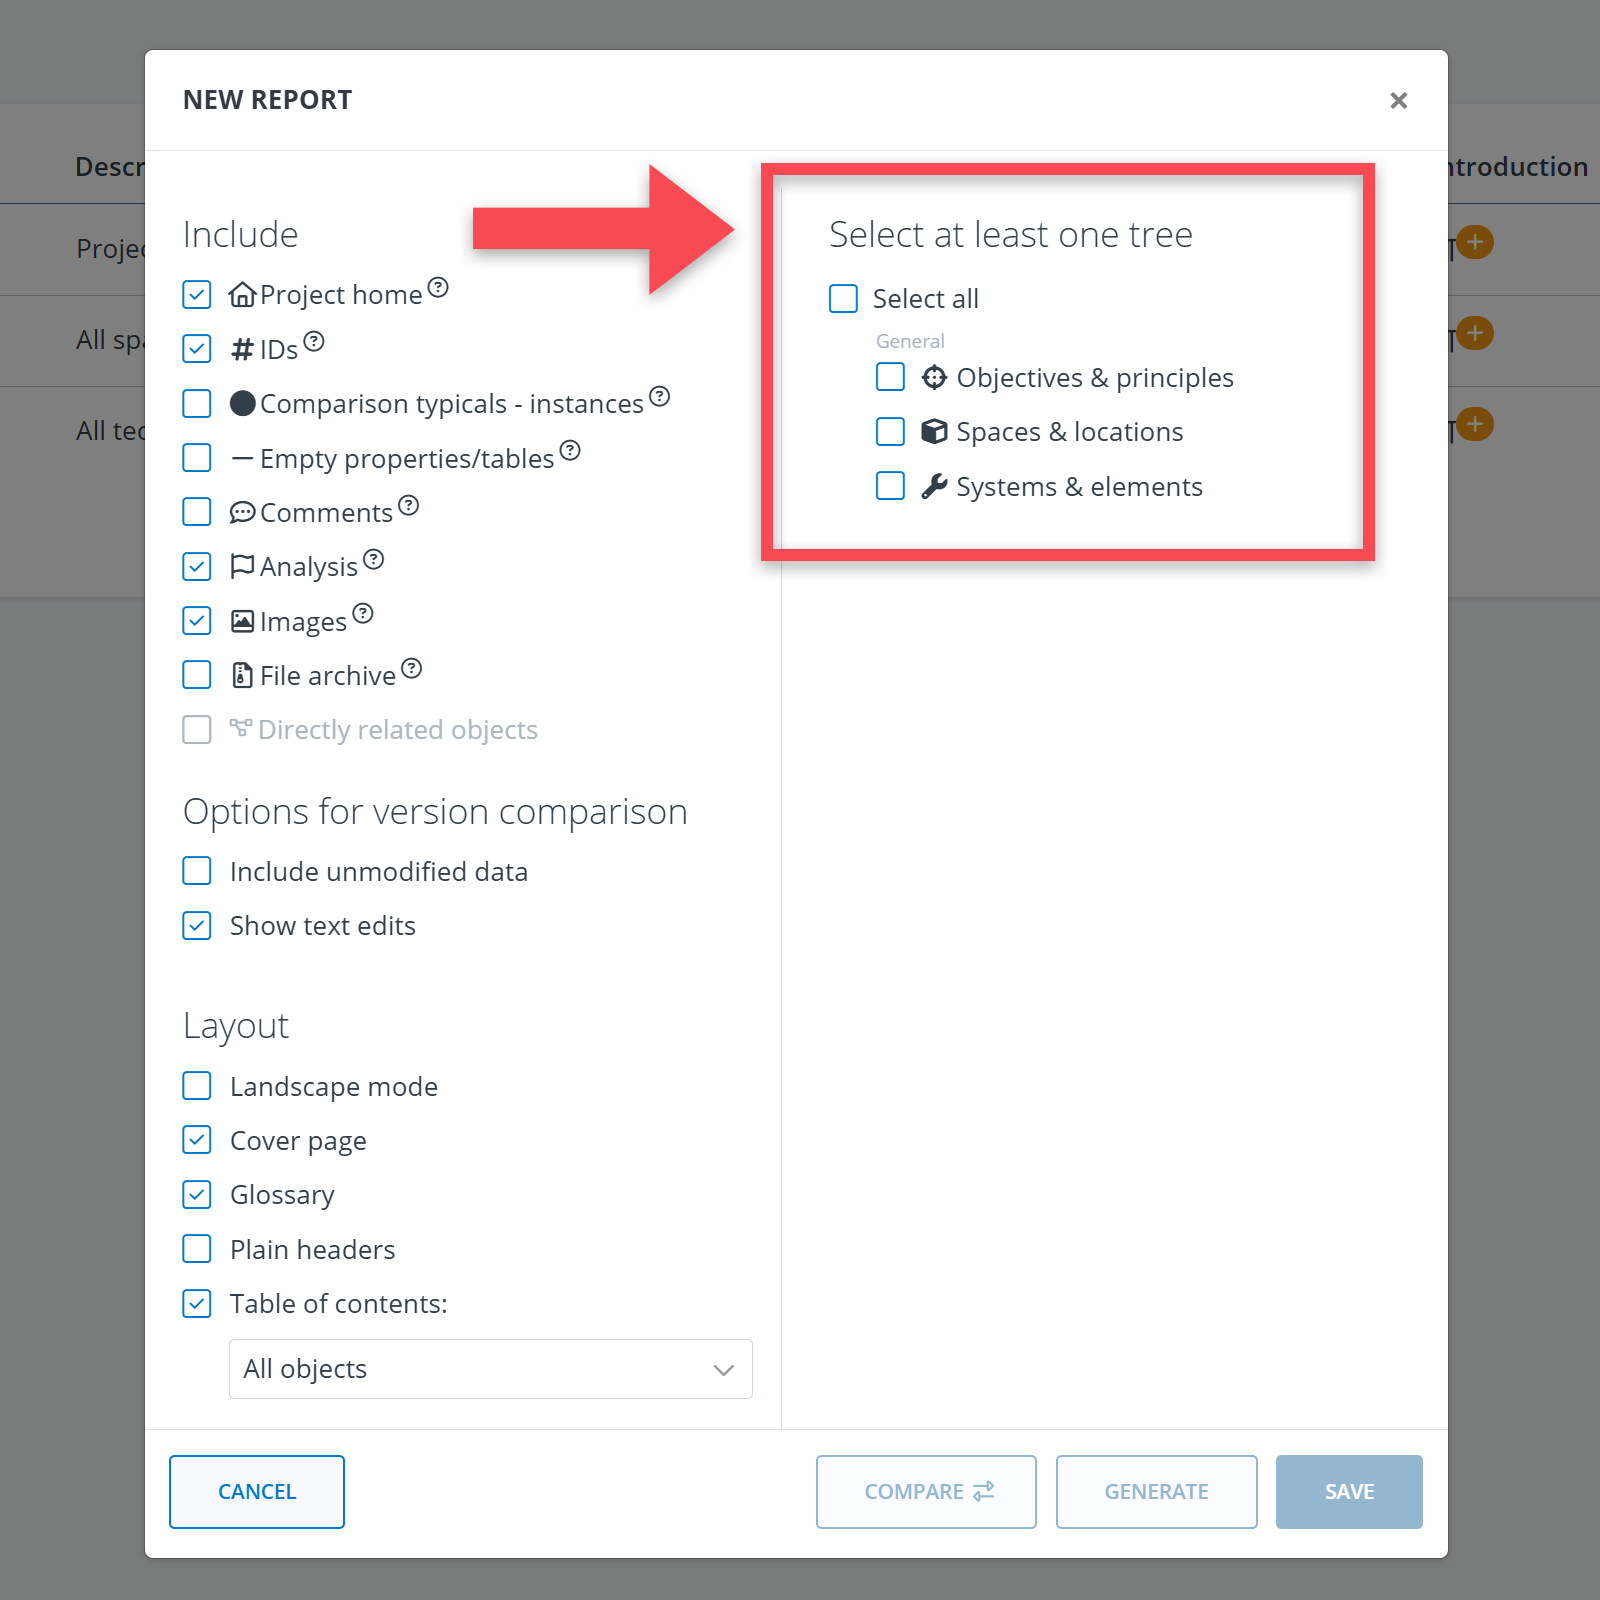
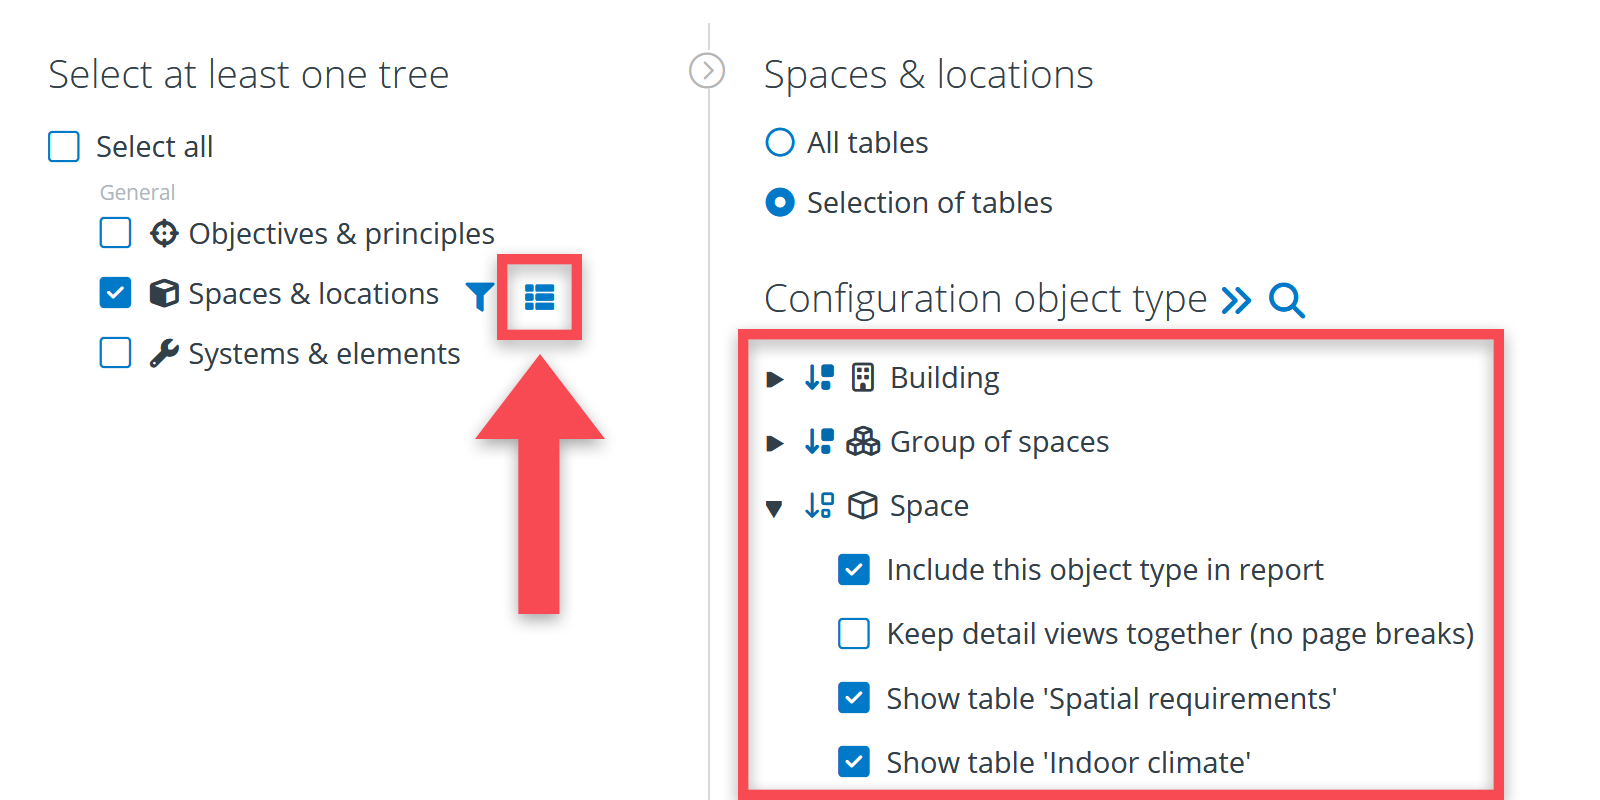
2. Select the trees that you want to include in your report or click on Select all if you want a report of the entire model
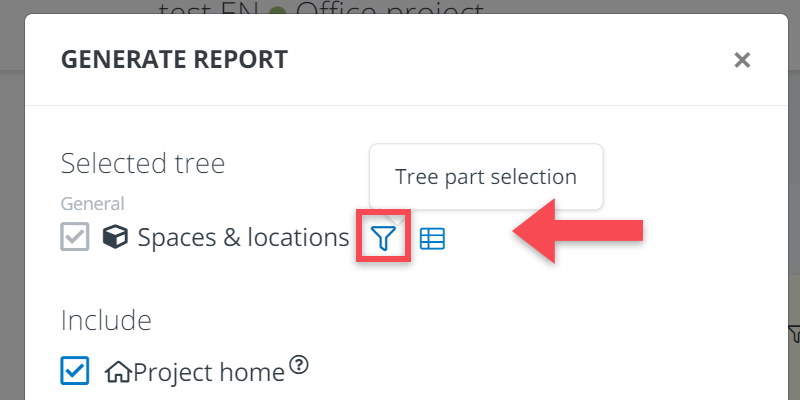
3. Optionally: (de)select specific parts of a tree by clicking on the filter icon () and then choose Selection of objects.
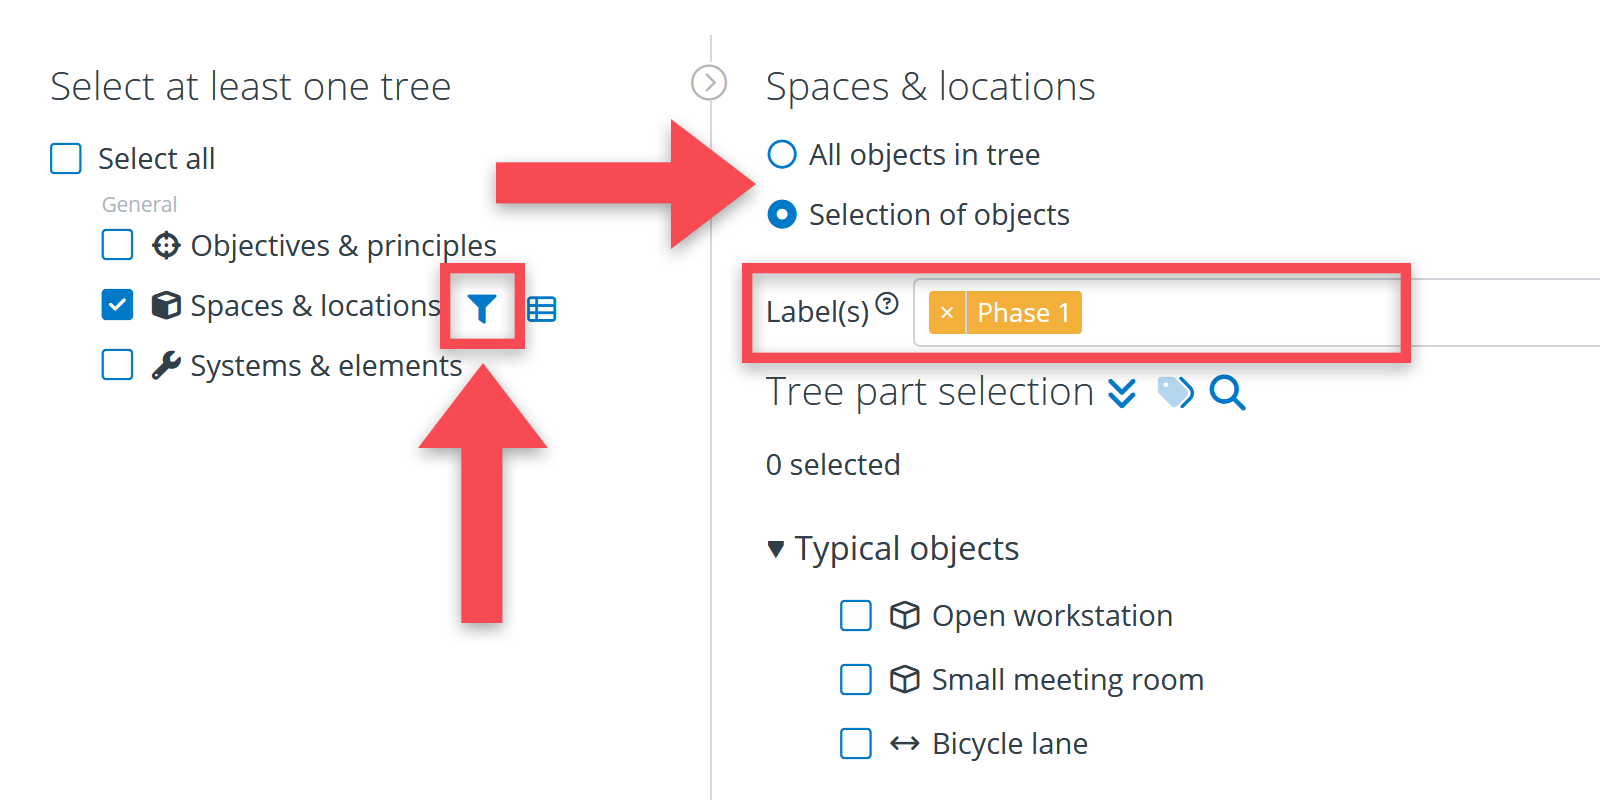
4. Optionally: (de)select specific object types and specific block/tables by clicking on the table icon ()
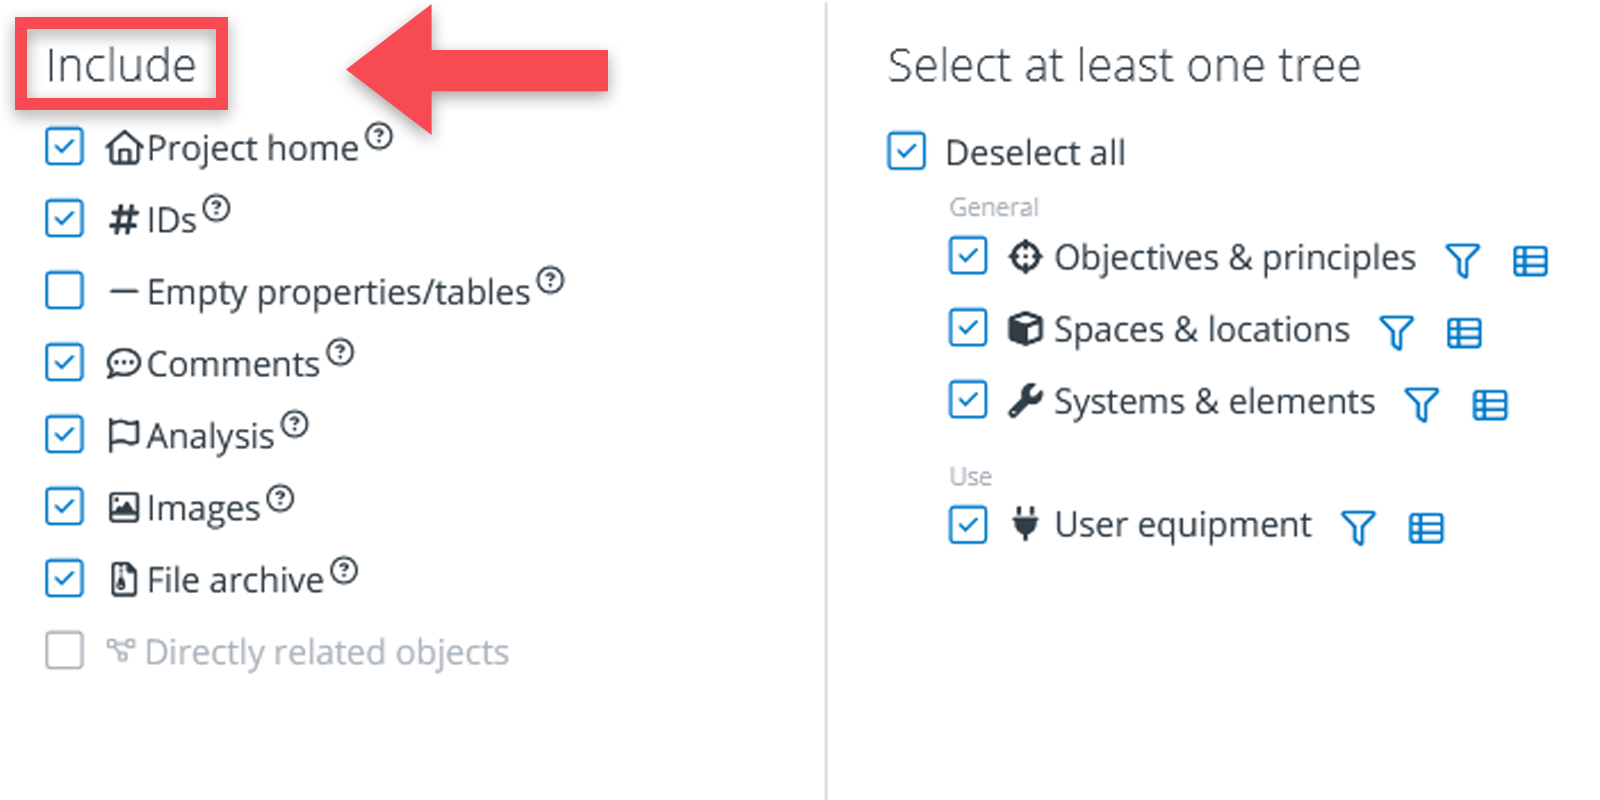
5. Optionally: (de)select what kinds of additional information has to be included in the report:
- Project home (the image and the information you see on the model’s first page)
- Requirement IDs (the IDs of requirements, e.g. REQ-54)
- Comments (possible comments made by BriefBuilder users)
- Empty properties / tables (checking this box will include all the properties without values)
- Analysis (where used, analysis values will be included in italics for requirement values)
- Images (images that have been uploaded in the model)
- Files (files that have been uploaded in the model; they will be added in a separate zip folder)
- Directly related objects (detail information of objects that are related to your selections, in case you have selected only one tree)
6. Layout: (de)select the report layout options according to preference:
- Landscape mode (check for horizontal page orientation).
- Cover page (check to include a cover page).
- Glossary (check to include the model’s list of terms).
- Plain headers (check for a basic layout: without blue prefix lines, icons, ID’s or hyperlinks).
- Table of contents (select to include a table of contents page and define the number of levels).
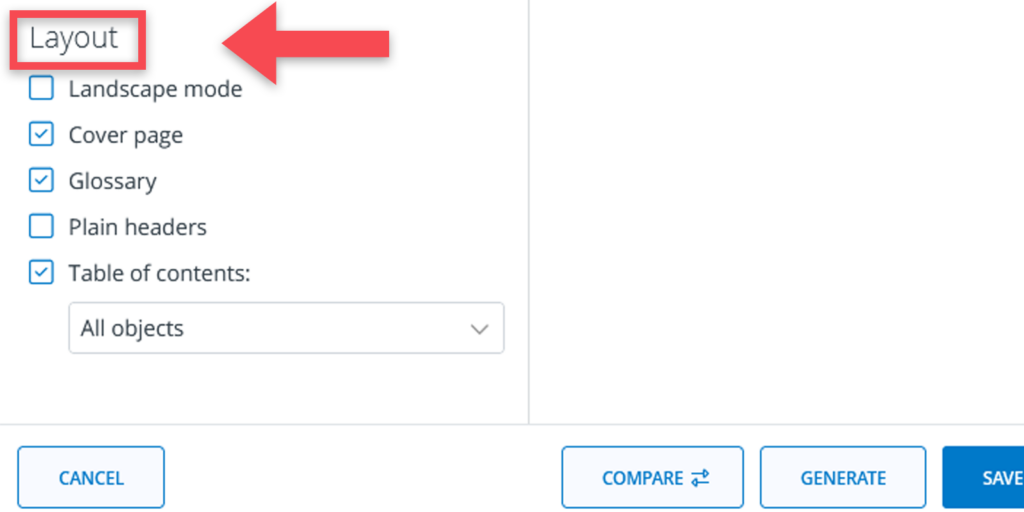
7. Click on the Generate button.
Word reports – via the tree menu
Word reports can also be generated for each of the trees in BriefBuilder by clicking on the icon that can be found in the little menu above the tree.
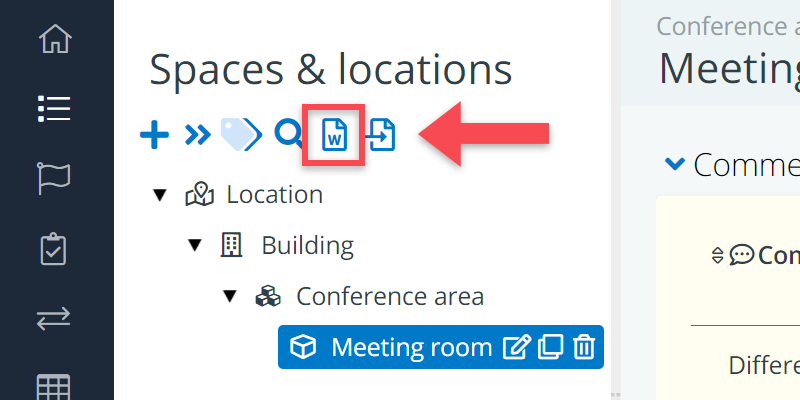
This way of generating a report also gives you the possibility to include only a part of a tree. You can do so by clicking on the ) icon.
And you can choose to exclude particular tables or blocks if you want to by clicking on the icon.

Word reports – via the detail view
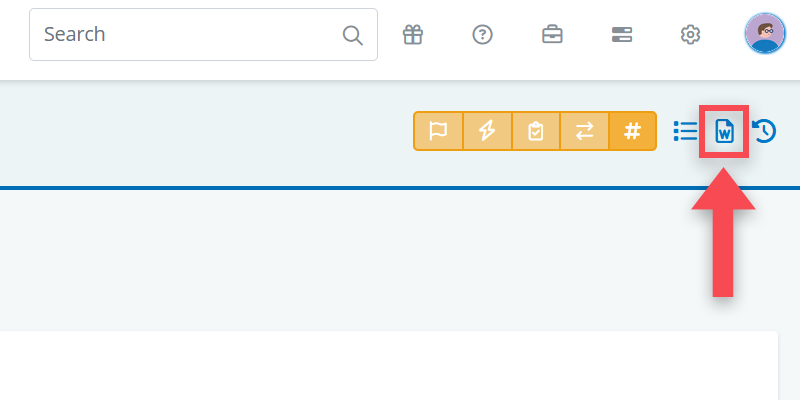
Another way to generate a Word report is via the object detail view. This allows you to instantly generate a Word report of the object that you are looking at. The report can be generated by clicking on the icon in the top right corner of the page, next to the view buttons.
The configuration options for this report are more limited of course since no tree and tree part selections have to happen. You can still configure the layout and contents like ID’s, typical comparison, empty properties etc.
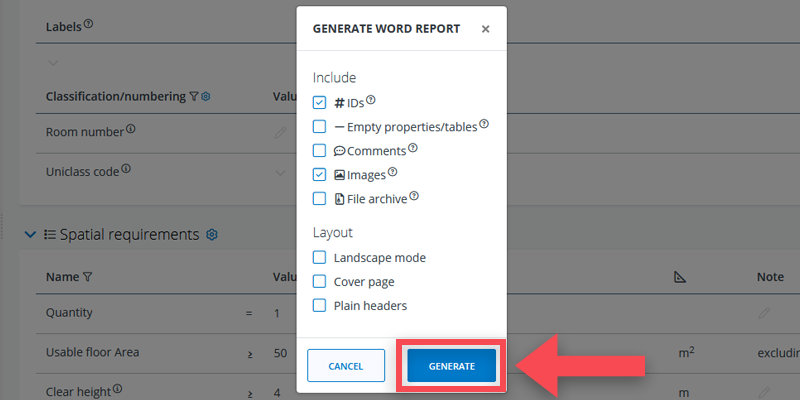
When you’re done, click generate. The download will start immediately.
(Pre)defining Word reports
If you have the appropriate permissions, you can not only generate reports, but also (pre)define reports.
This means that you can make a specific selection of trees and tables (as explained above) and save this report as a standard report that is available to all users.
This is useful for specific reports that need to be generated multiple times throughout the duration of your project. For example, a dedicated report concerning the electrotechnical installations or a dedicated report concerning a specific building part.
Take a look at the step-by-step guidance below to start creating your own Word report definition.
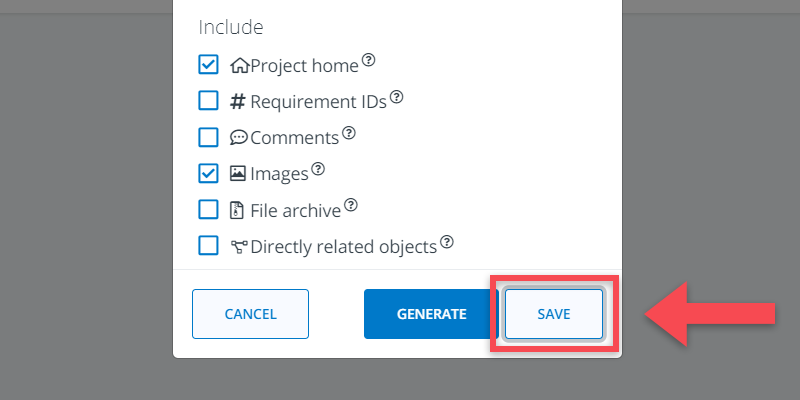
To create a report definition, you follow the same steps as explained earlier in this article to define what you want to have in your report, but in this case click on Save after which you can add a name to your report definition.
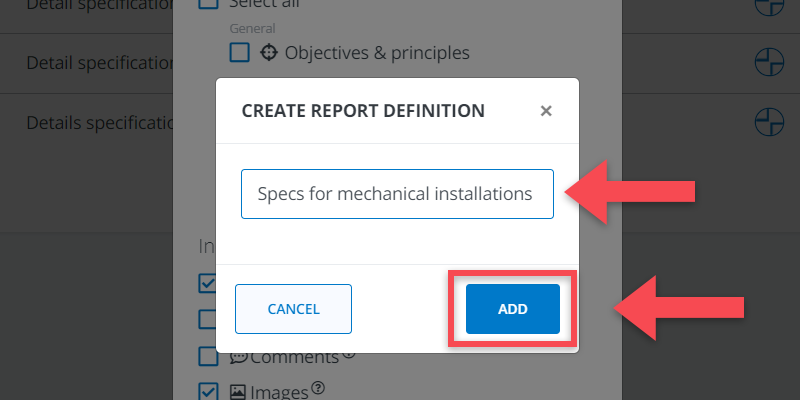
Once you have saved the report, you can also add a description that explains the report’s purpose or contents.
Add an introduction to a Word report
When working with (pre)defined Word reports, you choose to add a dedicated introduction section to the report. You can use this section to explain, for example, what the report is about, what it includes and where the data comes from.
Adding an introduction section can be done in the requirement reports menu.
Start setting up your introduction by clicking on the + icon.

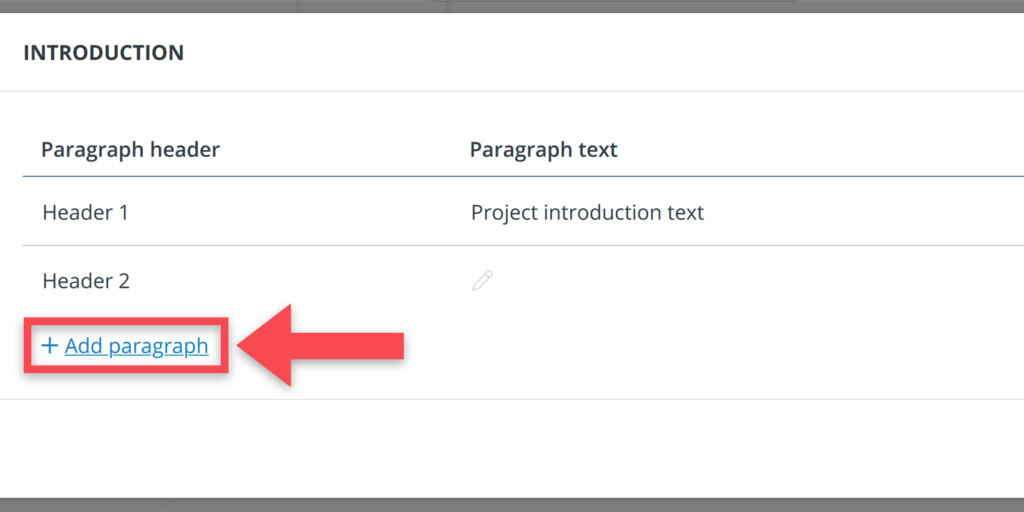
As you will notice, it is possible to define multiple paragraphs for your introduction.
Click on +Add paragraph to create a paragraph. You will then be prompted to enter a header for your paragraph. After, you can add text to it.
You can continue adding as many paragraphs as you like. You can also modify in what order they are displayed by dragging and dropping the on the right.
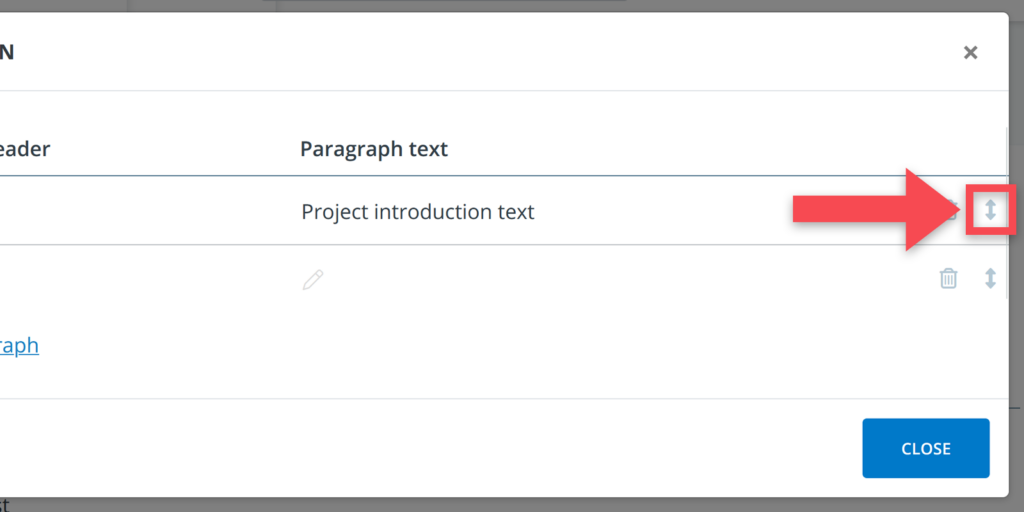
When finished, simply click on close and the introduction will now be included every time you generate that report. The introduction will be placed after the table of contents.