
Demonstration documents are the documents that are being used in the verification process to demonstrate that (proposed/designed/built) solutions or services are compliant with the client’s requirements.
Examples of demonstration documents are: test and inspection reports, floor plans, calculations, specification sheets, and compliance certificates.
Typically, verification is the responsibility of the project’s design team and/or the involved contractor. So, this part of the model is most intensely used by them, and not so much by the client. The client’s role is often limited to reviewing the uploaded demonstration documents to decide whether they are happy with the delivered documentation or not.
In BriefBuilder, demonstration documents can be linked to verification results in two places:
- on the detail view of an object,
- and/or via the verification table.
On the detail view:
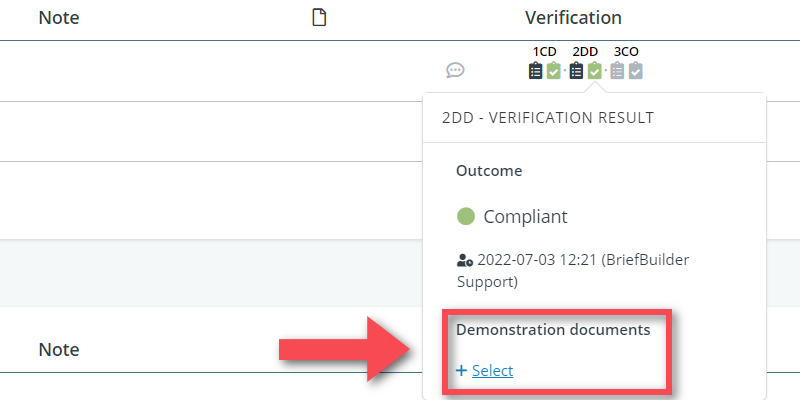
On the detail view of an object, you first have to make sure that you can view verification data by clicking on the show verification button in the upper right corner.
In the verification table:
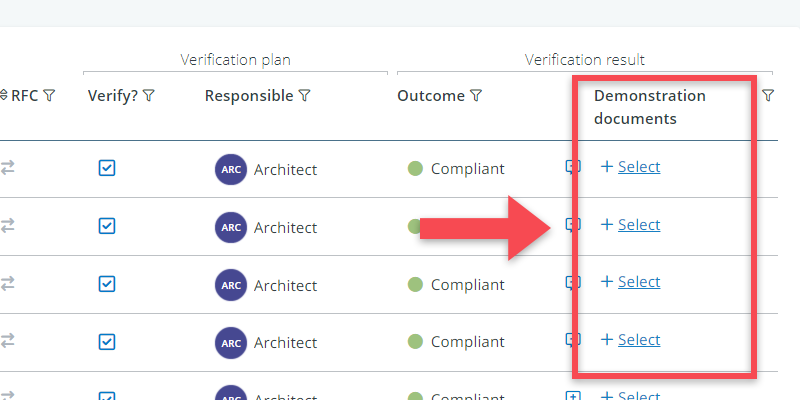
In the verification table, demonstration documents can be added in the last column under the header verification result.
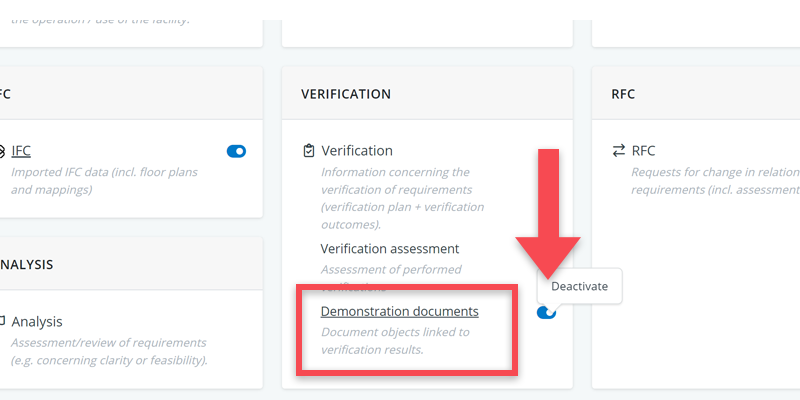
When linking a demonstration document to a verification, it is captured in the demonstration documents tree in BriefBuilder. This is where you can see all the files and documents that have been used for the verifications in your project.
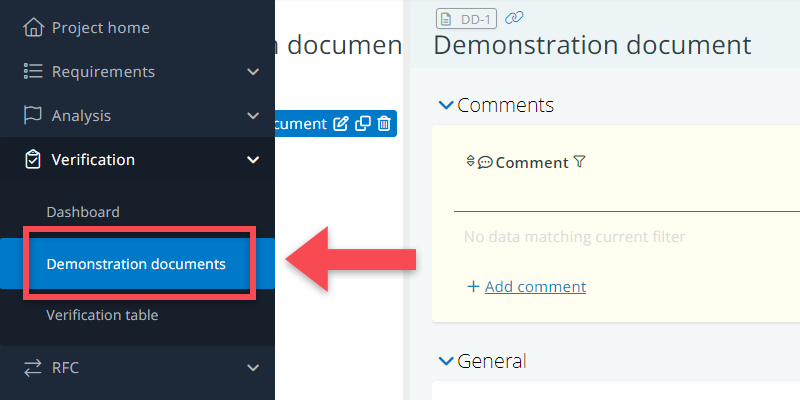
This tree can be found via the navigation menu, under the header verification.
Below, we will explain in further detail how you can work with demonstration documents in BriefBuilder.
Linking demonstration documents to verification results
There are four ways to link demonstration documents to verification results:
- Option 1: Directly uploading documents from your computer
- Option 2: Selecting documents from a document management system (DSM)
- Option 3: Adding URLs that point to documents in a DSM
- Option 4: Selecting documents from the demonstration document tree in BriefBuilder
Option 1: Directly uploading from your computer
This is the simplest solution: when working on a verification result, you upload a demonstration document straight from your device.
- Go to the verification result where you want to the add the document.
- Click on + Select in the column/under the header demonstation documents.
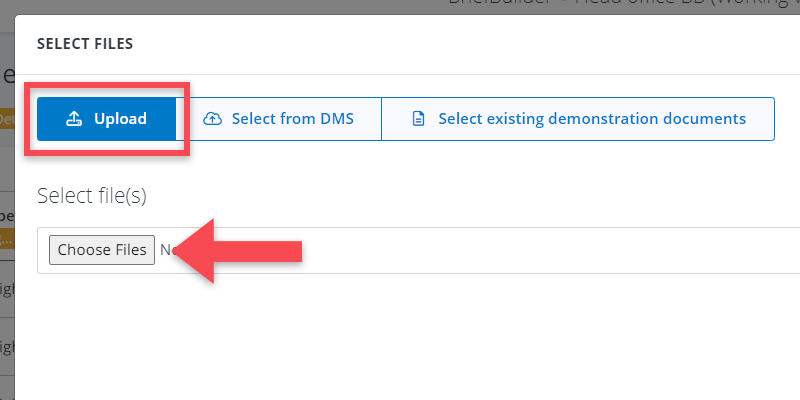
- Make sure that your selection source is Upload (see image below).
- Click on Choose files and select the relevant file/document on your device.
- Click on Select.
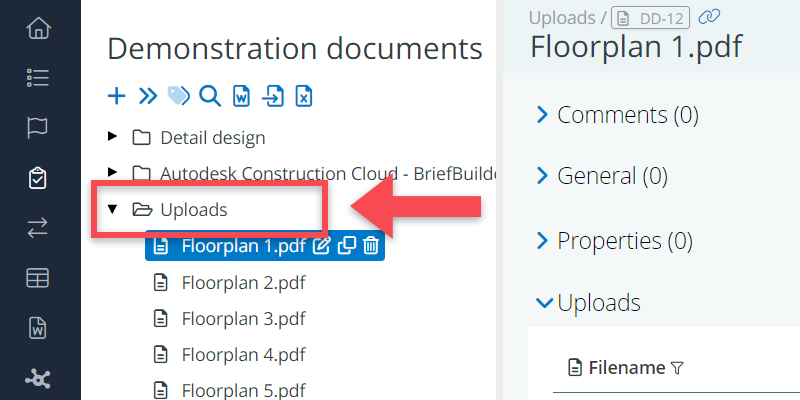
All the documents that you upload, are automatically added to the demonstration document tree in a folder called Uploads (see image below). As said earlier, this tree can be found via the main menu, under the header Verification.
Option 2: selecting from a document management system (DMS)
Especially in large projects, it is likely that there is a document management system (DMS) or a common data environment (CDE), where all project files and documents can be be found.
For several commonly used systems (i.e., Autodesk Construction Cloud, Bricsys 24/7 and Sharepoint), it is possible to select documents directly from that system (assuming you have set up a connection between BriefBuilder and your DMS).
- Make sure that the requirements manager has linked BriefBuilder to your DMS.
- Go to the verification result where you want to the add the document.
- Click on + Select in the column/under the header demonstation documents.
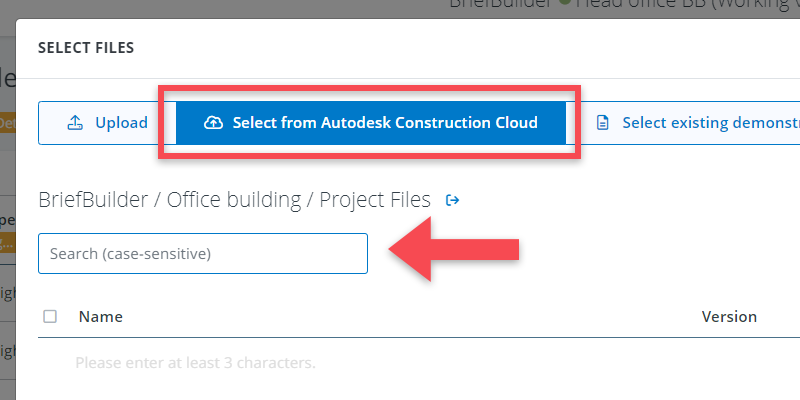
- Make sure that your source is on Select from [name of your DMS system] (see image below).
- Find the relevant file/document (please note that this works differently for different DMSs).
- Select the file/document and click on Select.
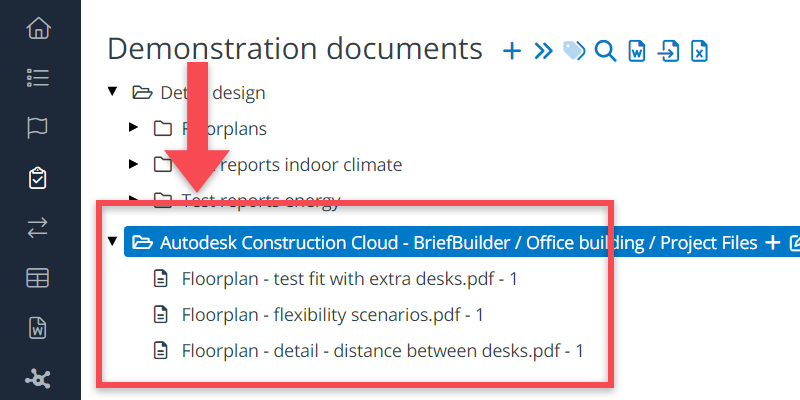
When selecting a document from your DMS, it is automatically added to the demonstration document tree in BriefBuilder, in a dedicated folder so you can easily see where the document originates from (see image below).
Option 3: Adding document URLs
If it is not possible to set up a direct connection between BriefBuilder and your DMS, you can also refer to a document in your DMS by means of an URL. Note: you will not be using the Demonstration documents tree in this case.
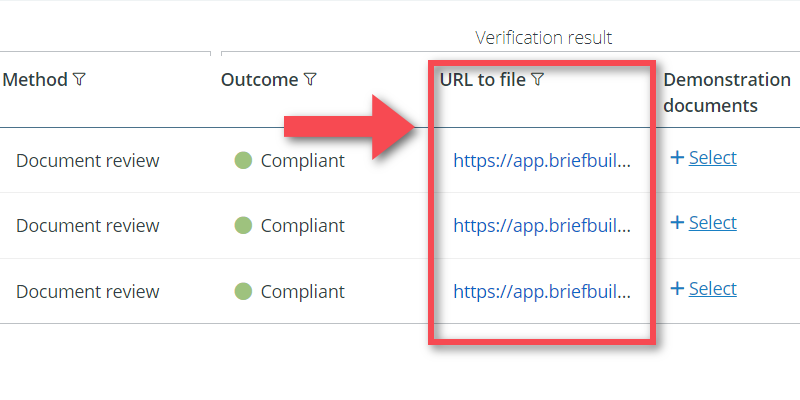
To facilitate this way of working, you first have to add a standard property called “URL to file” (or something similar) to the general set-up of your Verification results. When doing so, you will get an extra column in the verification table where you can paste the URL that refers to a particular document.
- Make sure that the requirements manager created a dedicated column (a verification result property) where you paste your URLs (e.g. called “URL to file”).
- Go to the verification result where you want to the add the document.
- Simultaneously open your DMS and find the document that you want to use.
- Copy the document’s URL from the DMS.
- Paste it in the relevant column/field in BriefBuilder (see image below).
Option 4: selecting from demonstration document tree
In this fourth option, you first create all relevant demonstration documents in the demonstration document tree and, after that, link those documents to verification results.
This workflow is more time-consuming than the other options, but it gives you full control over the list of demonstation documents. It allows you to predefine the documents and structure them neatly, and then only later upload the actual files.
As said, the first step is to add documents to the demonstration documents tree:
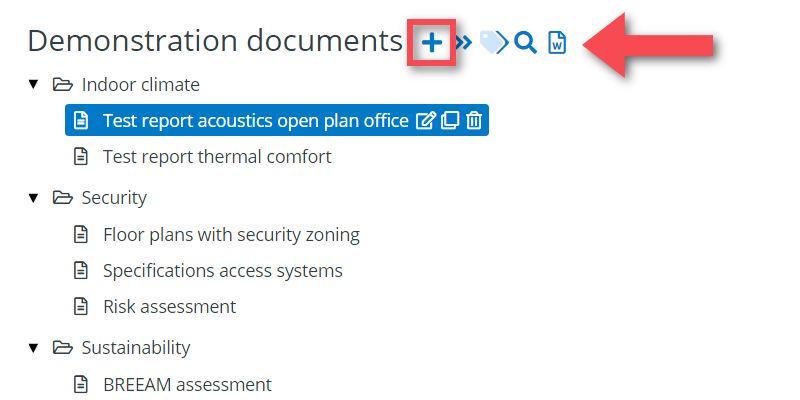
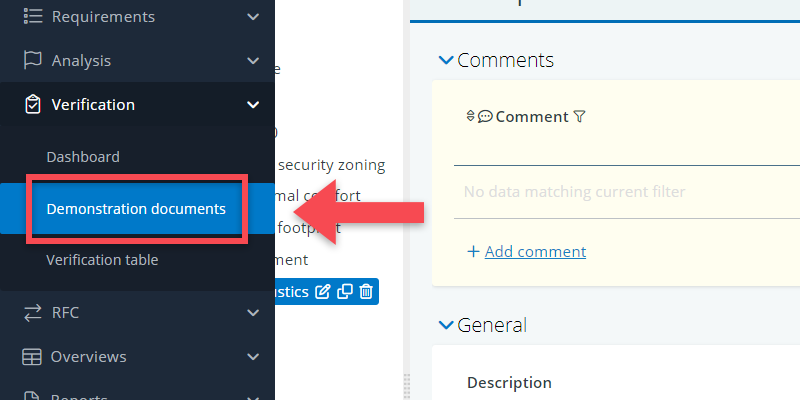
- Go to Menu > Verification > Demonstration documents.
- Click on the icon on top of the page (or behind one of the folders). See image below.
- Give the document a name and click on Add.
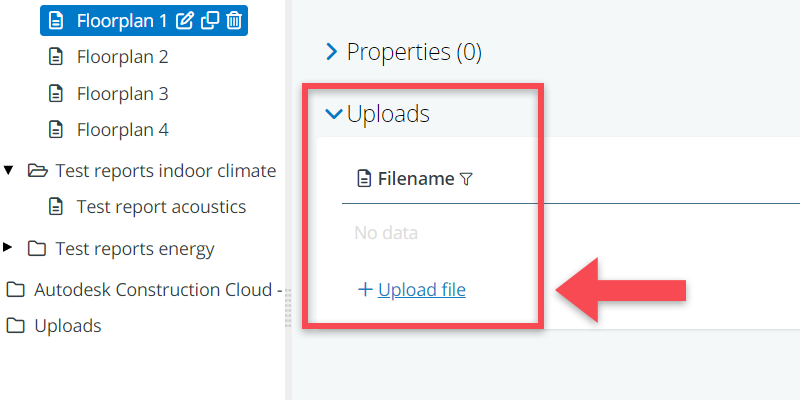
Next, or at the later stage, upload the actual file(s) in the table Uploads for that demonstration document object.
- Scroll down on the detail view of the document, to the table Uploads (see image below).
- Click on Upload file.
- Upload the file from your pc (or from a document management system).
Once you have created the demonstration documents tree, it is ready to be used for verifications.
- Go to the verification result where you want to the add the document.
- Click on Select in the column/under the header demonstation documents.
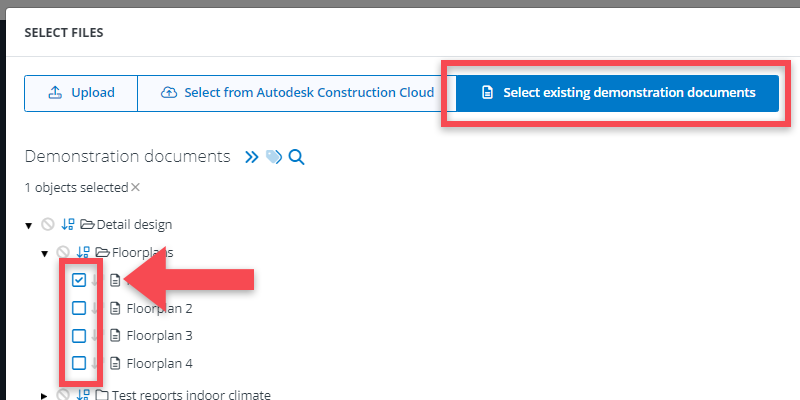
- Make sure that your selection source is on Select existing demonstration documents (see image below).
- Select the relevant document(s) and click on Select.
Related verifications
As explained above, all used demonstration documents are shown in the demonstration documents tree. This is also where you can easily find out in which verifications a demonstation documents is being used.To do so, follow these steps:
(1) Navigate to the demonstration documents tree via the main menu
(2) Click on a demonstration document
(3) On the document’s detail view, go to the table Related verifications
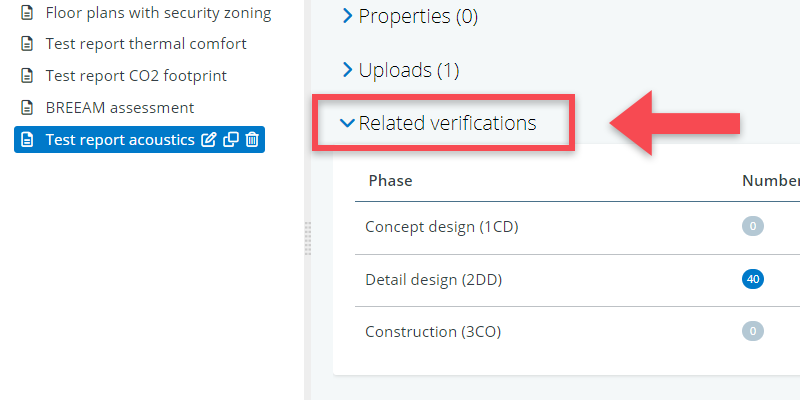
(4) Click on the number of verifications for a project phase
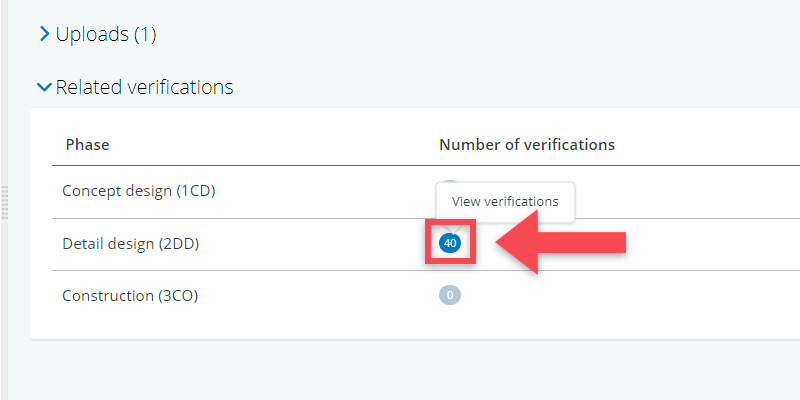
When clicking on the number of verifications in a phase, you will jump automatically to corresponding selection in the verification table.