
For each spatial object (building, group of spaces, space, outdoor space, connection, …), it is possible to formulate requirements on the detail view. The detail view features a number of tables where you can fill in/select different kinds of requirements.
Below we will go through each of the tables.
You can also watch our five minute video on how to define requirements for spaces.
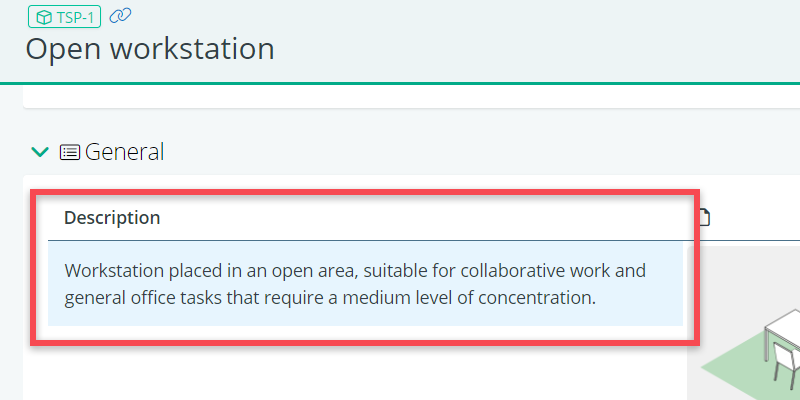
Description
In the table called ‘Description’ you can add a short text that shortly explains the space’s functional purpose.
For common spaces this is usually not necessary, but can be useful for very specific spaces (e.g. a GMO-4 lab) or for rooms with rather abstract names (e.g. “event space” or “learning hub”).
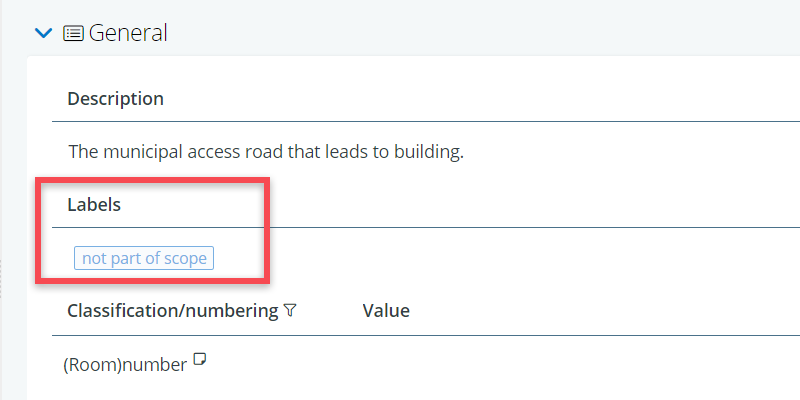
Labels
Under General, it is also possible to add labels, which are a kind of tags that you can add to an object, for example to indicate whether a particular project part is optional or not part of the scope.
Classifications/numbering
Classifications and numberings can be used to identify and categorize spatial objects.
In building projects, it is most often used for room numbers. In infrastructructure projects, it may be the segments of a tunnel, rail track or road that get a specific number.

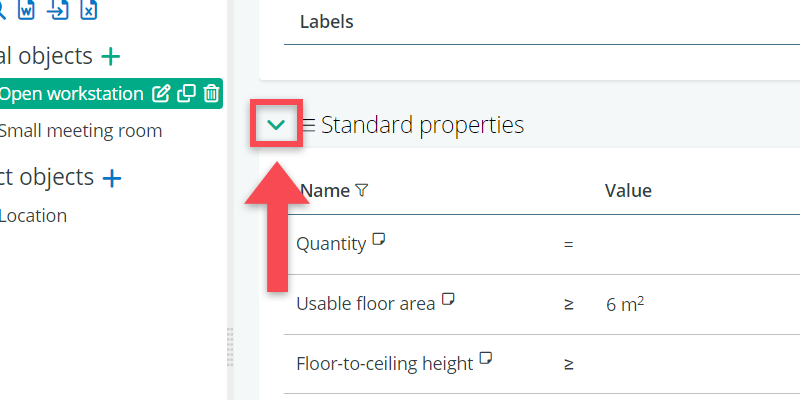
(Optional) standard properties
Standard properties can be defined via the standard properties settings and they apply to all objects of the same type in that tree (in this case often all spaces or all segments in case of an infrastructure project).
Also relevant are optional standard properties. Optional standard properties are like normal standard properties, but they can be added (as a block) to the detail view of specific objects. This can be relevant for when you have a set of properties that apply to only a specific set of object, e.g. lab spaces or tunnel spaces.
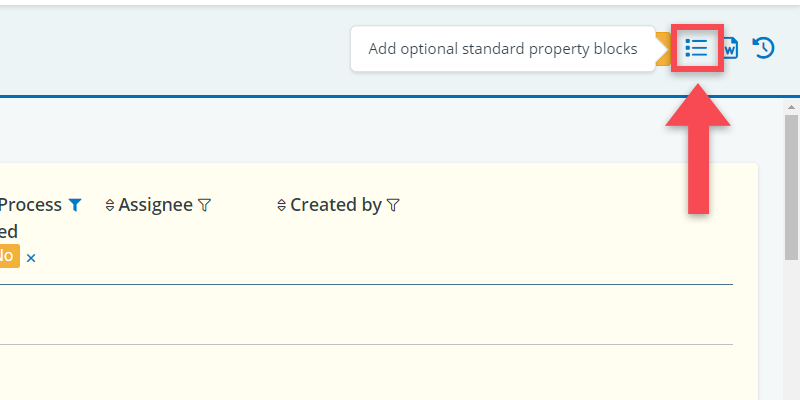
Optional standard property blocks can be linked to an object’s detail view via the icon in the upper right corner of the detail view.
Custom properties
The table that is called ‘properties’ can be used for adding custom properties. These are the properties that are relevant to one or few spaces, rather than all of them.
For example: when defining the requirements for a very specific space, like a server room, you may need all sorts of properties that are irrelevant for the other spaces.
Elements to be placed
This table allows you link spatial elements to your space(s). Spatial elements are the tangible, technical parts of a building that can be related to a space. Think of power outlets, floor finishes or furniture items.
You can select these elements by clicking Select in the table. When doing so, you will be able to choose elements from the building elements tree. Once selected, you will also be able to define the quantity and add notes if necessary.
Please note that adding a quantity may not be relevant for all elements. Elements like ‘power sockets’ and ‘office chairs’ may benefit from having a clear quantity. But, more general elements, such as ‘floor finish’ or ‘ceiling finish’ do really not need a quantity on a room level.
The note field can be used for adding info about how, where or why elements need to be placed in the space. For power outlets, you may for example want to add they should be installated at least 10 centimeters above the floor finish (notes).
Click here for a video about systems and spatial elements and their decomposition.
User equipment to be placed
In some projects, it will be useful to have a dedicated table for the placement of user equipment.
Similarly to the previous table for building elements, this table will allow you to link User Equipment from the User Equipment tree to specific spaces. User equipment concerns specific or specialized kinds of technology that are used by the users of that particular space. Think of x-ray equipment for a hospital or a smart board for a school.
Specific equipment like this is often not part of the scope, but the presence of these items drives the requirements of a space (e.g. concerning the number of power outlets that should be available), so it is crucial design information.
You add them in the same way as the spatial elements: click Select, select the equipment you need from the tree, add quantity and add notes if necessary.
Adjacency requirements
The adjacency requirements table allows you to define how a specific space (or group of spaces) should be related to another space or group of spaces. The goal here is to capture requirements regarding proximity, from spatial to visual, between different clusters or rooms within your building.
Once you click Select, you will be able to choose groups or spaces to add from the space tree. Select the spatial object of your choice. You can now input its particular distance or add notes if necessary.
Click below Relation to open a dropdown menu. You are able to choose from
- spatially connected to
- visually connected to
- spatially and visually connected to
- NOT connected to.
Uploads
The last table on the detail page is the one for Uploads. This table will allow you to upload files you feel are relevant for this particular spatial object. For example a file with reference images or a diagram of its recommended layout.
Once you click Upload File, you will be able to choose from any file on the device you are currently on. Upload the file of your choice and add notes if necessary.