Labels are not requirements, but rather tags or categorizations that you can add to objects. You can add them to any of the objects you are able to create in a BriefBuilder project model.
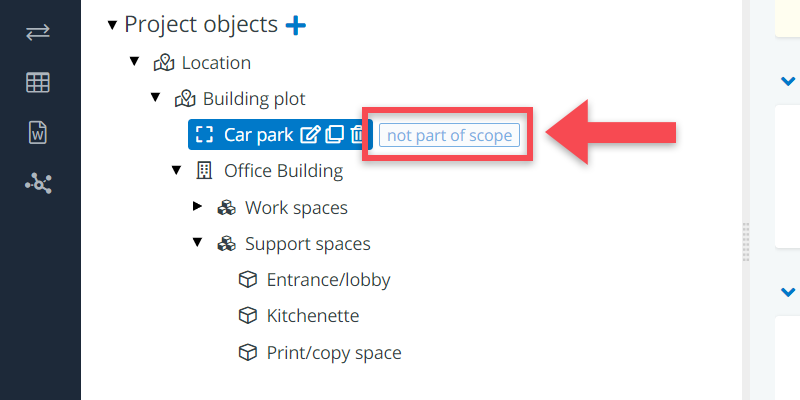
For example, in a building project, you may wish to label spaces that are optional or label whether a space is within a project’s scope (or not).
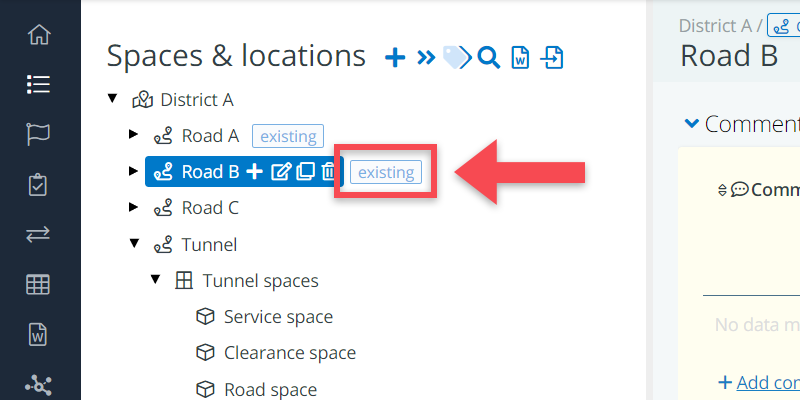
Likewise, in an infrastructure project, you may wish to use labels to indicate whether objects are existing pieces of infrastructure or new ones that need to be built. Or utilize labels to show whether an object belongs to a particular project phase.
Watch the video below for a quick overview on how to use object labels.
Adding labels
You can add labels in two places.
1) On an object’s detail view
On the detail view of an object, the block called General can be found at the top of the object’s detail view. Located in that block, you can find the table called Labels.
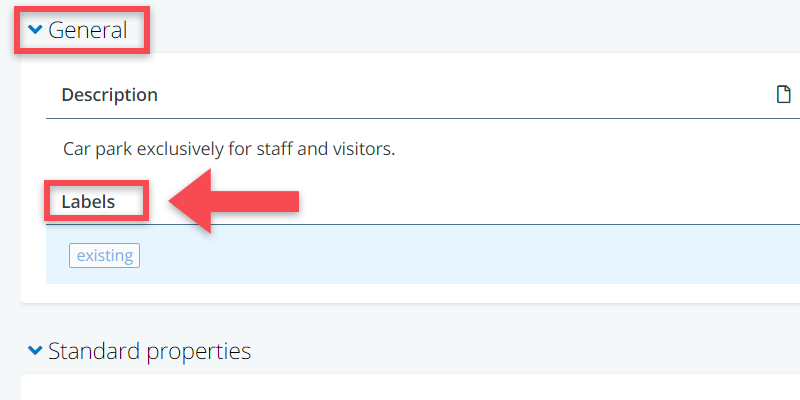
This is where you can view, create, add or delete a label for one specific object.
To create a label, just start typing in the empty bar under Labels. If there are already labels in use in this project model, they will pop up as suggestions.
If you want to delete a label for an object, click on the X button right next to it.
2) In the cross table
In a cross table, you can create overview of all the used labels per tree. This is also where you can easily link those labels to objects (or delete them).
The cross tables feature can be found via the navigation menu, under the header Overviews.
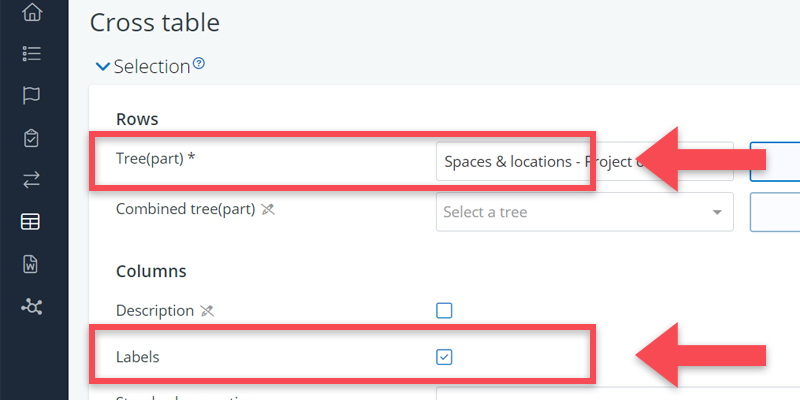
In the selection menu, you have to select the relevant tree(part) under Rows and check the Labels box under Columns. And then click on Show.
In the table itself, you can assign labels to objects by double clicking in a cell. You will notice that the cell turns blue, which means that the label has been added to the object.
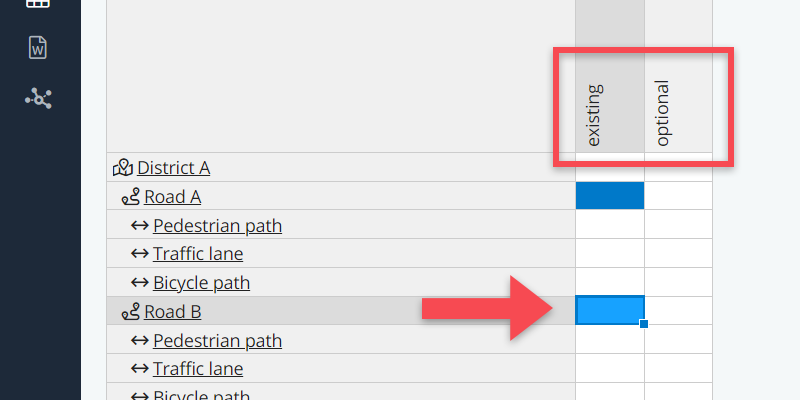
You can delete the link between an object and a label by clicking on the delete button of your keyboard while having the relevant cell(s) selected (indicated by the darker blue border of the cell)
Please note that it is not possible to create new labels in the cross tables. That has to be done on the detail view of an object or under Settings > Labels (see below).
Viewing and hiding labels
Labels are not only visible on an object’s detail view, but also in the tree structure on the left side of your screen. Sometimes, a tree can get a little crowded if a project utilizes many different types of labels.
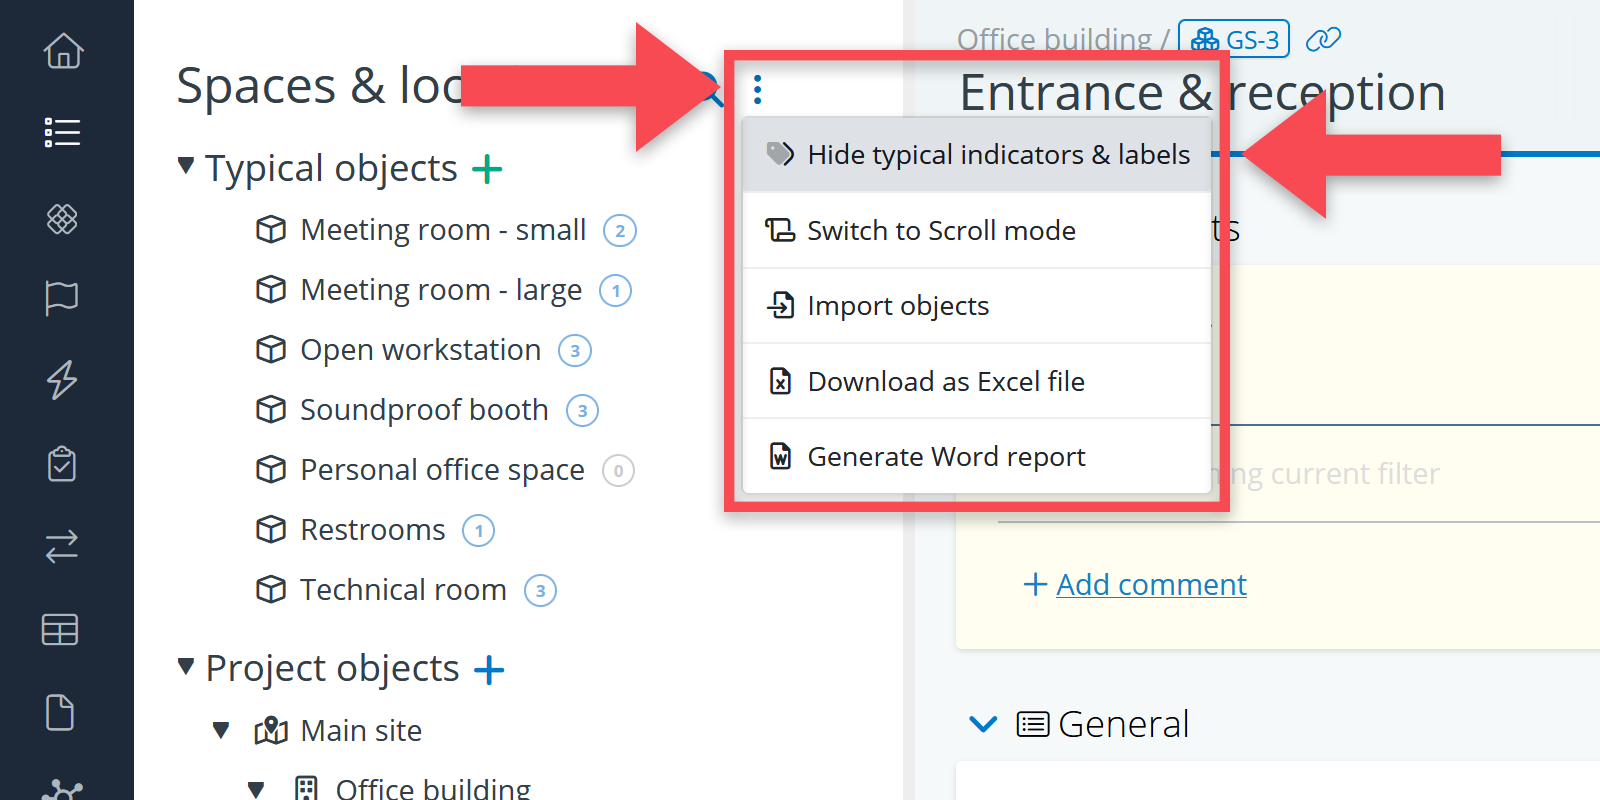
That is why you have the ability to toggle the visibility of labels on or off. You can do so by clicking on the Hide / Show labels option in the extra options menu at the top of a tree.
Filtering in trees
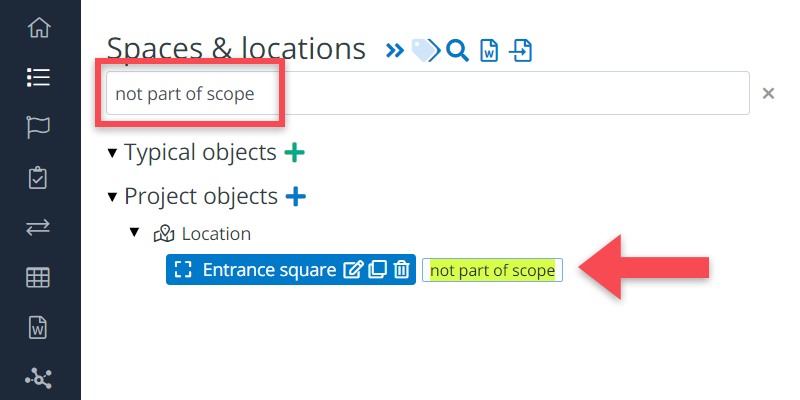
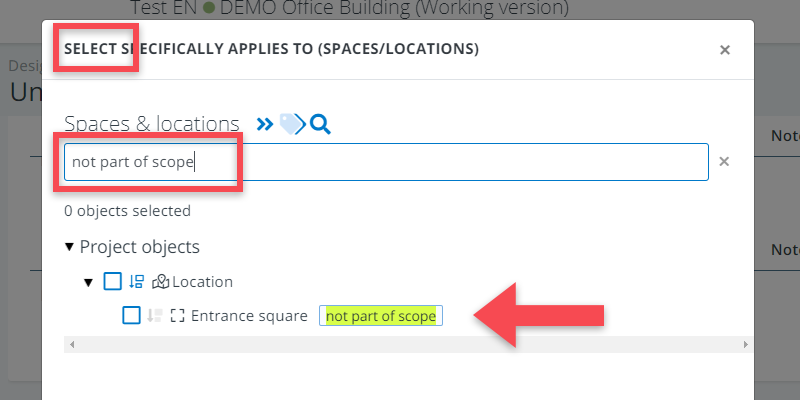
In trees, you can filter on labels by just typing the label name in the search field. You can filter on multiple labels at a time.
And the same is true for selection trees.
Filtering in tables and overviews
As mentioned earlier, you can use labels as filters in tables and overviews (e.g., “give me all spaces that are categorized as optional” or “show me all roads that are labelled as existing”).

The filter options for labels can be found in the following overviews:
- Cross tables (if you want to define/view relations between trees and/or the standard properties of one particular tree)
- Area overview (if you want to define/view quantities and sizes for spaces)
- Verification table (if you want to define/view verifications)
- Requirements overview (if you want to use a tabular overview of all requirements in the model)
- Analysis table (if you want to add/view analysis data)
Label settings
Another way to add labels is to use the Settings menu, assuming you have the right permissions to access these (Settings > Project model > Labels).
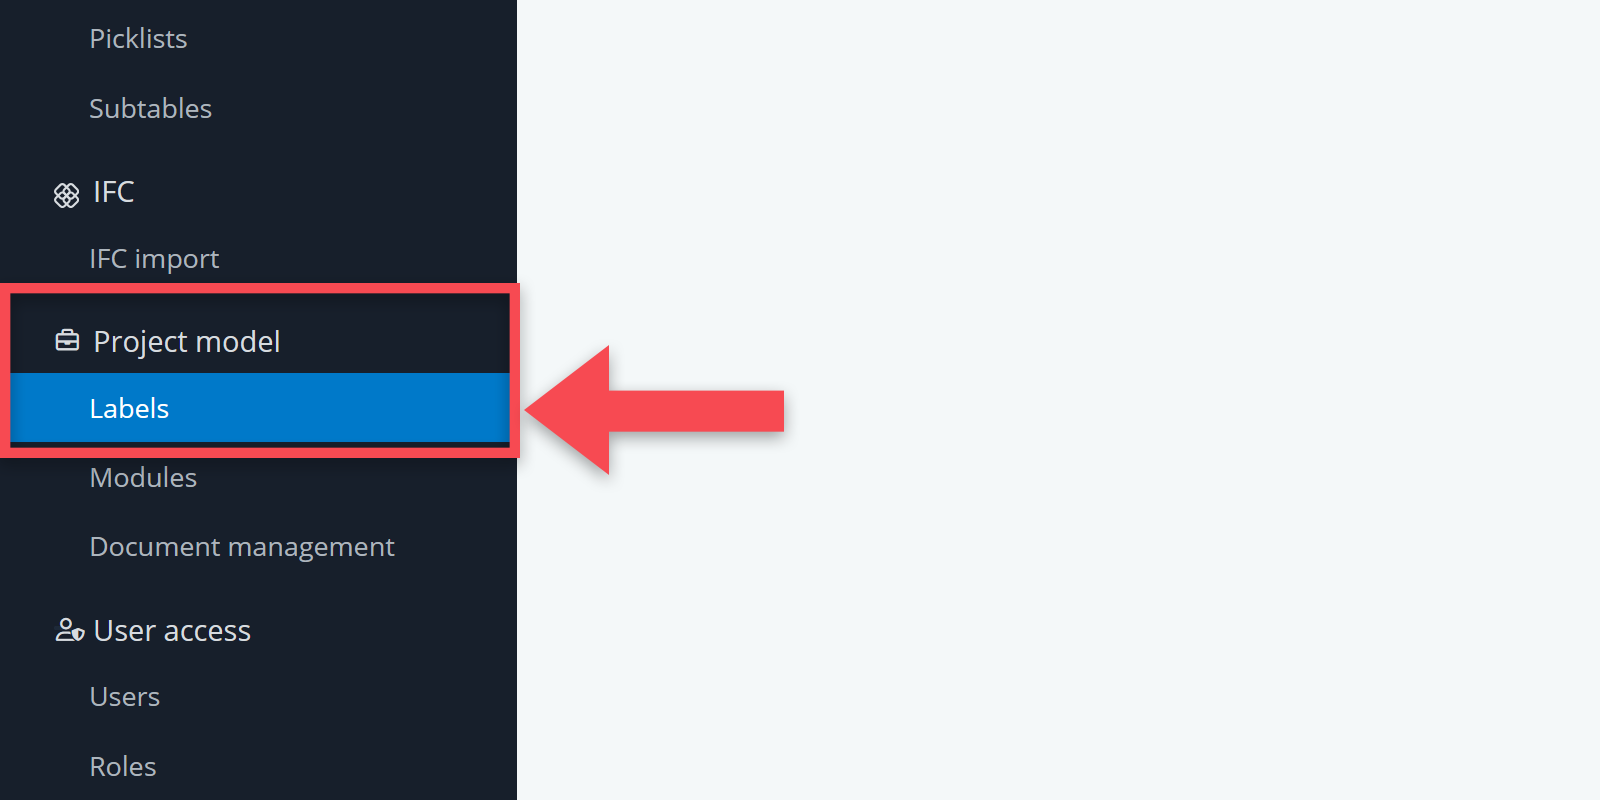
This is where you can create, change or delete a label for your entire project model.
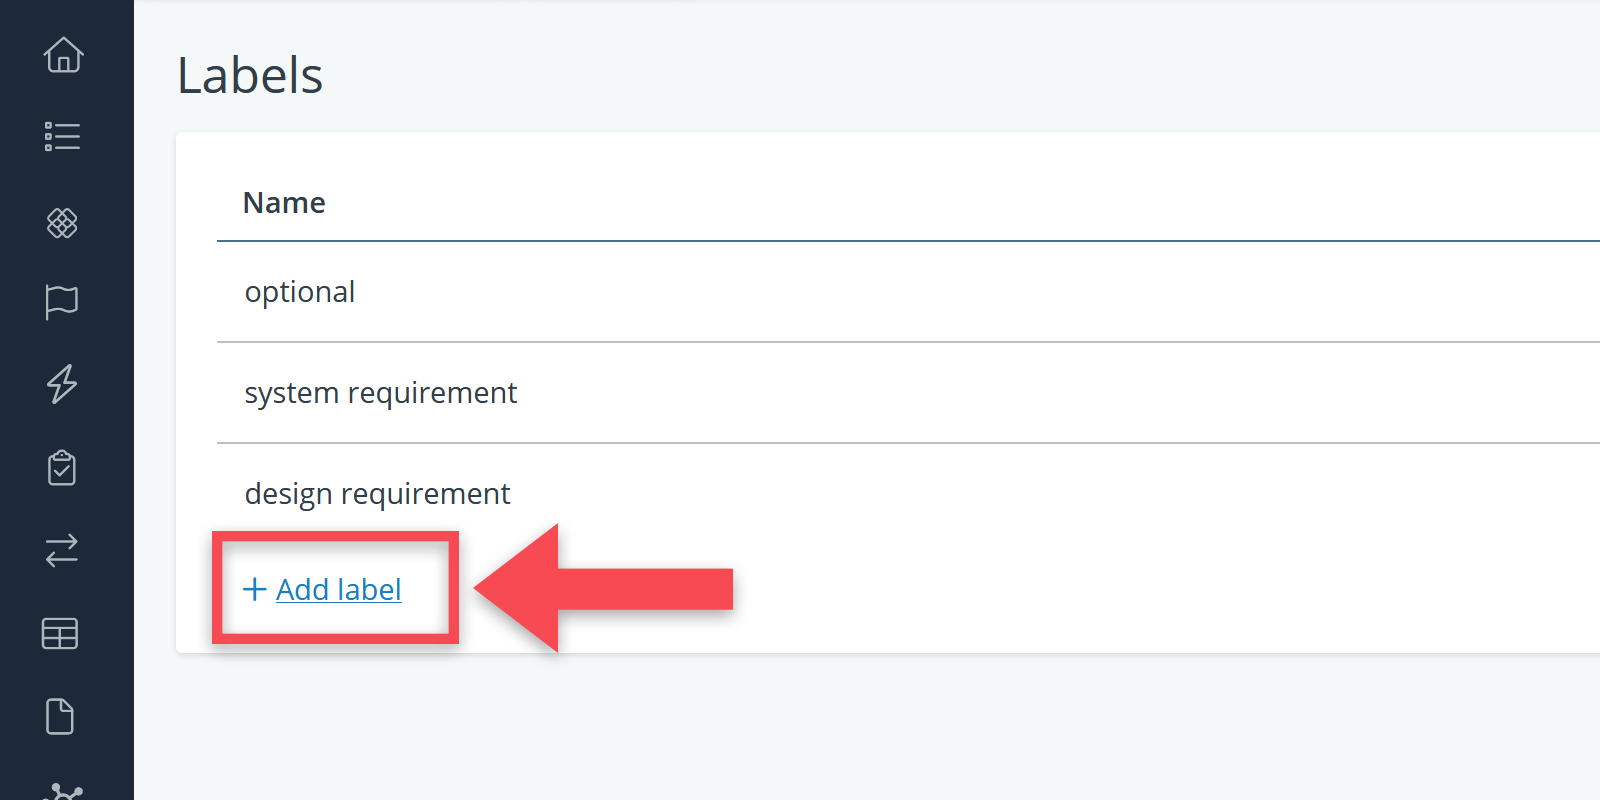
You can create new labels by clicking on the Add label button.
You can delete labels by clicking on the icon next to a label’s name. If you delete a label that is currently in use (i.e., added to one or more objects), you will receive a warning before doing so.
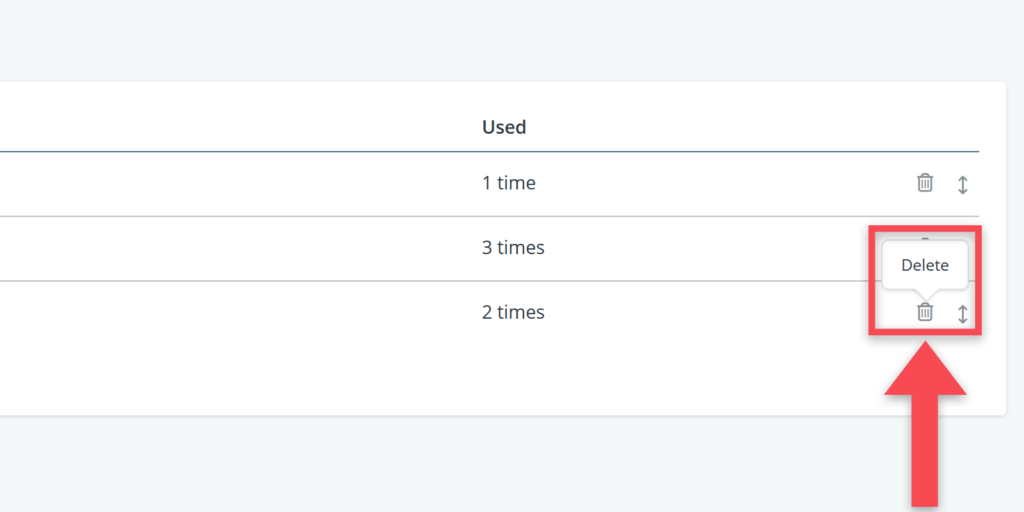
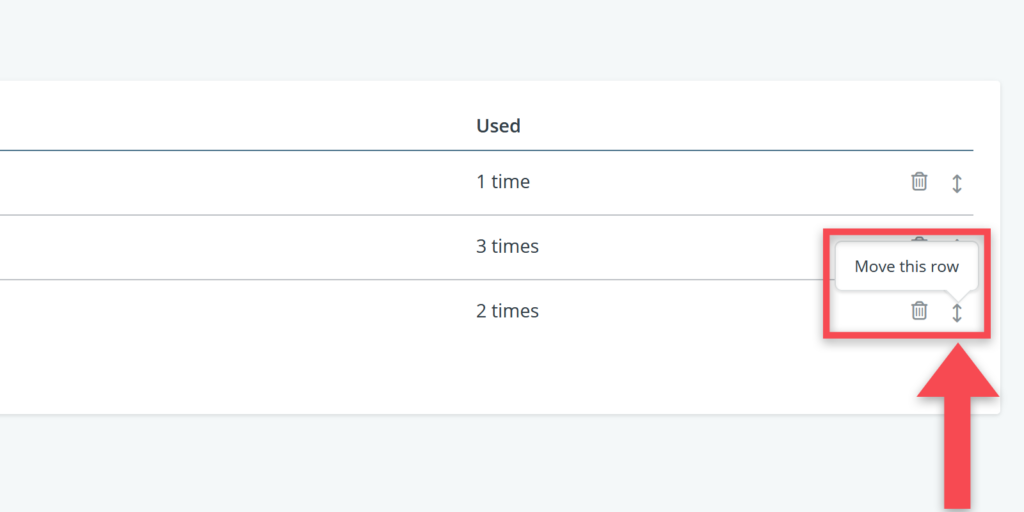
The sequence of labels can also be altered by using the up-down arrows to move labels a row up or down.