
Do you have changes that apply to a whole bunch of rows in your analysis or verification table? If so, you can either use the aggregate function or, alternatively, the bulk edit action.
With the bulk edit feature, you can edit analysis and verification data for multiple requirements with few clicks.
Keep reading this article for step-by-step guidance for how to do this.
Step 1: Select data set
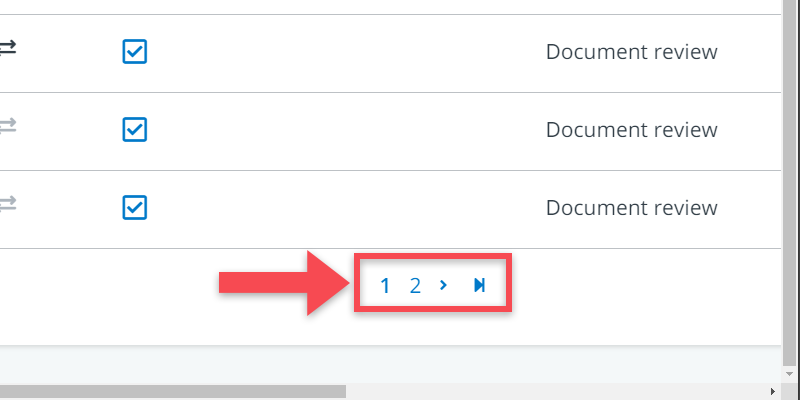
The bulk action is being applied to the data selection on your screen. So, it is important to make sure that you have selected the right requirements and/or verifications. This can be done in two ways:
- Selections: these are selection possibilities that you get before you enter the table (to go there, click on selection at the top of your table). There, you can select e.g. a particular tree part, object type or project phase.
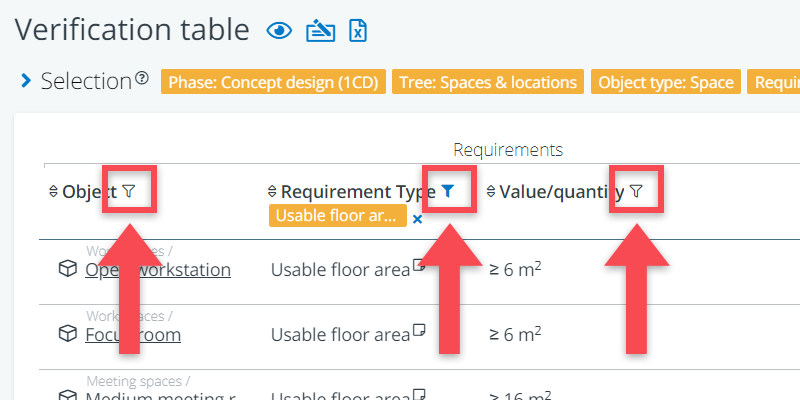
- Column filters: these are the filters that are available at the top of each table column (the icon). You can use these to select e.g. a particular type of requirement.
Step 2: Define bulk edit
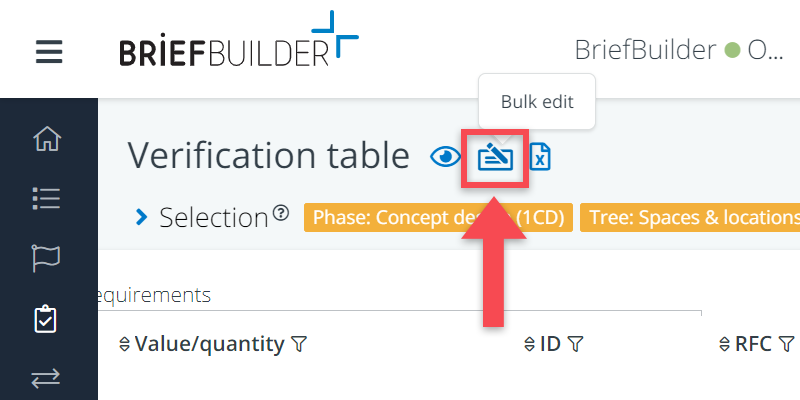
After you have made your selection, click on the bulk edit button (), which you can find at the top of the table.
When doing so, you will first get a pop-up screen in which you can define the bulk edits you wish to perform on the selected requirements and/or verifications.
Each item shown corresponds with a column in your table. In the examples below, it concerns the columns for verification plan and verification result.
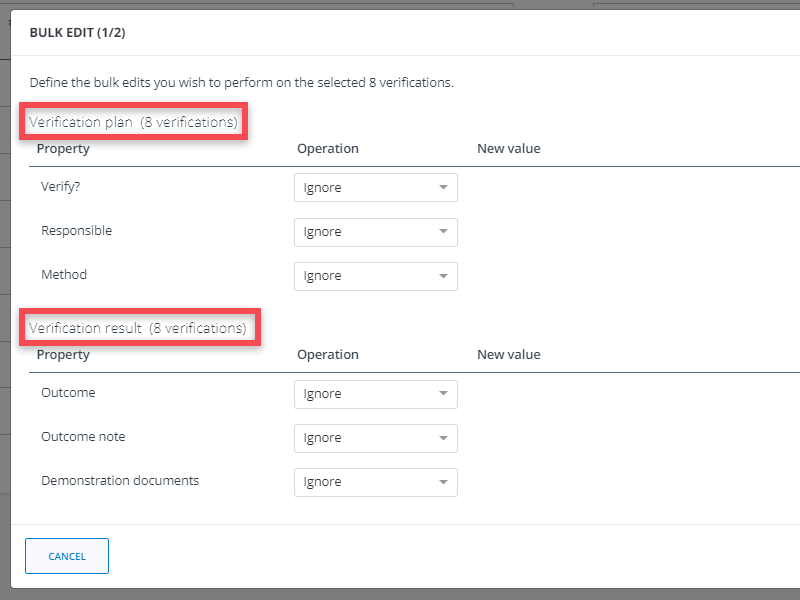
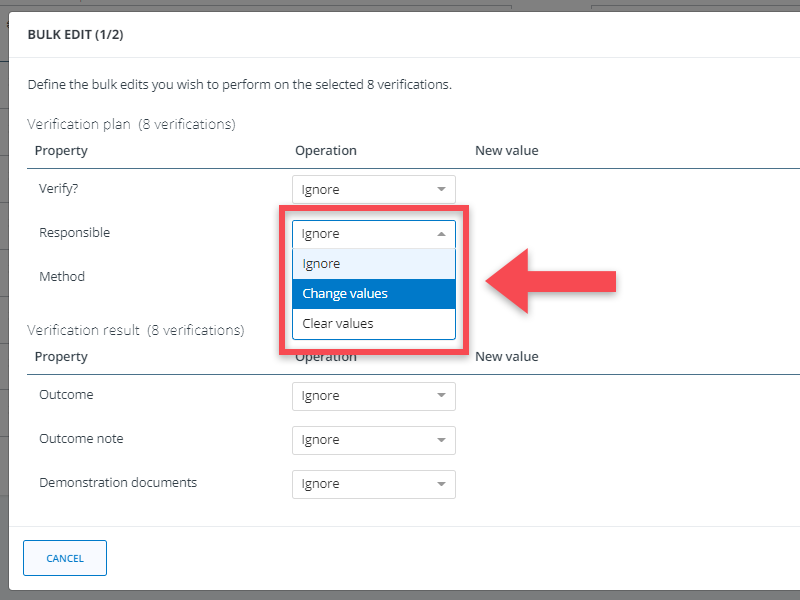
First you have to specify what you want to do with a analysis/verification property. There are three options:
- Ignore: there won’t be any changes to that particular property. It is skipped in the bulk action, so the speak.
- Change values: you can apply a new value for that particular property. And thus overwrite the values that are already be there, if any.
- Clear values: the existing values (if any), will be deleted.
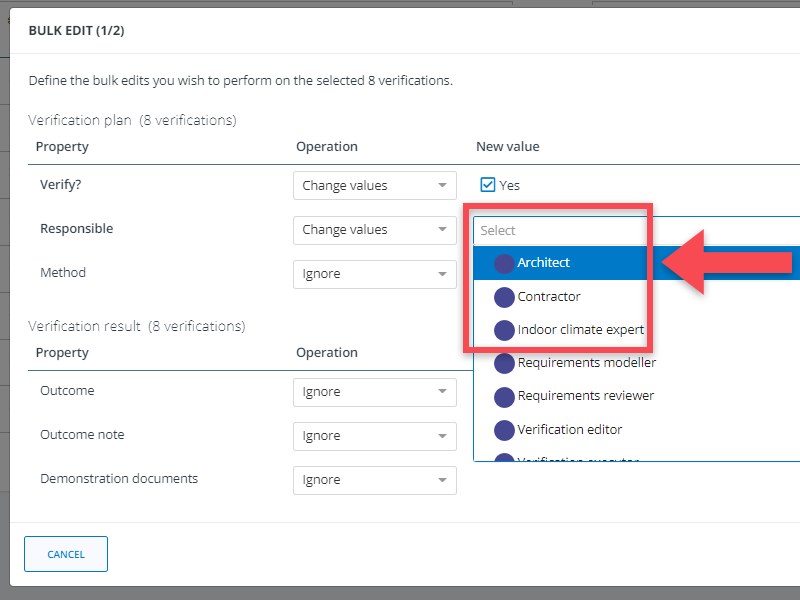
In case you have selected Change values for a property, the next step is to define what value you want to have. See below for an example.
When you are done with defining your edit actions, click on the next button to go to the confirmation screen.
Step 3: Confirm bulk edit
In this screen, you get to see an overview of the edits that you are about to make.
For each edit, you will see to how many requirements or verifications it is applied. Furthermore, you see both the present value and the new value it will get once you have applied the bulk action.
See the example below:

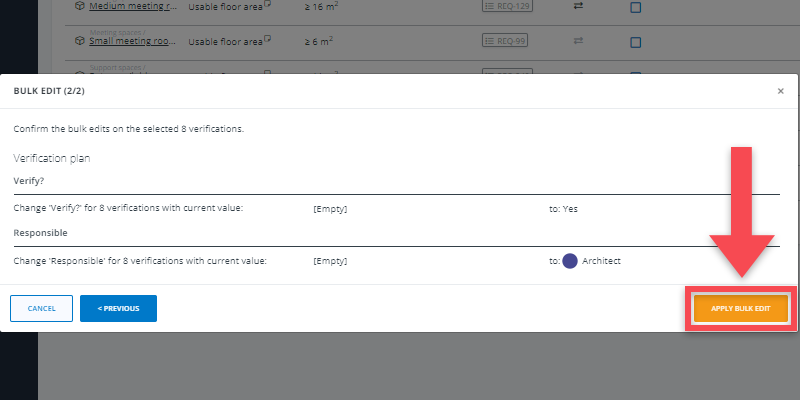
The screen above tells you that you are about to make the following edit:
You are making the Architect responsible for 8 verifications, for which there is currently no one responsible actor (Value = [empty])
In this particular case, you may notice that this automatically means that you will get 8 verifications in your model (the answer to the question Verify? goes from [empty] to Yes).
NB. If you are not happy with your selection, you should click on the cancel button or the previous button.
Step 4: Apply bulk edit
Once you have reviewed the planned actions — and have ensured that you are happy with them — you can click on the button apply bulk action.
The processing of this action may take some time, depending on how bulky your bulk action is. When finished, you will get a message that says operation has been completed.
Summary
The bulk edit is a powerful feature for edit large amounts of analysis and/or verification data. Please be careful however in selecting the data you want to edit as this action is irreversible.