
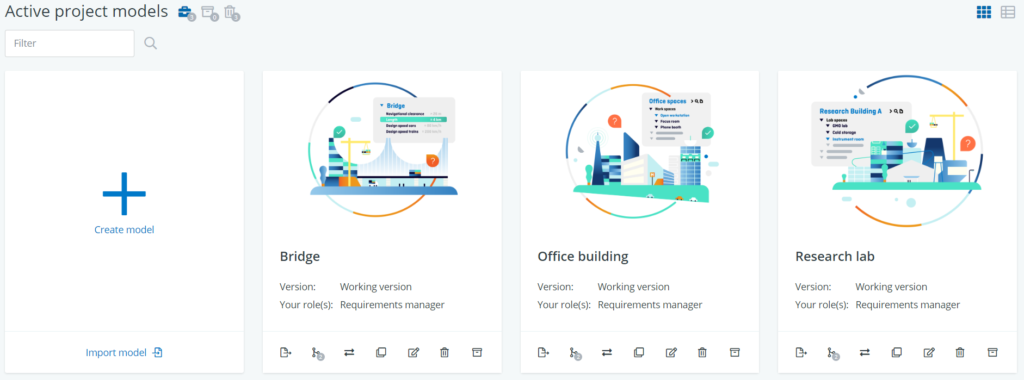
In your company environment you can see an overview of all the models for which you have viewing and/or editing rights.
This is the place where you can access, create, delete, clone and publish models (depending on the role that you have). Administrators can also view and restore backups here.
Creating new models
Want to create a new project model? Watch our quick guide video or read the text below.
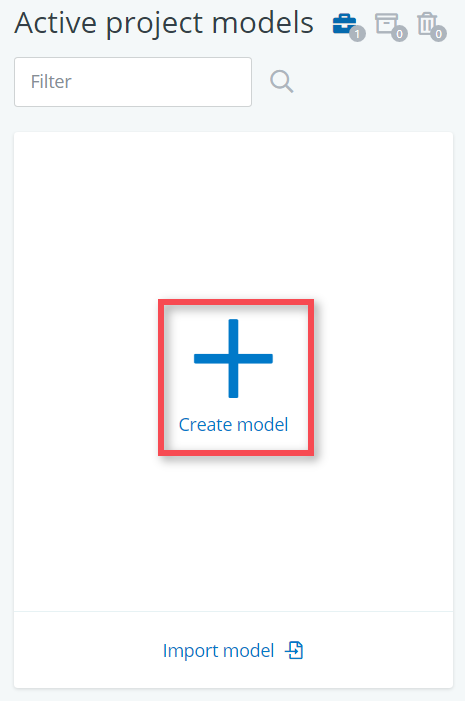
If you want to create a new model, click on the icon right above Create model.
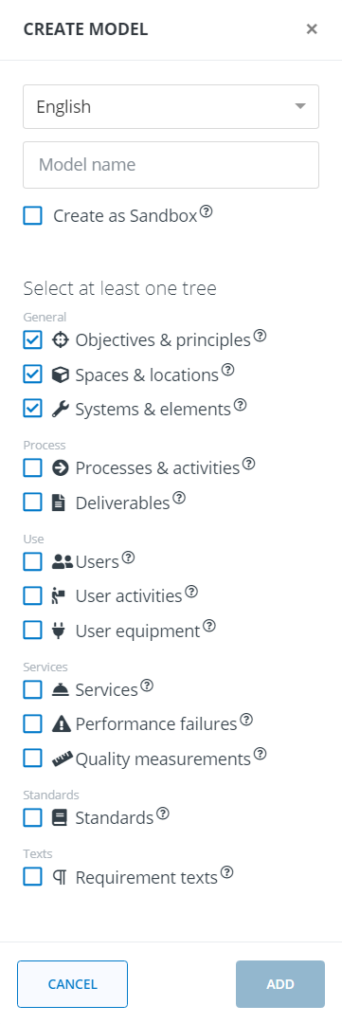
A new window will pop up where you will be able to
(1) Choose the language for the project.
(2) Put in a project name (which has to be unique).
(3) The option to create the project as a sandbox project.
(4) Select the trees you wish to use for your project.
Click on Add to add this new project model to your ‘Active Project Models’ list. It will appear first in the list.
Actions for models
Behind the name of each model (version), there is a series of controls visible (for users with edit rights). Each represents a different action. If you hover your cursor over the symbols you will be able to see what you can use them for.
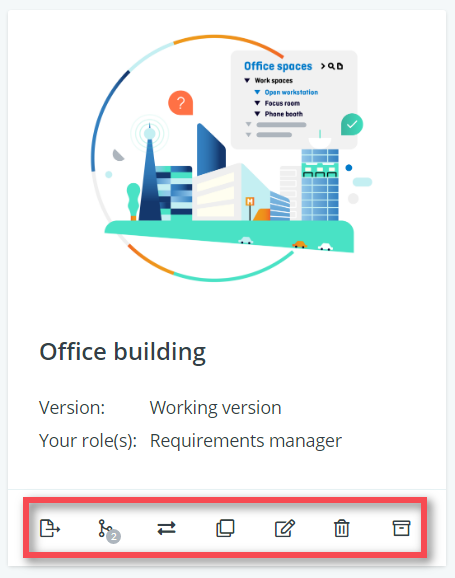
Below, we will explain the main actions for a project.
Exporting
By clicking on the Export button, you will be able to create an export of your entire project model. A pop-up window will allow you to choose a format (JSON, XML or Excel) as well as what data to include (analysis, verification, RFC, etc.).
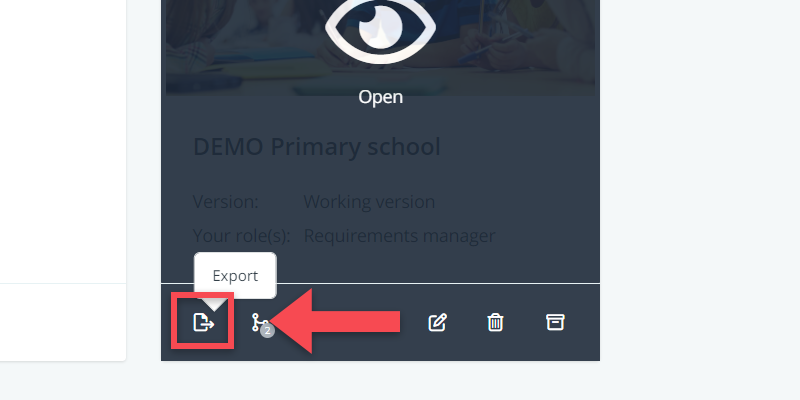
You can use this export to easily upload a project model to a different BriefBuilder environment. It is not meant as a backup or storage mechanism, however. If you want to know more, please refer to this article about exports.
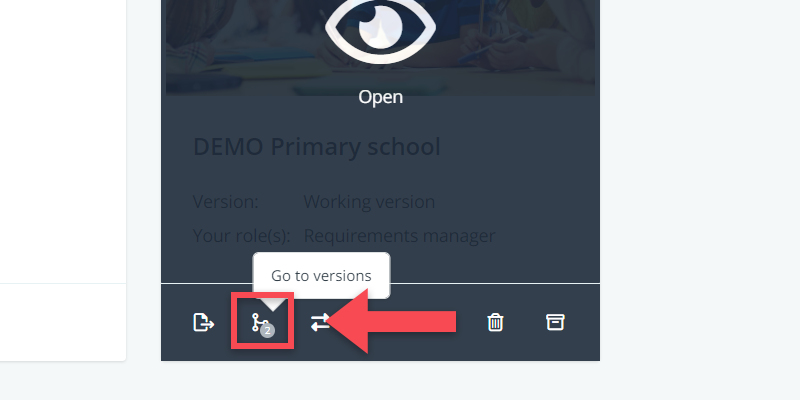
Versioning
By clicking on the versioning button, you get an overview of the different versions of the model. That’s also the place where the requirements management can create and publish new versions.
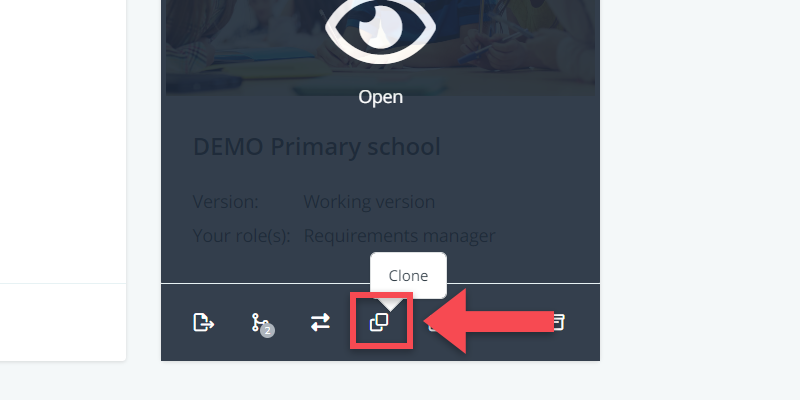
Cloning models
Projects can be cloned to create new models. This is particularly relevant if you have developed a template or library model (e.g. “Template for schools”) that you want to use as a basis for specific project models (e.g. “School ABC”).
To clone a model, click on the clone symbol in the project model’s task bar.
A new window will pop up where you will be able to put in the cloned model’s name.
Click Save to clone the model under its new name. You will be instantly transported to the Project Homepage of the cloned model.
Editing a model’s name
To edit an existing model’s name, click on the edit button in the model’s task bar.
A new window will pop up where you will be able to edit or change the model’s current name into a different one.

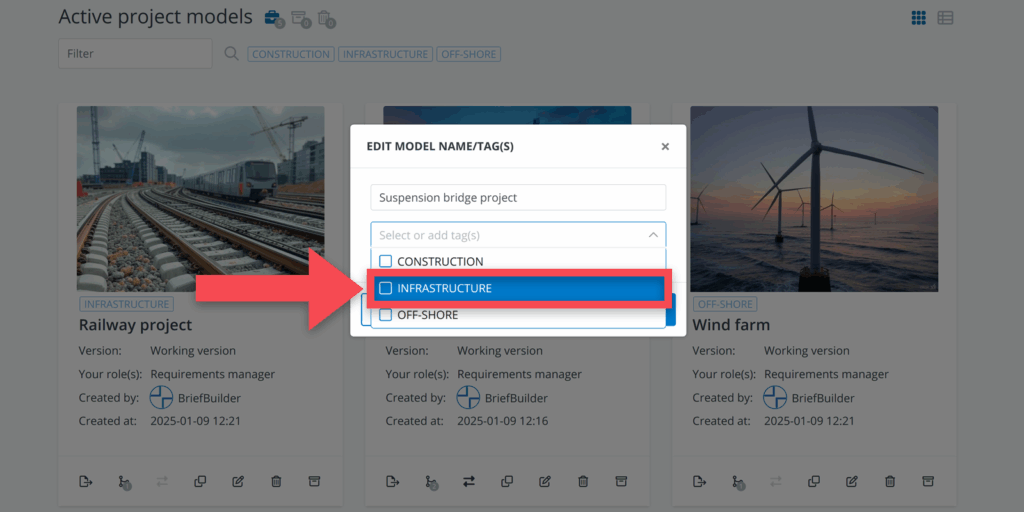
Adding project model tags
When working with multiple project models in your environment, you might want to categorize these by means of tags.
You can add, edit or remove them by clicking on edit model name. In the pop-up window you can edit the tags.
Deleting models
If you want to delete (or restore) a project model, watch our quick guide or read the text below.
To delete models, click on the in the model’s task bar.
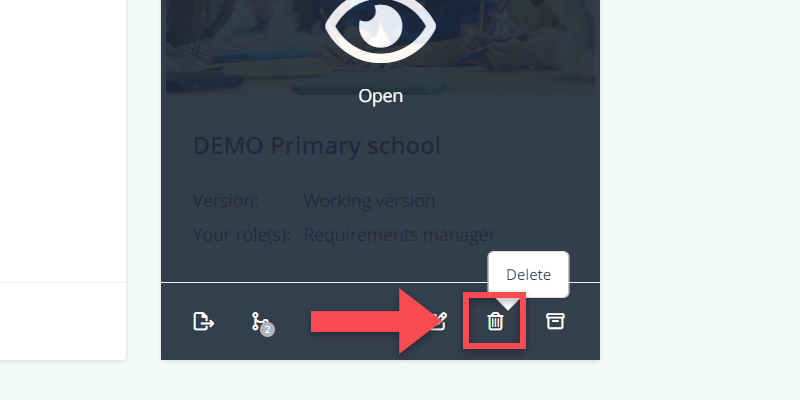
A new window will pop up asking you for confirmation of the model’s deletion. Click delete to confirm. The model will be removed from the model overview and you will no longer be able to view it.
Archiving models
To archive a model, click on the icon in the project’s task bar.
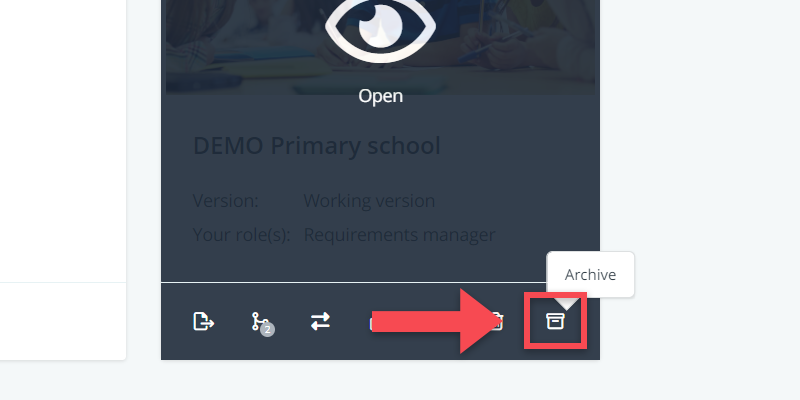
When you archive a project, it will be moved to the archive section in the model overview. There, the model will no longer be editable. All account rights will be revoked.
Your administrator can easily restore archived models by clicking on the icon in the model’s task bar.