
When working with the Spaces & locations tree in BriefBuilder, you can calculate quantities for items that are related to spaces, outdoor spaces and segments.
In building projects, one of the most essential quantity calculations concerns the size of the project in terms of square meters/feet, but you can also think of calculations concerning the bed capacity of a hospital, or—at a later stage— the required number of power sockets or furniture items for a project.
Likewise, for infrastructure projects, quantities may concern things like the total number of platform doors for a new metro line or the total length of cable corridors required for energy projects.
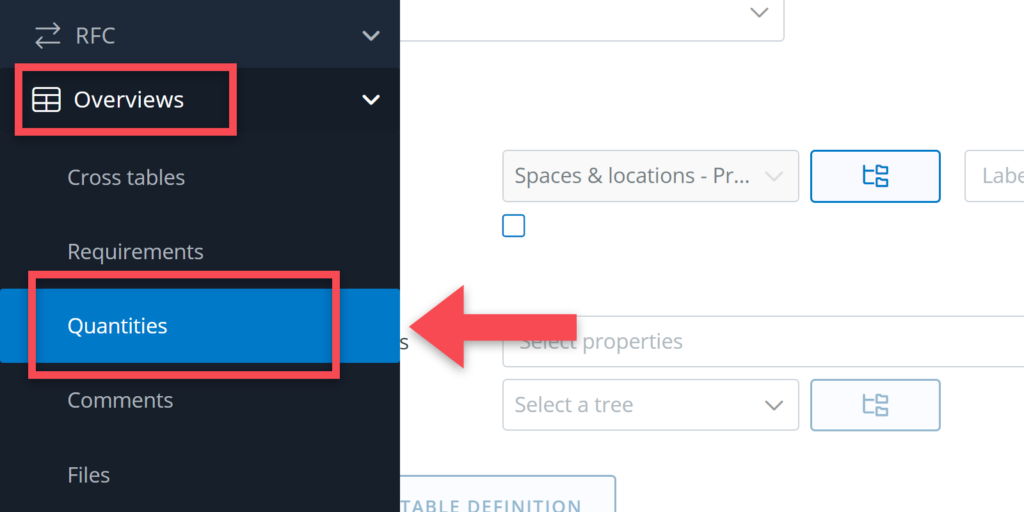
In BriefBuilder, you can easily make (and save) such calculations with the Quantities feature that can be found in the main navigation menu, under the menu item Overviews.
In this article, we will explain how this feature works.
Creating a quantity table
When you click on Quantities in the menu, you will be directed to a selection page where you can perform two actions:
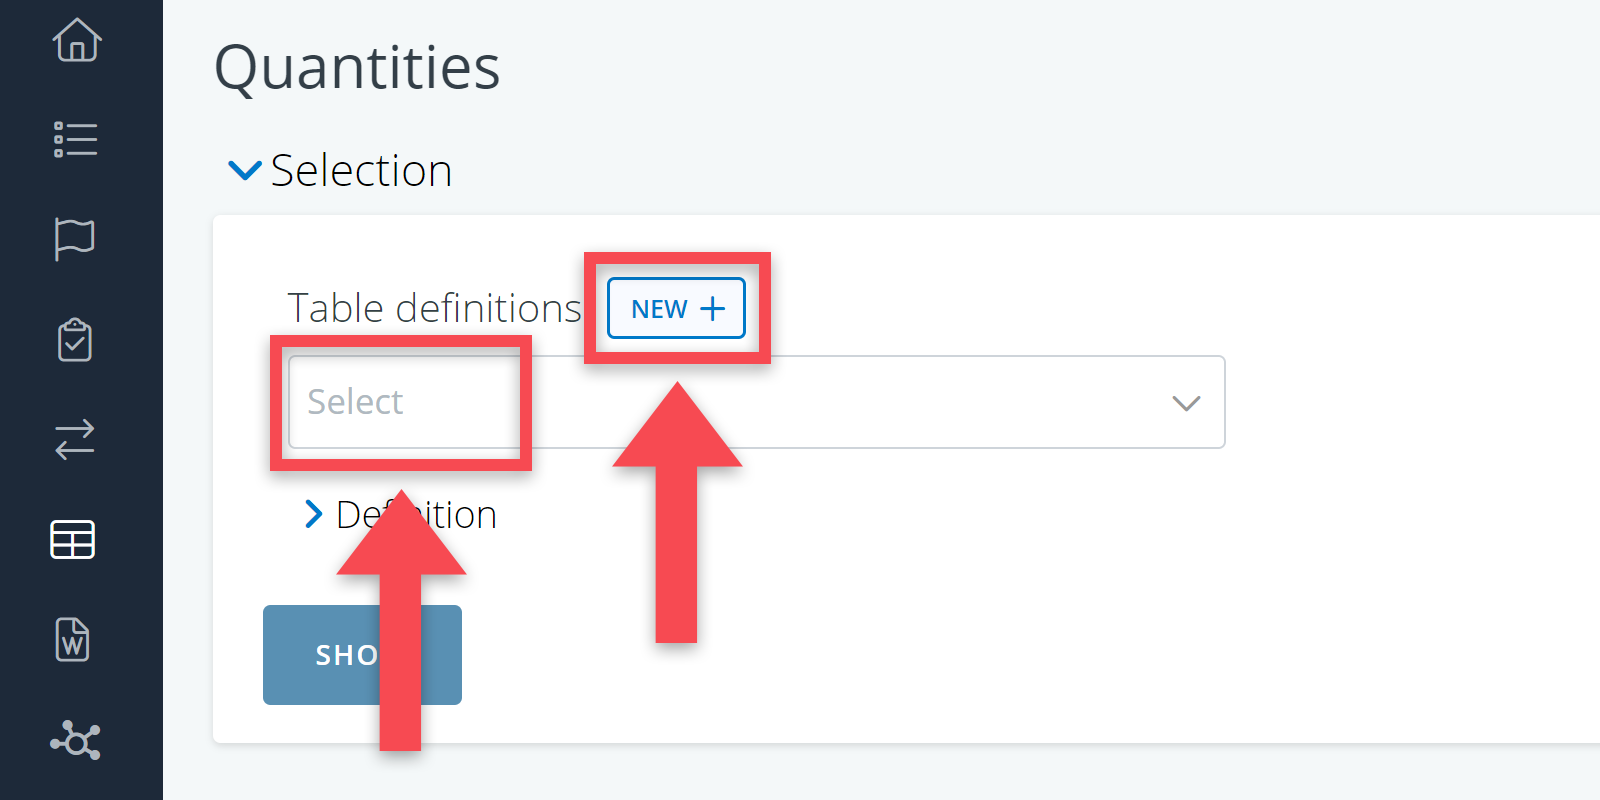
- Select a predefined table definition (made by you or another project participant);
- Create a new quantity table.
Creating a table definition
To create your own new quantity table, click on the New button.
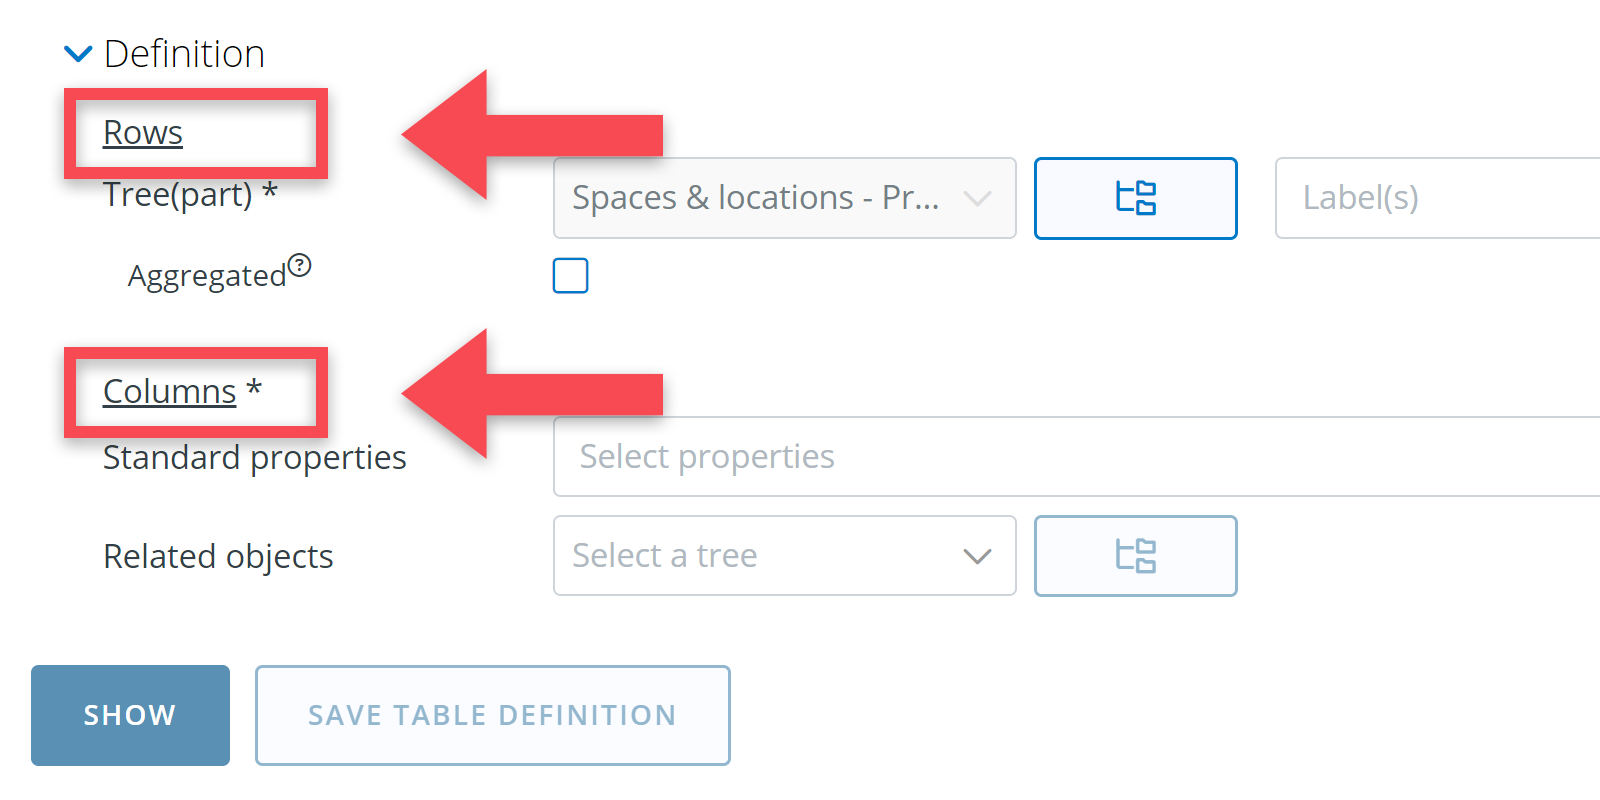
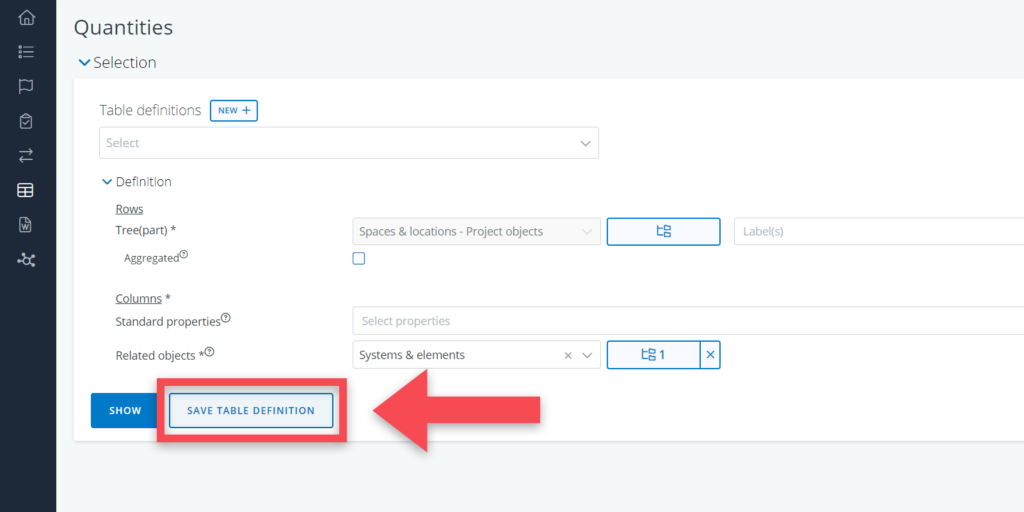
When doing so, you will see a selection screen in which you can define the set-up of your calculation table:
- For the rows, the Spaces & locations tree is the default selection (because the spatial entities in BriefBuilder are the main ‘carrier’ of requirements).
- For the table’s columns, you can select standard properties and/or related objects, depending on what kind of quantities you want to calculate in your table.
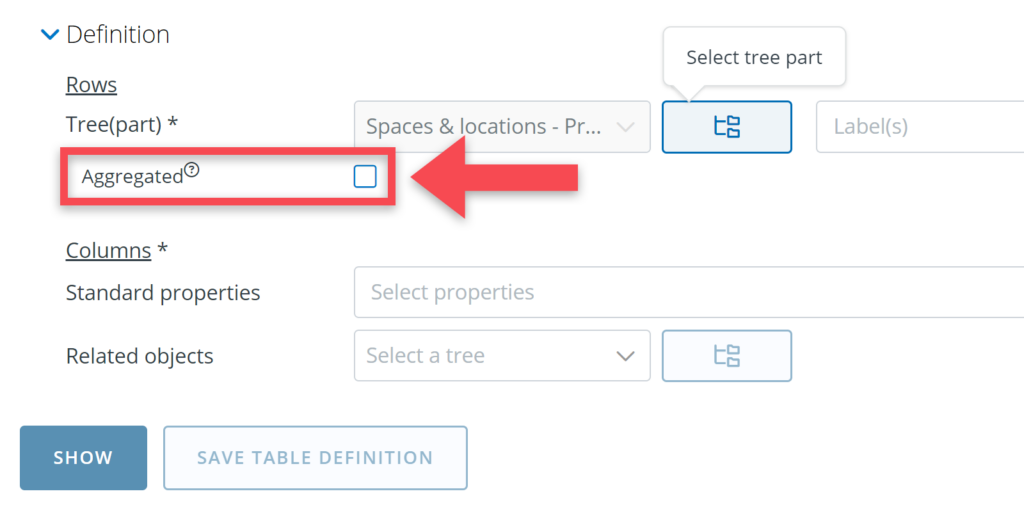
Selecting the table’s rows
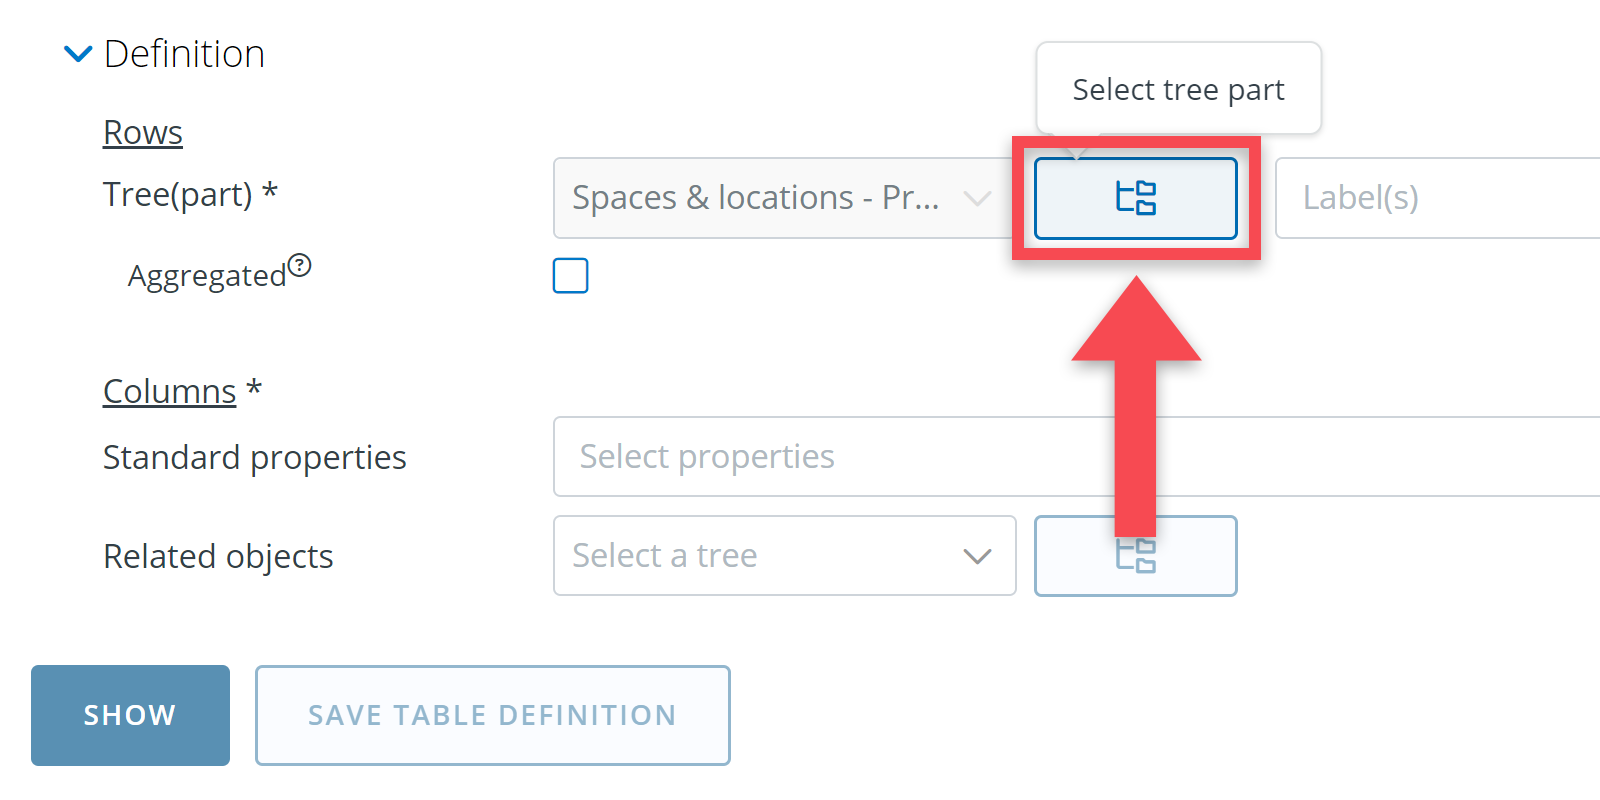
As said earlier, the Spaces & locations tree is the default select for the rows of your calculation table. You can narrow this selection further down by using the Select tree part button (e.g. to select only a particular part of your project)
Also note that if you are using object labels and typicals in your model, these can be used to further narrow your selection as well, e.g. selecting only a particular type of spaces.

Selecting the table’s columns
The next step is to decide what the properties and/or related objects are for which you want to calculate the quantities.
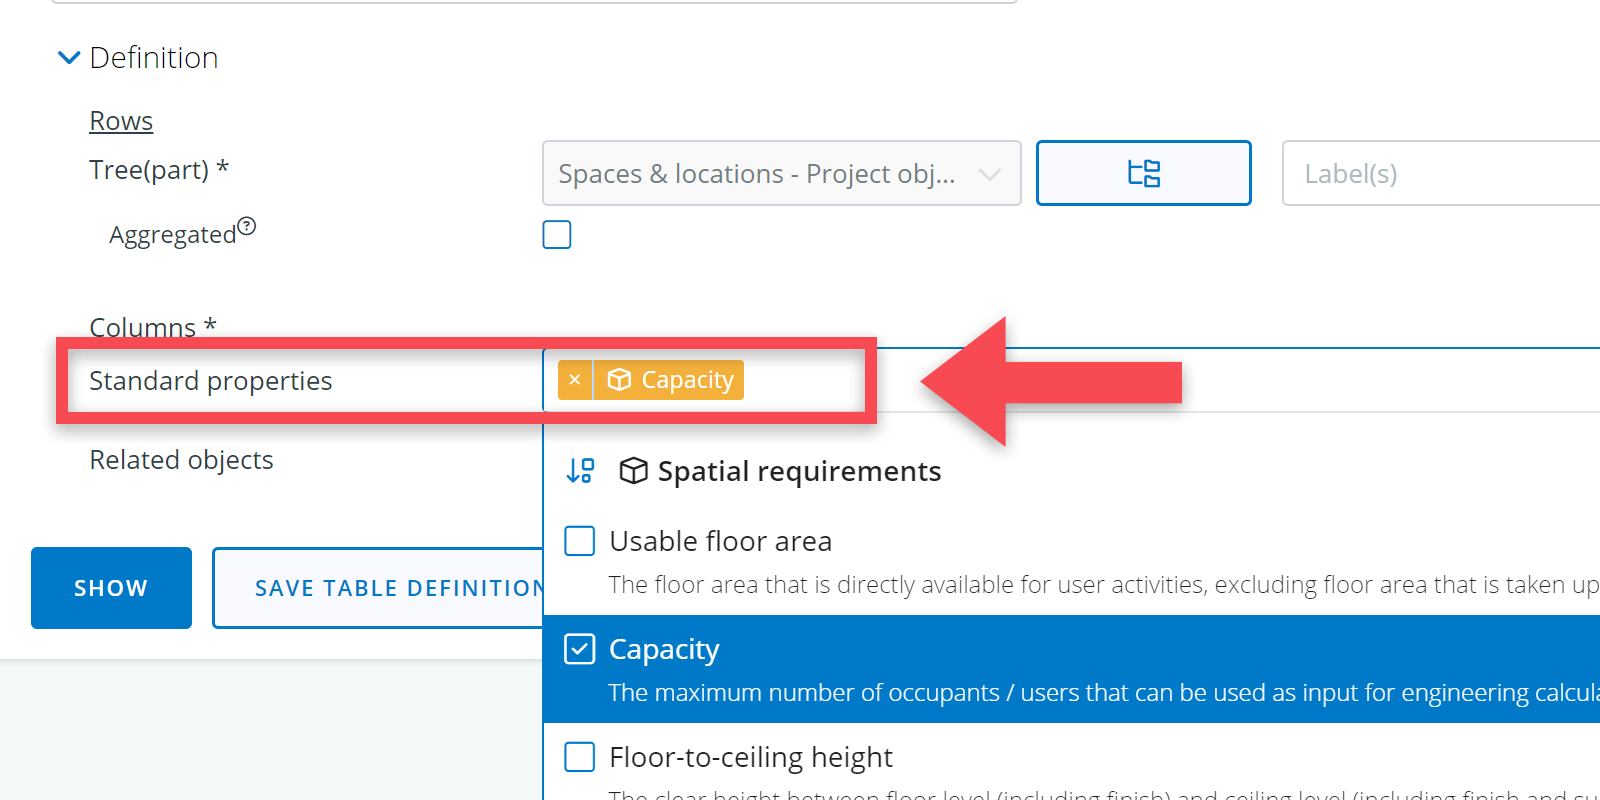
Standard properties
For the standard properties, you can select only those properties that, by definition, can have quantitative values. This means that, in the settings menu, the input type for that property must be set to ‘integer’ or ‘decimal number’.
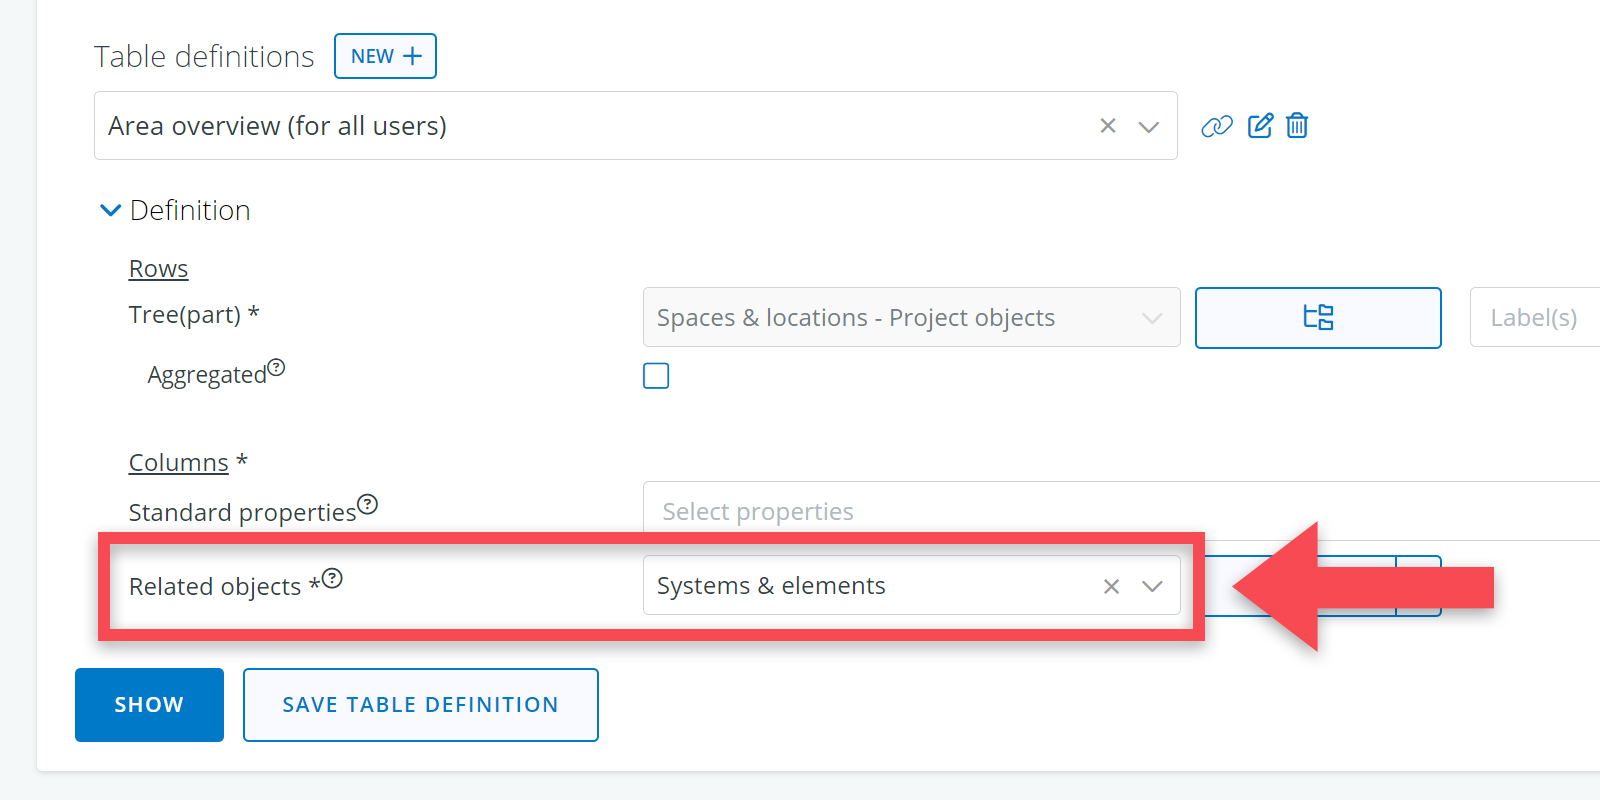
Related objects
For related objects, you can select objects that have to be placed/accommodated in a space or segment. These are either spatial elements, equipment items or users.
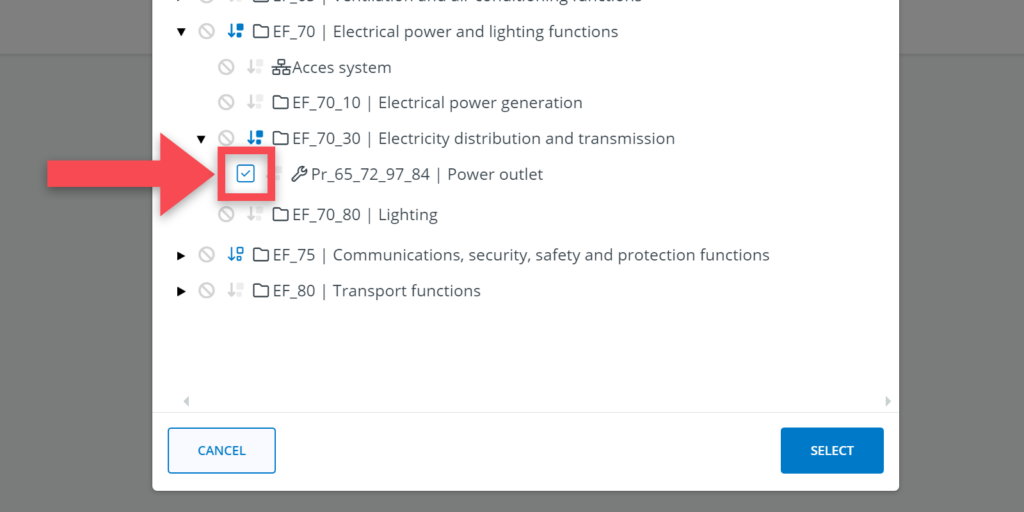
To select these, you first have to select the relevant tree and then the specific objects by using the Select tree part button.
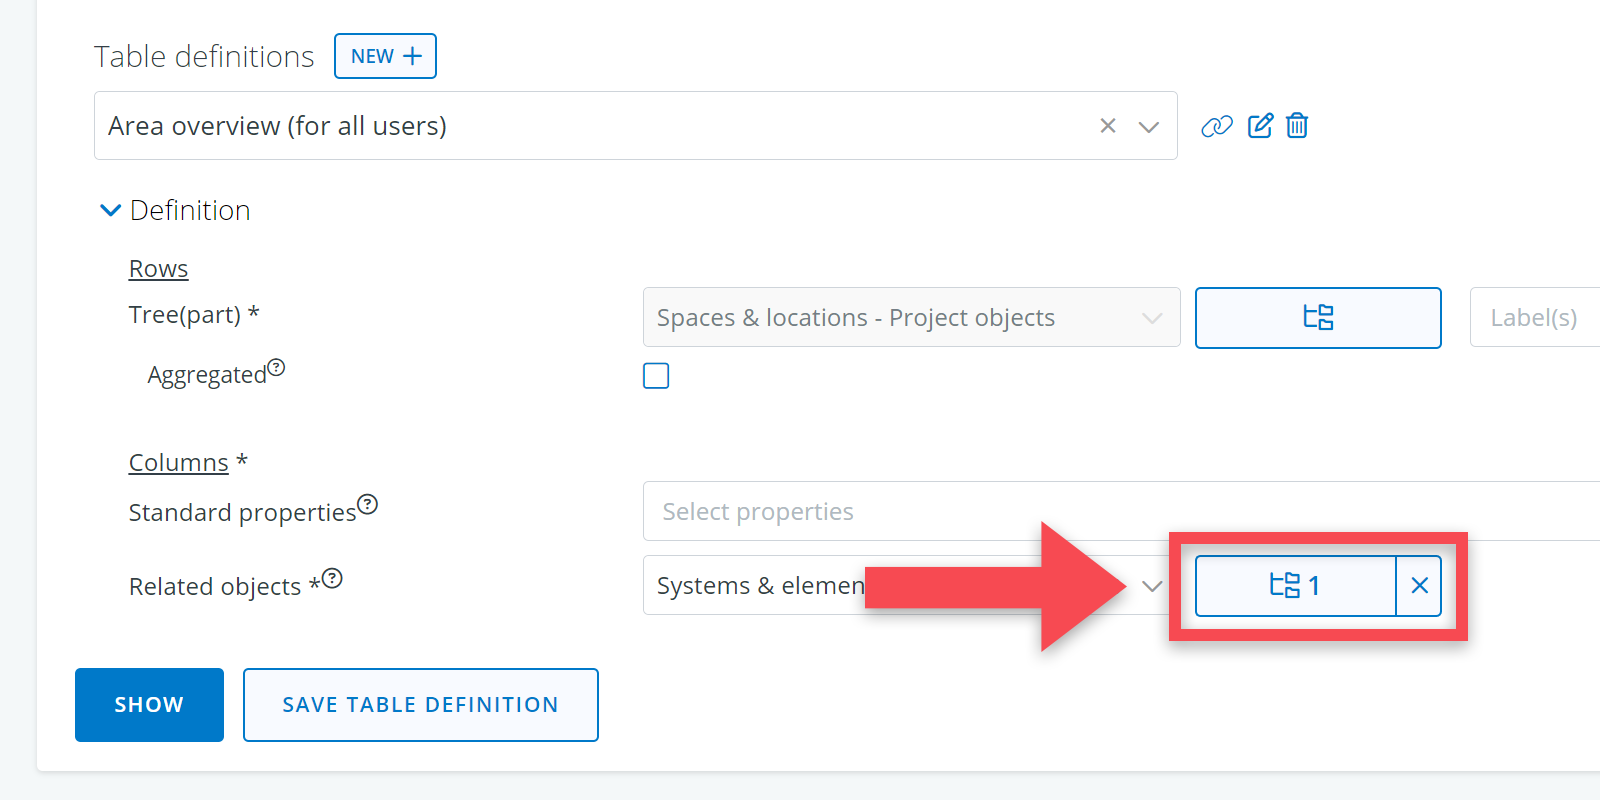
Don’t forget to select the specific objects for which you want to calculate the quantities by using the ‘Select tree part’ button.
Layout of the quantity table
Once you have made your selections. you can click on Show to see the relevant quantities.
In the first two columns, you always see the spatial decomposition of your project (or a part of it) and the quantities of the spatial objects. These quantities will often concern spaces (as in the example below), but note that also groups of buildings may have a quantity.

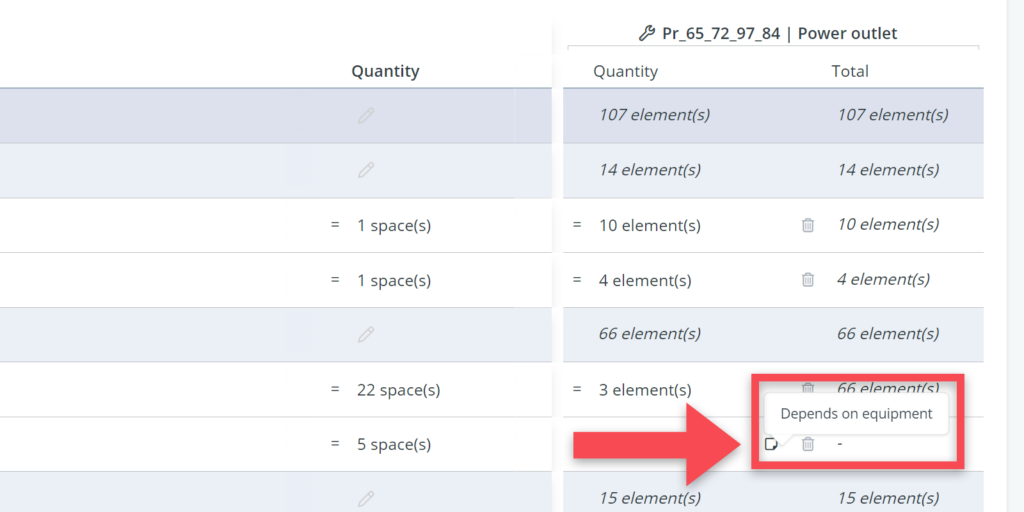
In the columns next to that, you see two columns with the calculated quantities for the selected standard properties or related objects. Which property or object it concerns, is visible from the column header. See the screenshot below that shows a calculation of the number of power outlets.
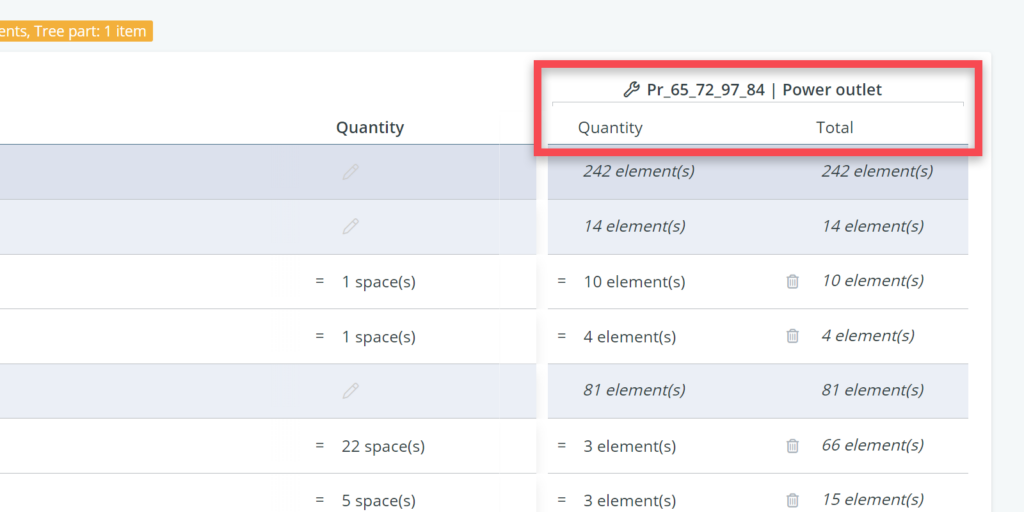
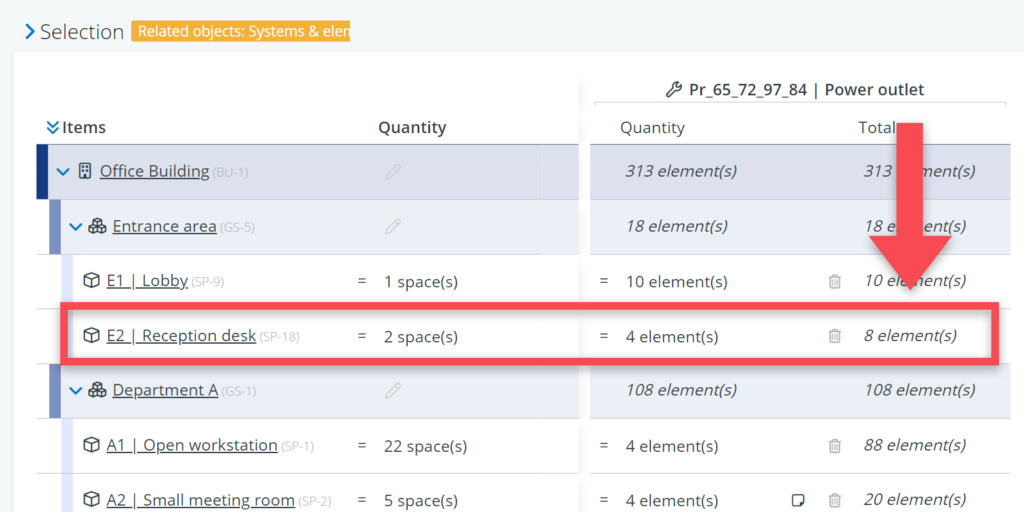
The first of those two columns (Quantity) shows the quantity per spatial entity. The second column (Total) shows the calculated total quantity. A simple example: in the screenshot below, you can see:
- There are 2 reception desks in the entrance area.
- Each of these should have 4 power outlets.
- This means that the calculated total number of power outlets is 8.
Saving your quantity table
Once you have defined your table set-up, you can save it for later use. For this, you have to click on the button Save table definitions on the selections page.
Depending on your role and its permissions, you choose to save the table definition for your own use or for it to be accessible to all the model’s users.
For the latter, you have to check the box Visible for all users of this model.

A more general explanation of table definitions can be found here.