
It can be practical to have the data of a BriefBuilder model available in an Excel format. This article will explain how you can export data from BriefBuilder to Excel.
There are three kinds of Excel exports in BriefBuilder:
- Excel exports of trees
- Excel exports of the main tables (verification, analysis, …)
- An Excel export of the entire model
A brief explanation of each will be provided below.
Excel export – trees
For each tree in BriefBuilder (spaces & locations, systems& elements, etc), you can find a small Excel icon in the top menu (see screenshot below) that you can use to export the objects of that tree to Excel.

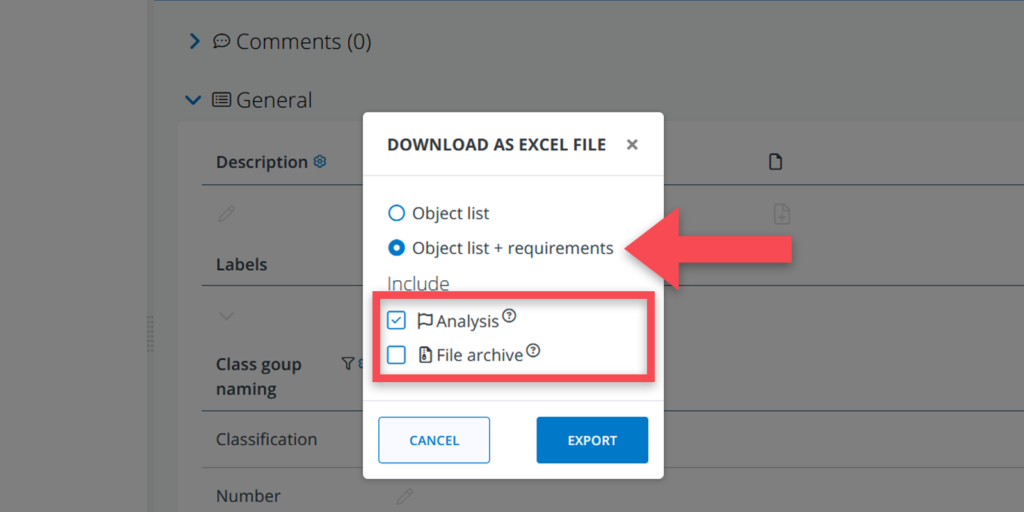
When making this export, you have two options for the data that should be included:
- Object list
- Object list + requirements

The Object list option will provide you with the tree objects plus their main identification data. It includes:
- Object name
- Object name prefix
- Object ID
- Object type
- Instance of (typical) (only for spaces and segments)
- Labels
The Object list + requirements option includes the same information as above, plus all the requirements per object. It includes:
- Classification / numbering properties
- Requirement properties
- Relations to other objects
Excel export – main tables
The main tables in BriefBuilder (i.e. cross tables, verification table, analysis table, Risk & Action tables, RFC table, IFC comparison) can also be exported as Excel files. You can do this by clicking the Excel export icon , positioned at the top of the page, next to the table’s name.

Clicking it will instantly trigger the download. The downloaded Excel file will be placed in your downloads folder.
Excel report – full report
If you want a full export of the project model, you have to navigate to the ‘model tile’ on the project overview page.
On the model tile, there is an export button () at the bottom. See screenshot below.
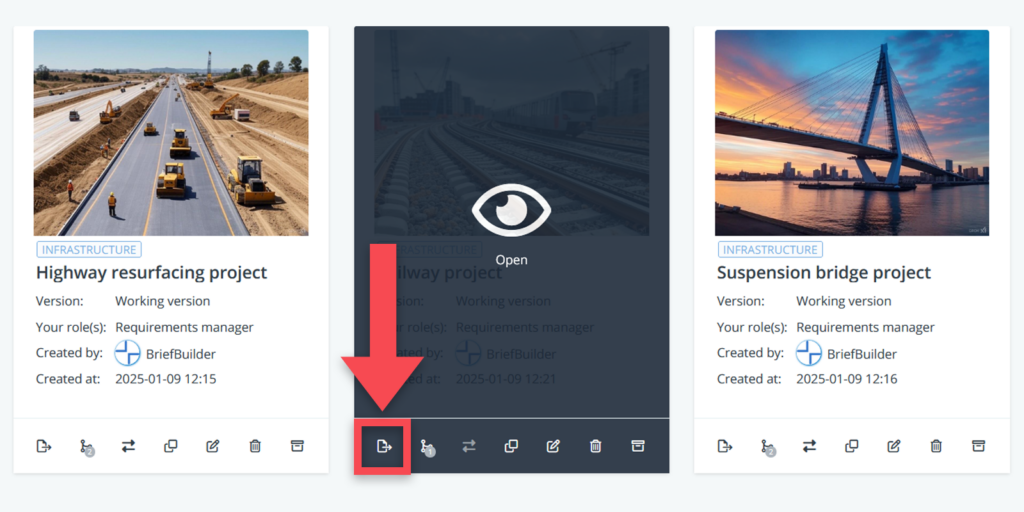
When you click on that export button, you will get to see a pop-up window asking you what format you want your export to be in:
- JSON
- XML
- Excel
In this case, you have to choose Excel.

You are also able to determine what kind of data you want to export from your project model. You can choose to include or exclude IFC data, analysis data and verification data. There is also the option to download all uploaded files separately in a ZIP-file.
