
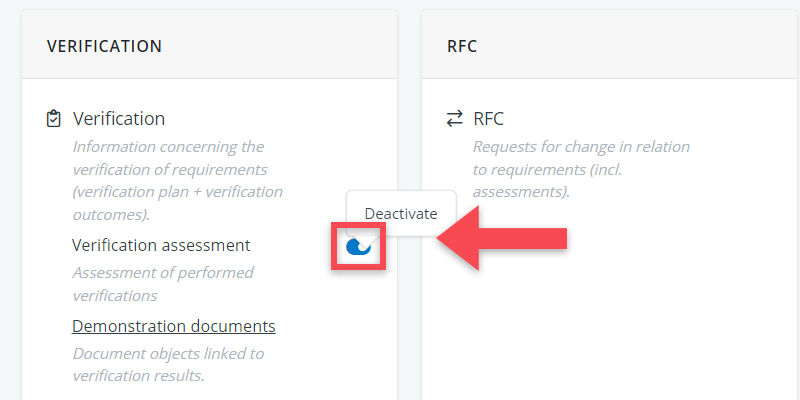
Verification assessment is the process of reviewing and/or approving verification outcomes. It is an extra check, following the ‘four eyes principle’, to ensure the validity and accuracy of the verification outcomes. Typically, it is the design team’s quality manager and/or the client’s project manager that does the assessment.
Such assessments usually look at two things:
- The quality of the verification: have the specified verification methods been applied correctly? Have outcomes been properly documented?
- The outcome itself: does the verification indicate that the relevant requirement has been fulfilled?
Based on these evaluations, the verification outcomes may either be accepted or rejected.
This will be particularly relevant for the more critical requirements. For example: if a client has formulated ambitious requirements concerning a project’s CO2-footprint, it makes sense to conduct an extra check on the related verification results and verification documentation before accepting the outcomes.
This part of the model can also be used to define follow-up actions. Specifically in cases where outcomes are rejected, certain actions are likely to be taken, such as:
- Re-verification: if a verification was not properly executed;
- Design adjustment: if there were flaws/errors in the design;
- Request for change: if a requirement proved to be flawed, unclear or unfeasible.
The option to include follow-up actions is not part of the standard BriefBuilder setup, but such functionality can be easily added through the settings menu by adding more assessment properties.
In this article, we will address the practical aspects of verification assessment.
Where to find (and edit) the assessments?
Just like all other verification information, the assessment details can be accessed in the verification table, on the verification dashboard, and in the detail views of objects.
Verification table
The verification table is located in the main menu, under the verifications header.
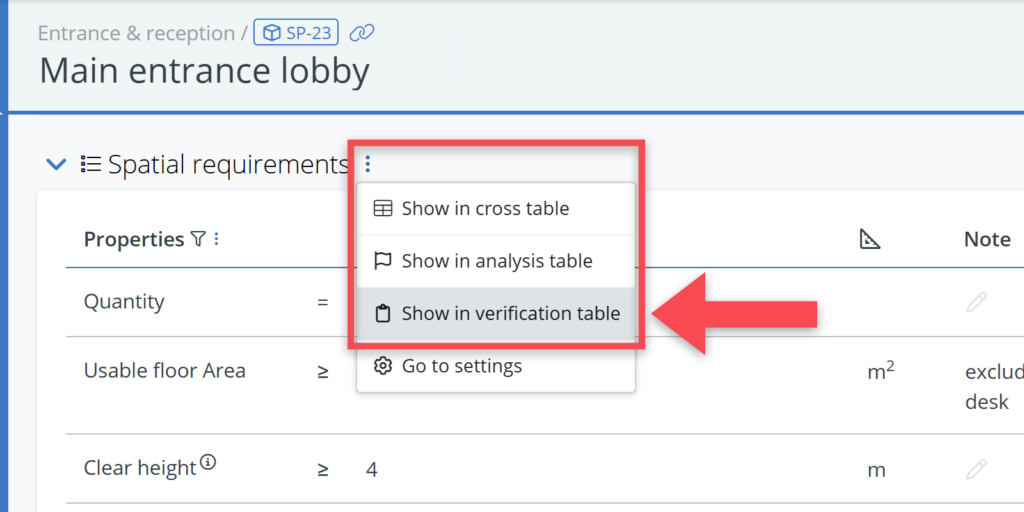
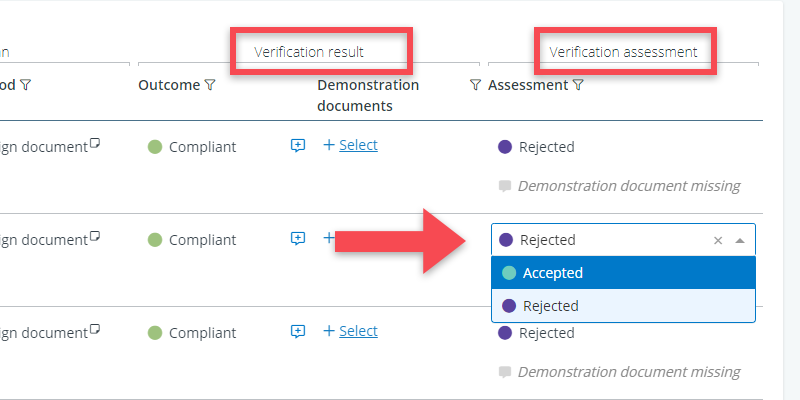
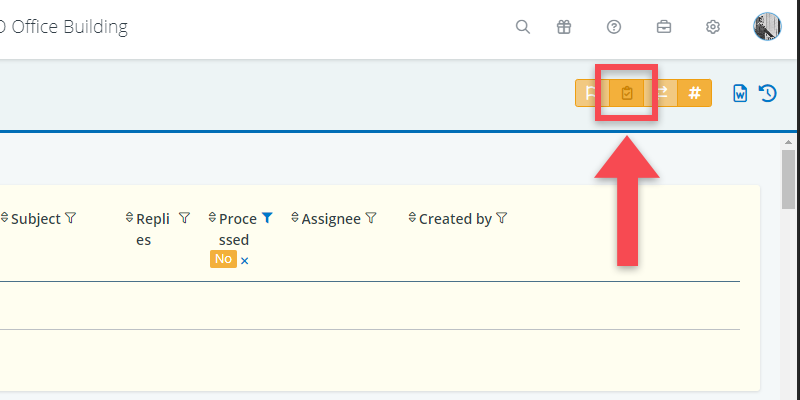
In the table, the assessment column(s) can be found at the far right, next to the verification result columns. The specific columns displayed will vary based on the verification set-up of your project.
Verification dashboard
The verification dashboard can be accessed in the same part of the navigation menu as the verification table: Navigation menu > Verification > Verification dashboard.
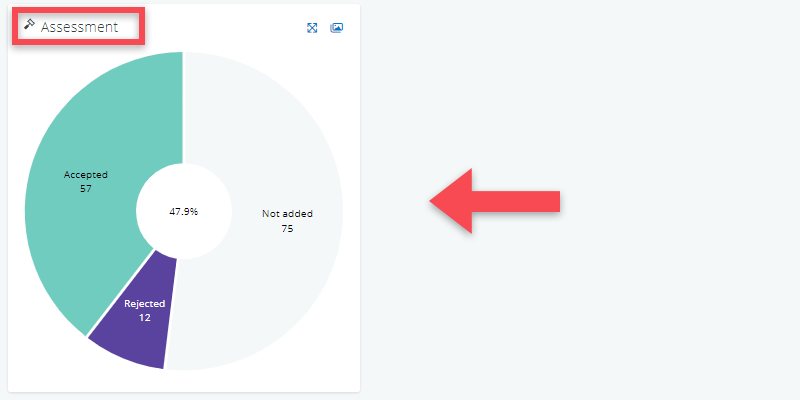
On the dashboard, all assessment properties are displayed as pie charts, which can be downloaded as images.
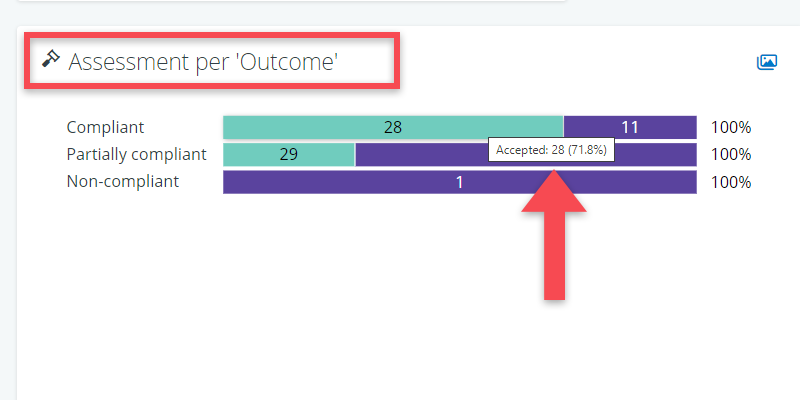
In addition, there is a bar chart that indicates the assessments per verification outcome category. So, per outcome category (e.g. compliant, not-compliant), the chart shows the assessment (e.g. accepted or rejected). In that way, you can easily check whether e.g. the compliant outcomes are accepted as such. See example below.
Detail view
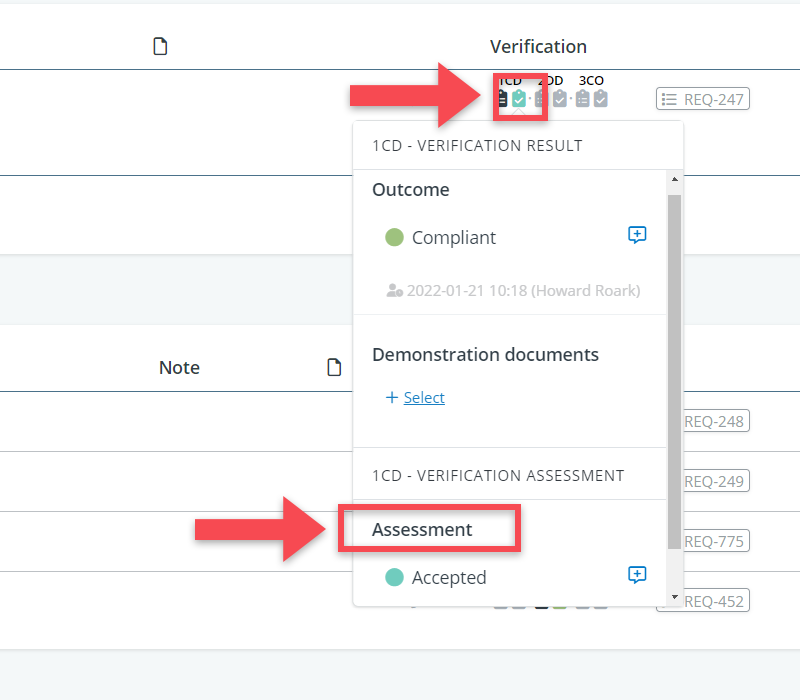
On the detail view of an object, verification information is shown when you click on yellow verification button displayed in the upper right corner of the detail view (the button with the icon). See image below.
After clicking on the verification button, two kinds of icons appear behind each requirement:
- A verification plan icon ()
- A verification result icon ().
To access the assessment field(s), you need to click on the verification result icon. The assessment field(s) are located at the bottom of the pop-up, as can be seen in the image below.
Assessment settings
Defining the relevant properties and values (i.e. accepted, rejected) for assessments can be done via the verification settings menu. To adjust the set-up, follow these steps:
(1) Navigate to the verification part of the Attributes settings menu in the navigation bar.
(2) Click on Verification assessment and then on the property table.
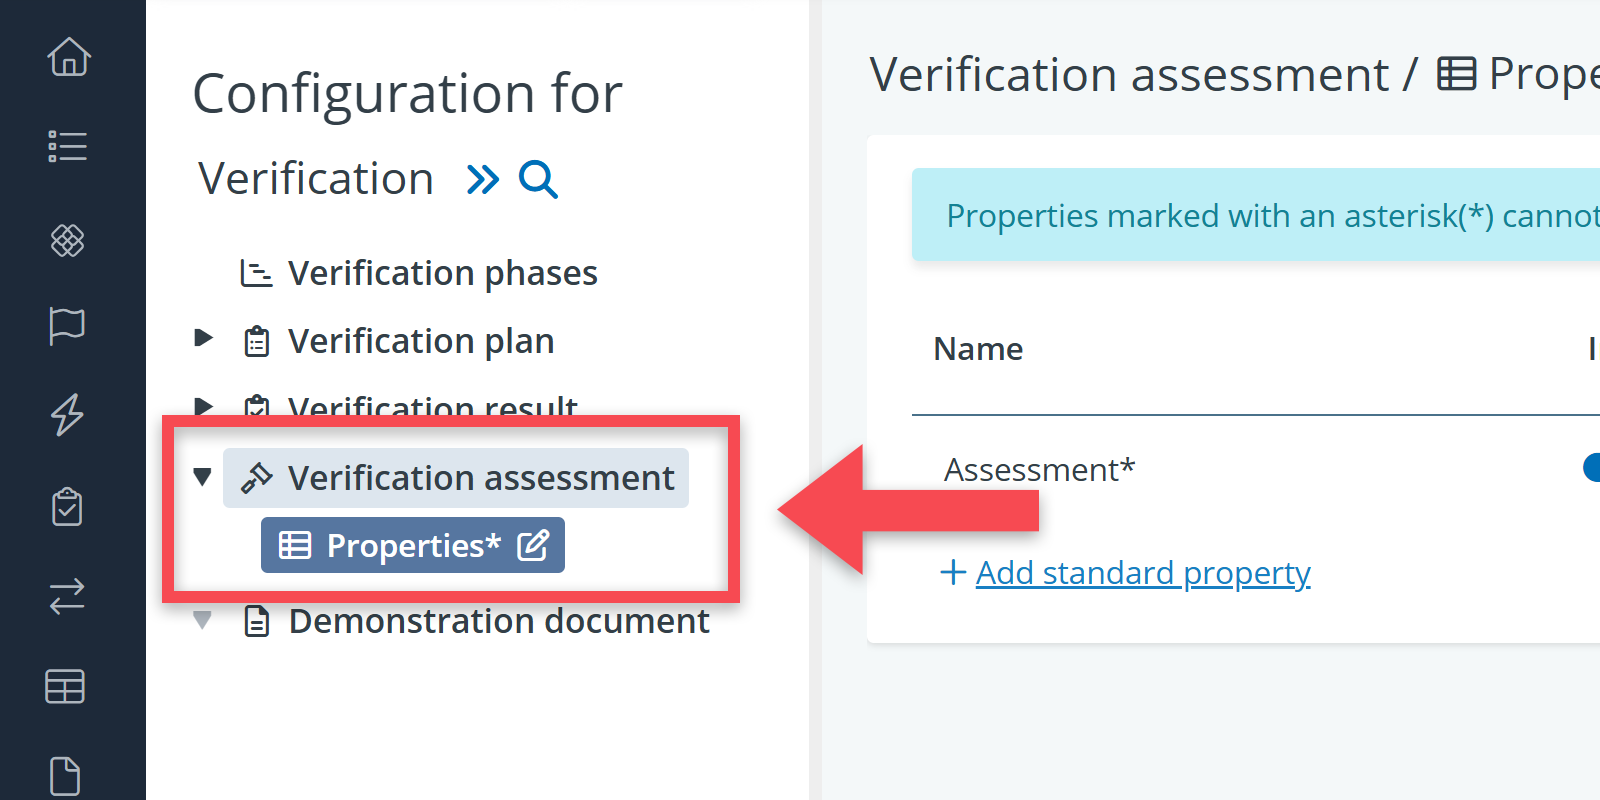
(3) Choose Verification assessment as the object type and select the property table underneath it.
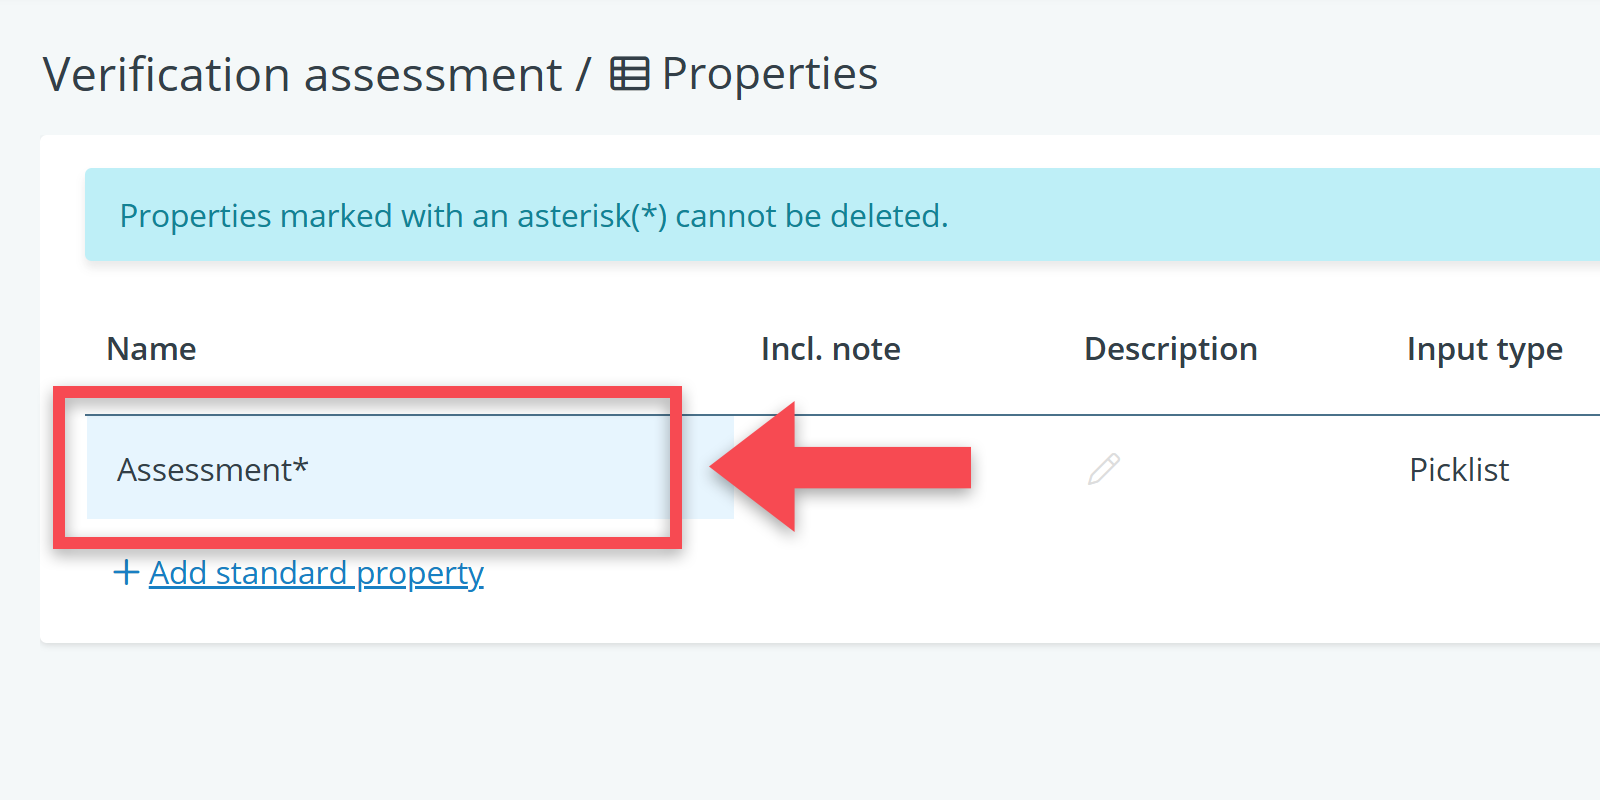
When clicking on the contents of the property table on the right side of the screen, you can do the following actions:
Modify the name of a property
Simpy click on the property’s name to change it.
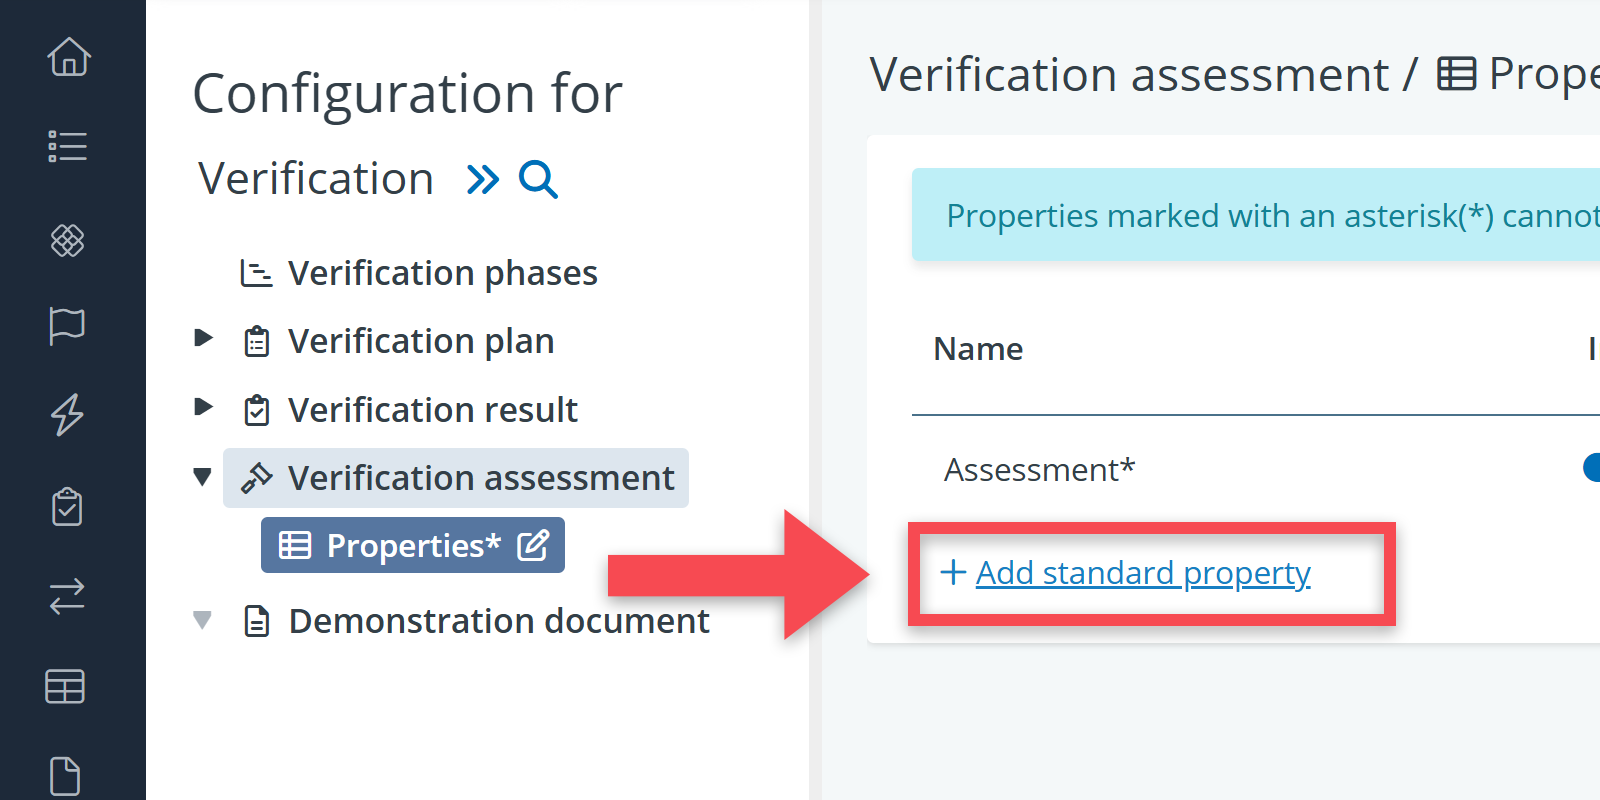
Add an extra assessment property
Click on Add standard property to include extra properties, such as ‘follow-up action.’
Create picklists for values
Select picklist as the input type for a property to create picklists.
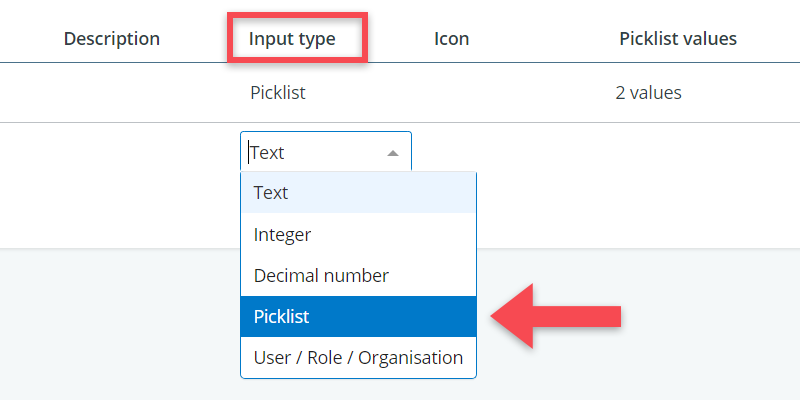
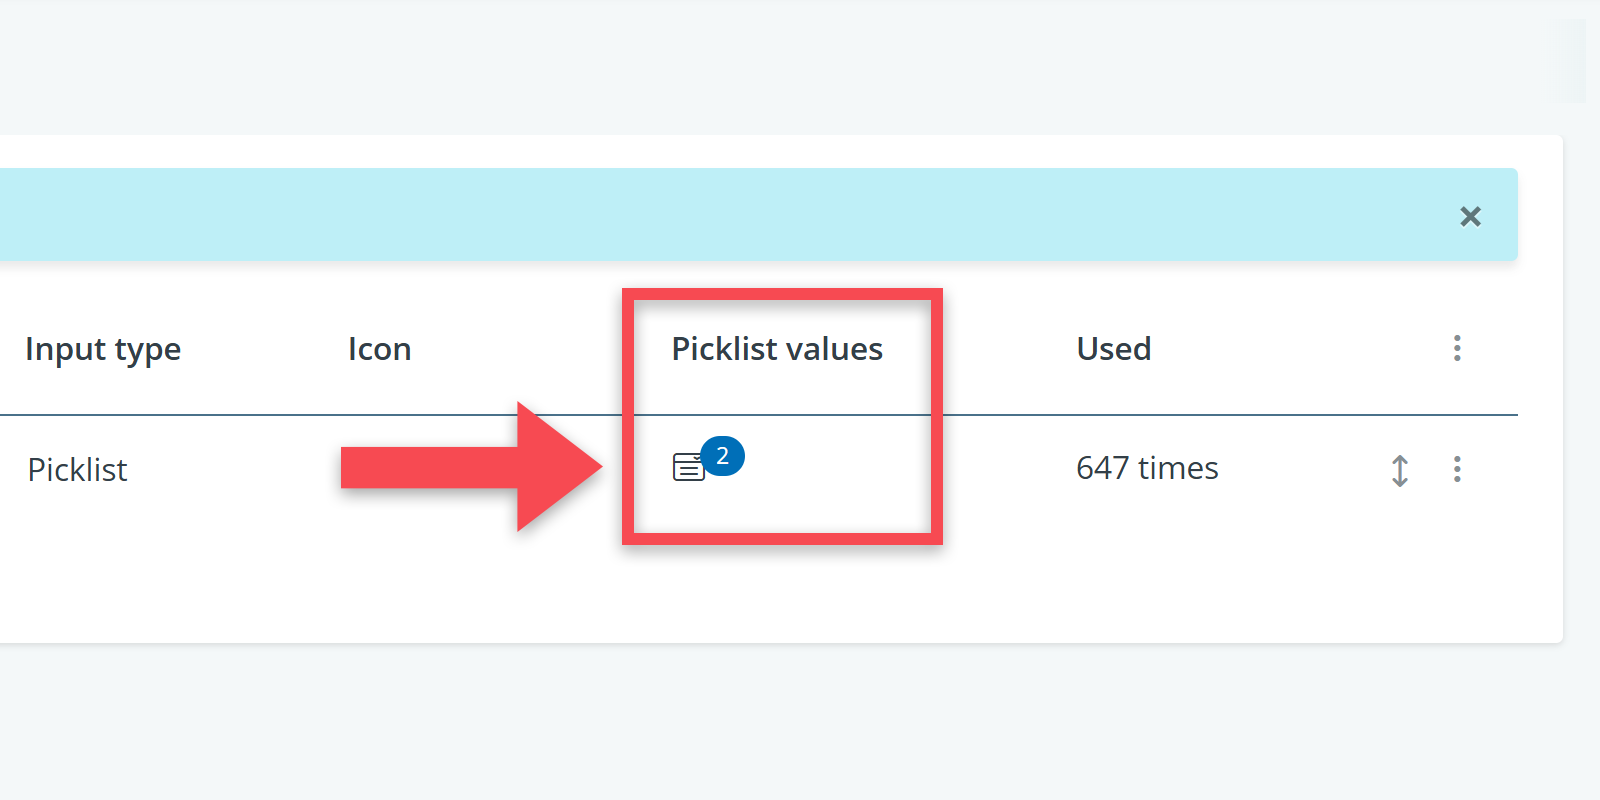
Change picklist values
To add or change values for picklists, click on the picklist value field.
Assessment permissions
The permissions related to the assessment of verification outcomes are managed in the roles menu, which can be accessed in the settings section of the navigation menu.
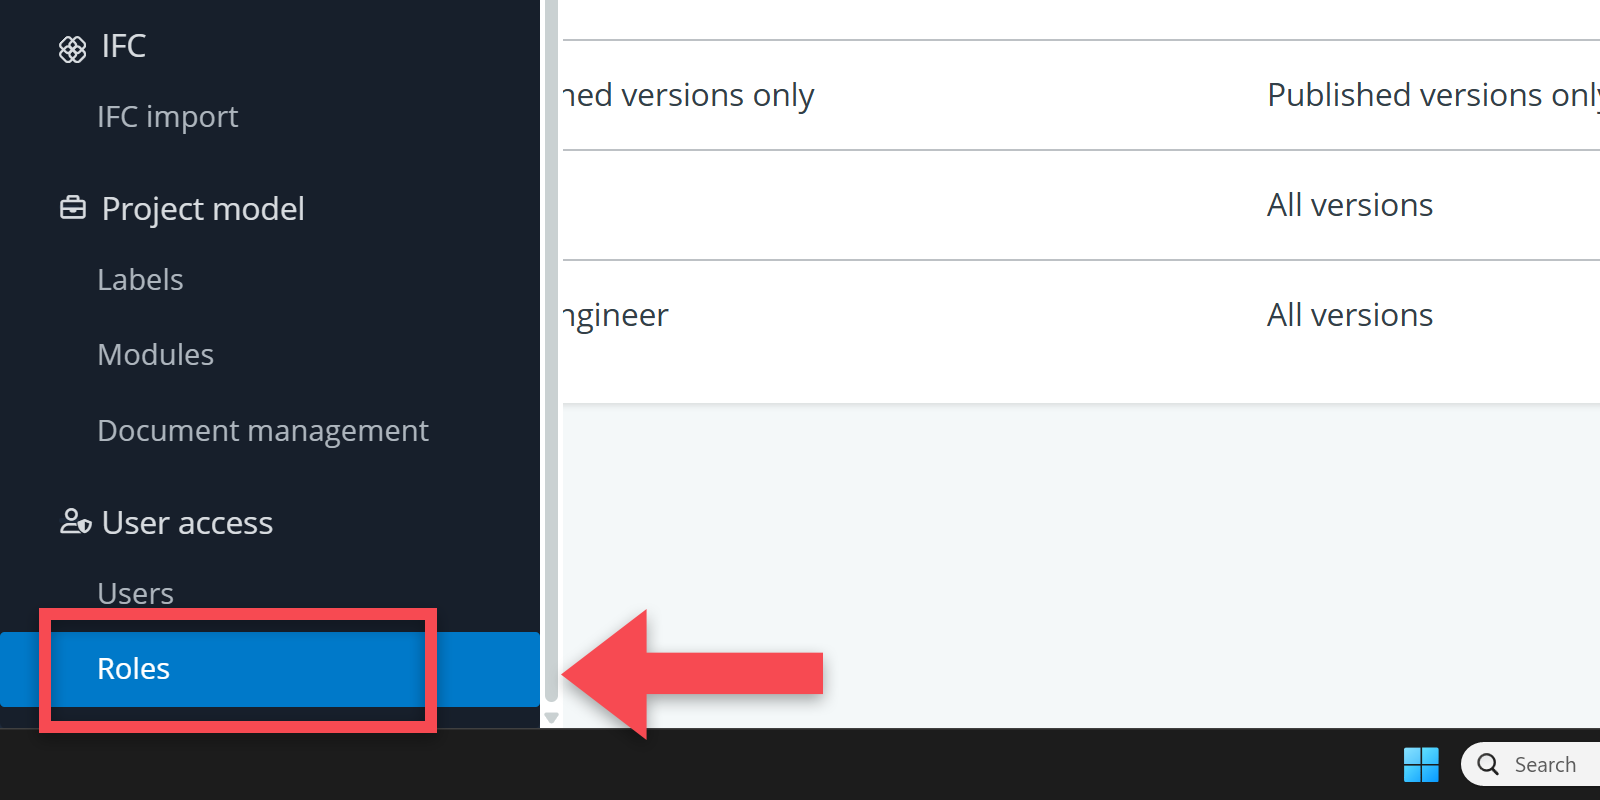
In the roles overview, click on permissions in the verification assessor role’s row. This will open up the permission settings for that specific role. you will find a dedicated row for permissions regarding verification assessment.

Within this row, two types of permissions can be managed:
- : Permission to configure the assessment setup, as described earlier.
- : Permission to add and edit assessments.
The configure permission is, usually, only relevant for the project’s verification manager: the person who is responsible for setting up the overall workflow and responsibilities around verifications.
The edit permission is relevant for the project’s actual assessors: the people who will review and evaluate the verification outcomes.