
In this article, we will explain how you can enter verification outcomes in BriefBuilder (assuming that there is a verification plan available).
First, we’ll explain how you can find the requirements that have been assigned to you. Next, we’ll explain the practicalities of entering the verification outcomes.
You can also check out the video (approx. 3 min) below.
Step 1: Find your requirements
There are different places in BriefBuilder where you can view and edit verification data.
You may already have seen that you can view verification data on the detail view of an object by clicking on the verification button in yellow bar at the top of the detail view (see screenshot below).
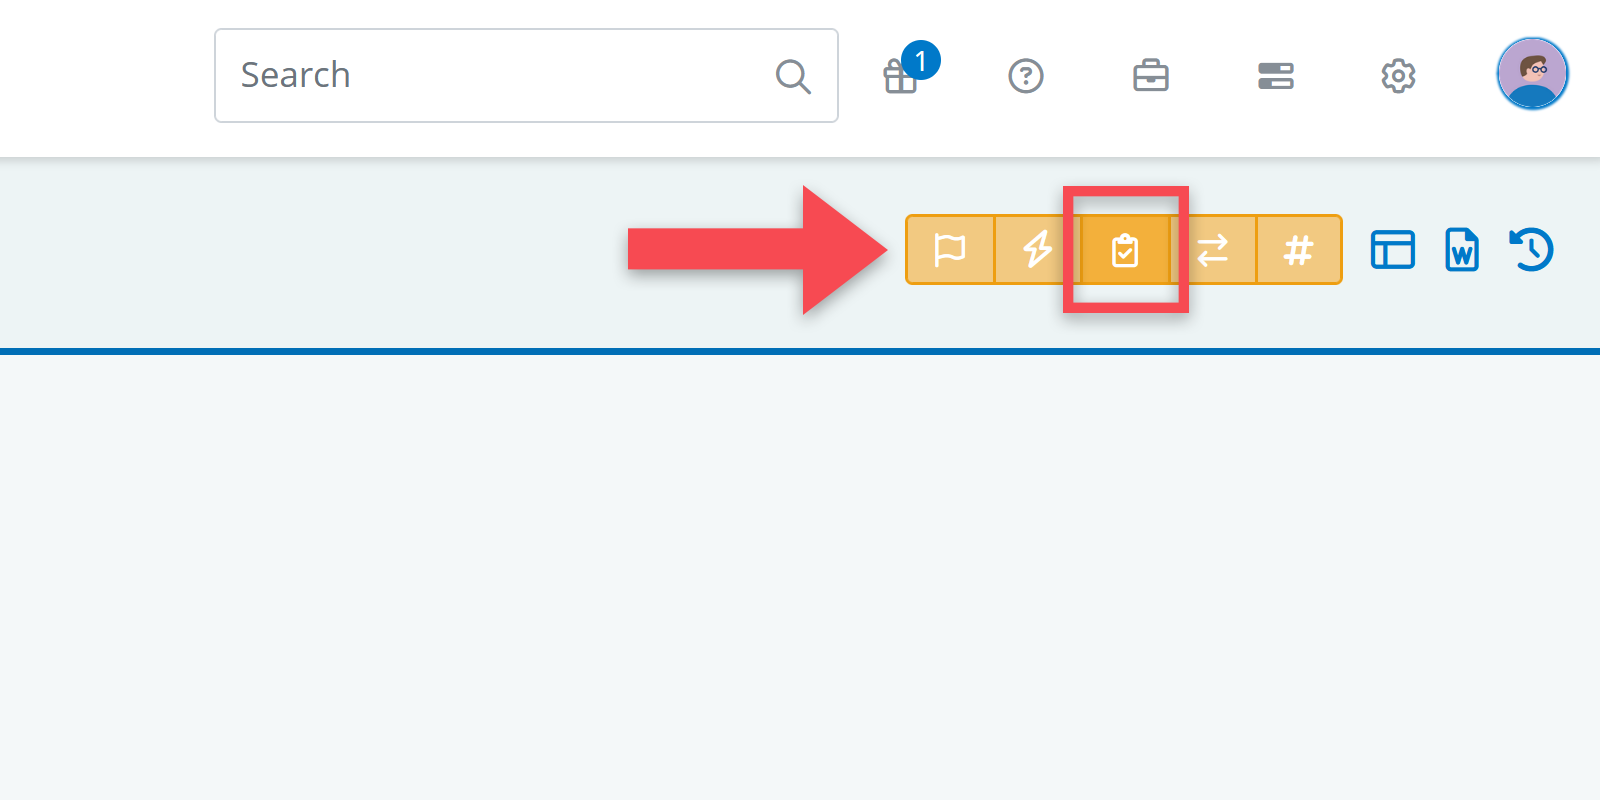

It should be said, however, that you will probably not want to enter your verification data on a detail view – it requires too much clicking. It is more efficient to work in the verification table, which is a tabular overview of all the verification data. In that table, you can filter data and work in an Excel-like way.
There are two ways to get to the relevant requirements in the verification table:
- via the verification dashboard
- via the selections of verification table
We’ll explain both options.
Via the dashboard
To get to your verifications via the dashboard, do the following:
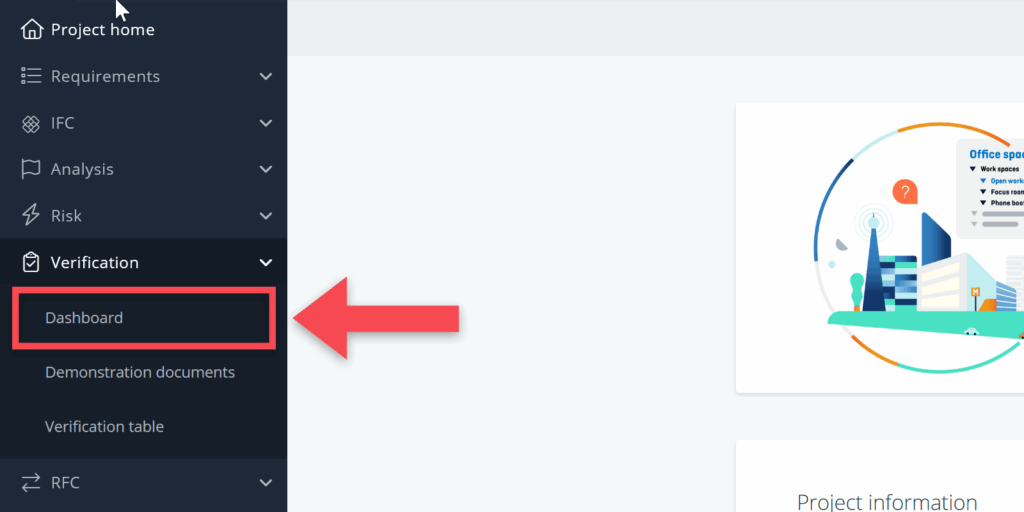
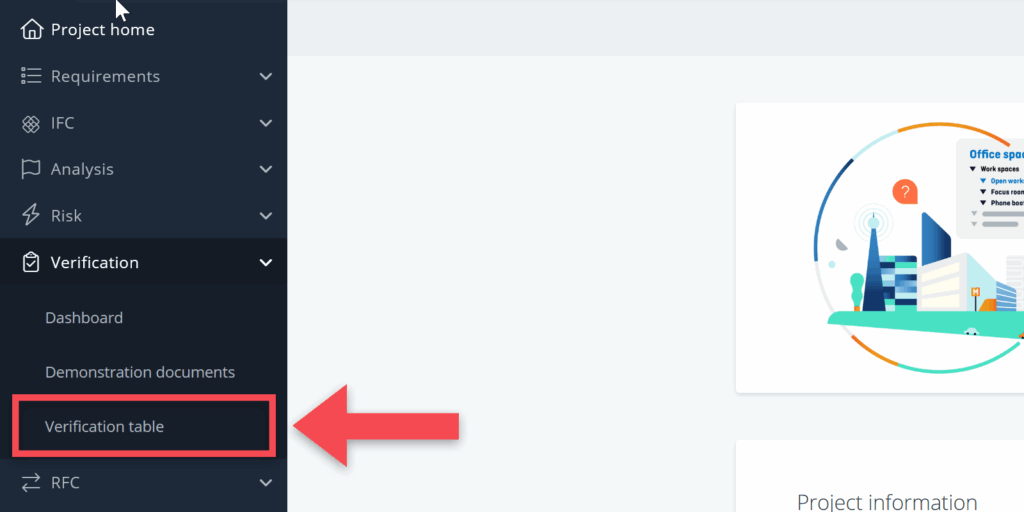
1. In the navigation bar, go to the header Verification, and then to Dashboard.
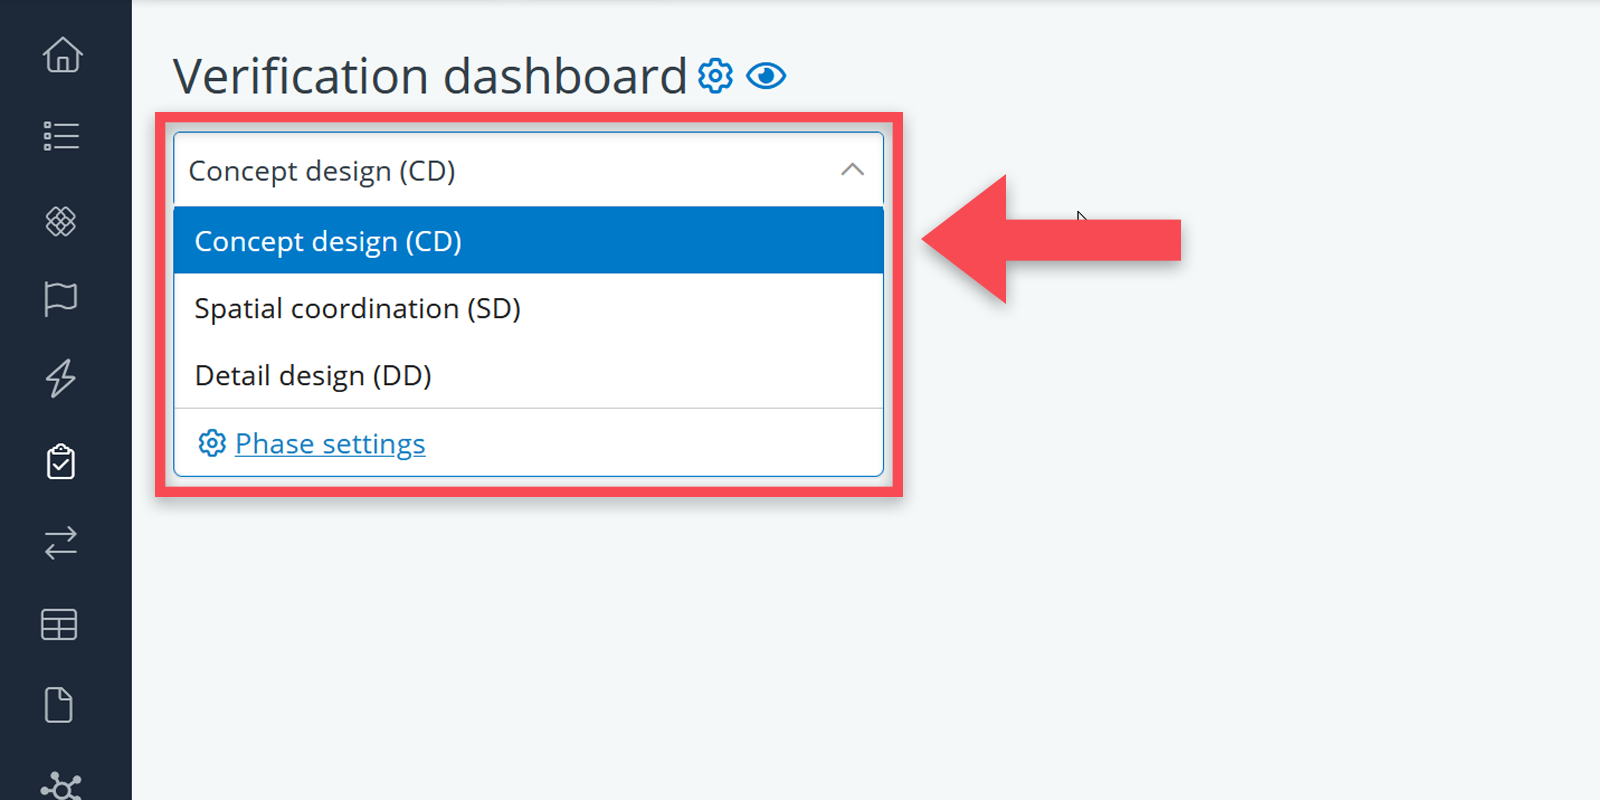
2. On the dashboard, first select the relevant verification phase.
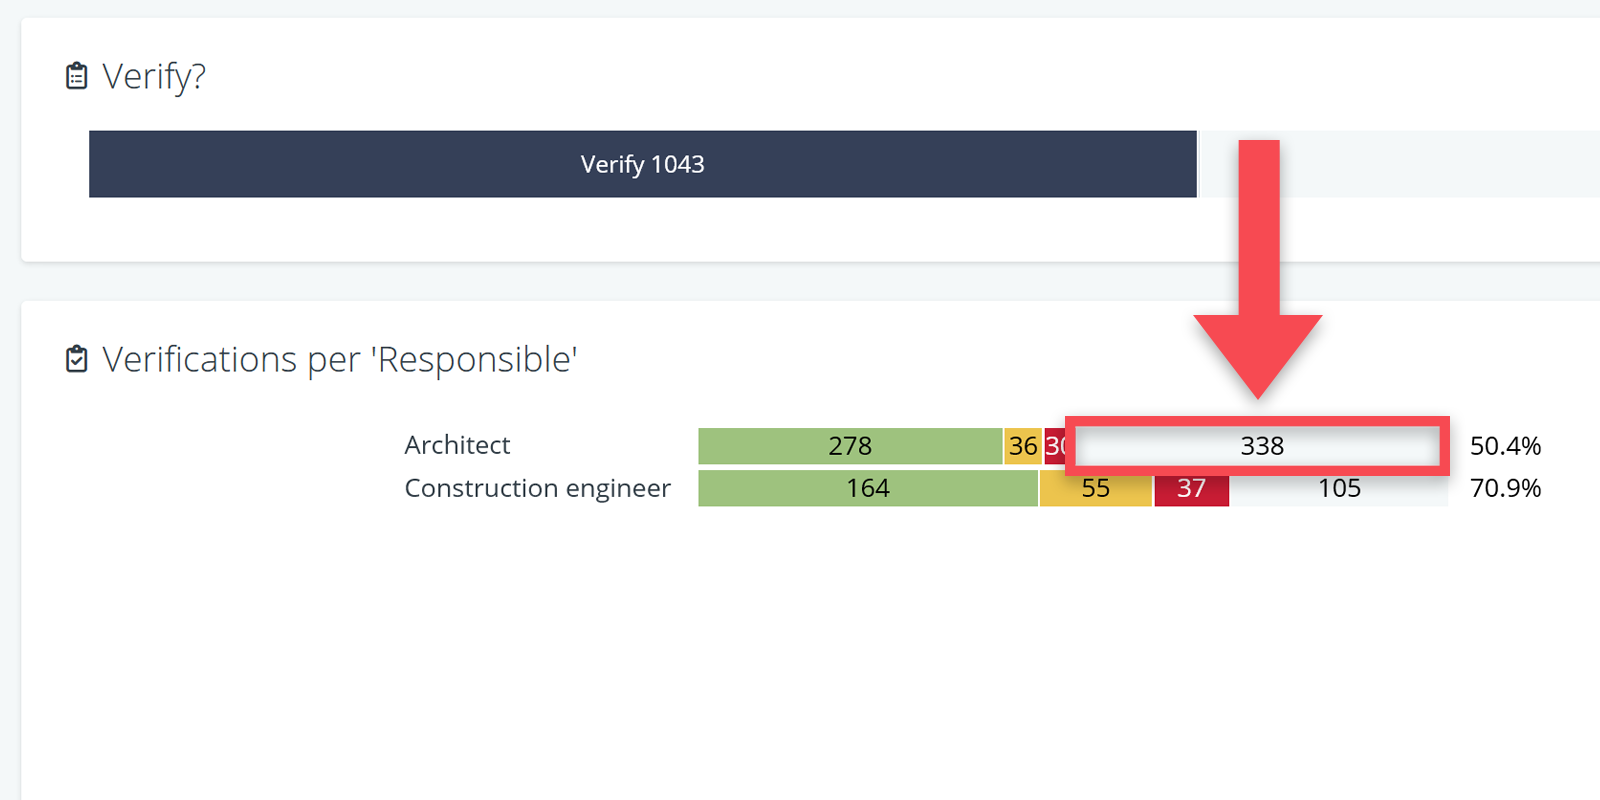
3. Then look at the bar chart called Verifications per responsible. This charts shows all the persons, roles or organizations that are responsible for the verification of a particular set of requirements.
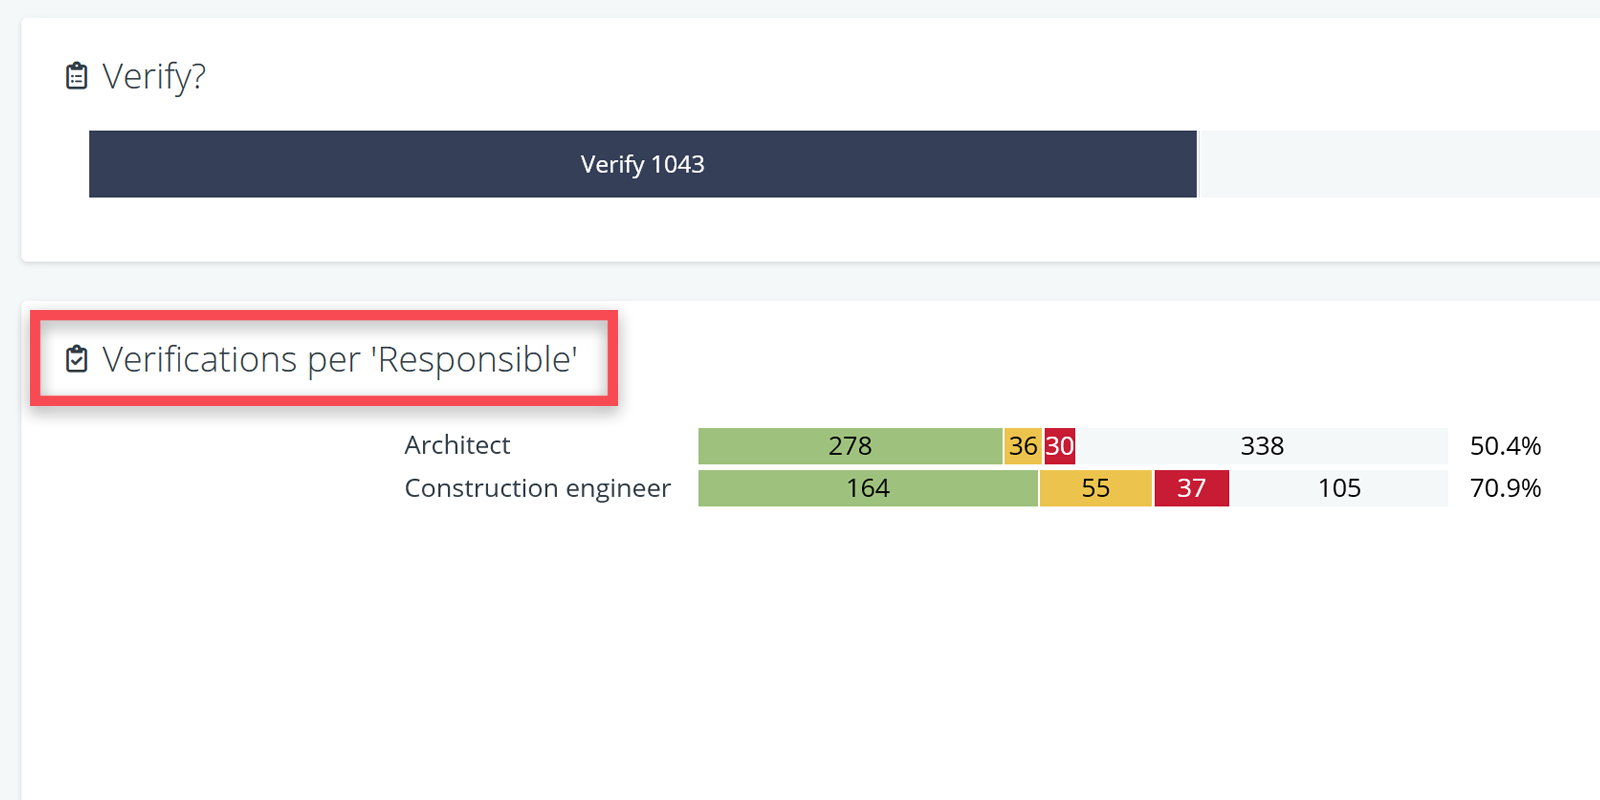
4. Find the bar that is relevant for you. Requirements may be assigned to your name, your role or your organization‘s name.
5. Click on the part of the chart that you are interested in. This will bring you to a tabular overview of those particular verifications.
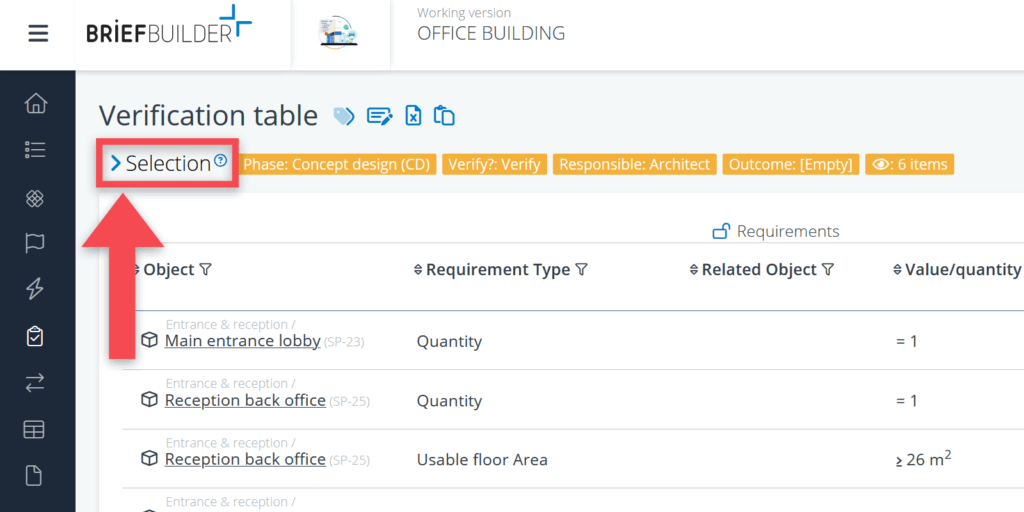
Via the verification table
The alternative route to find the relevant requirements is via the verification table’s selections.
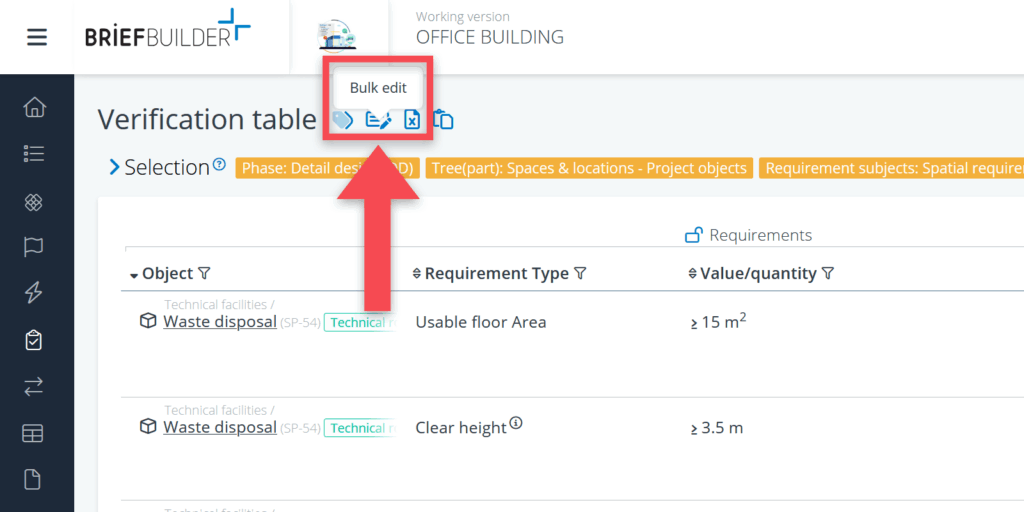
1. Go directly to the Verification table in the menu (Navigation bar > Verification > Verification table).
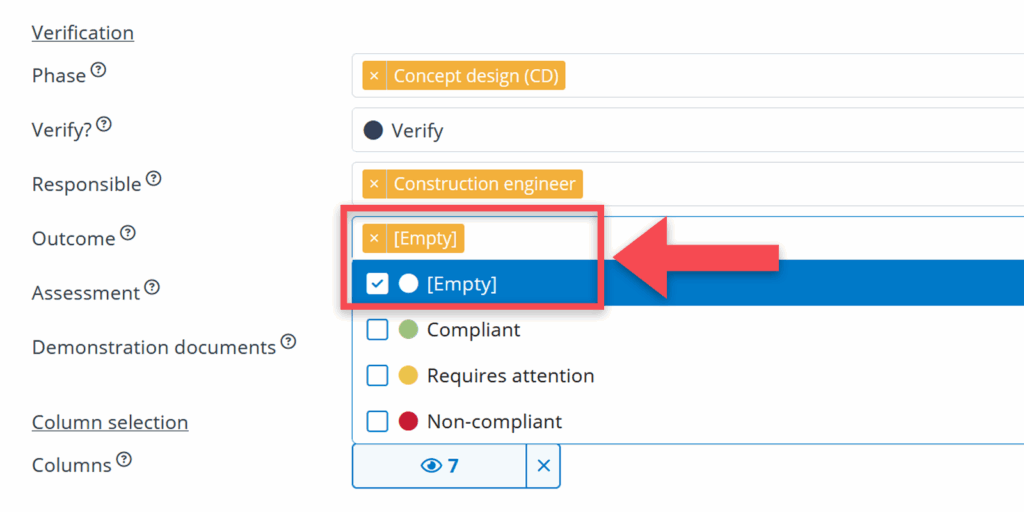
2. In the selection window that you’ll get to see, go to the Verification part and select the relevant verification phase.
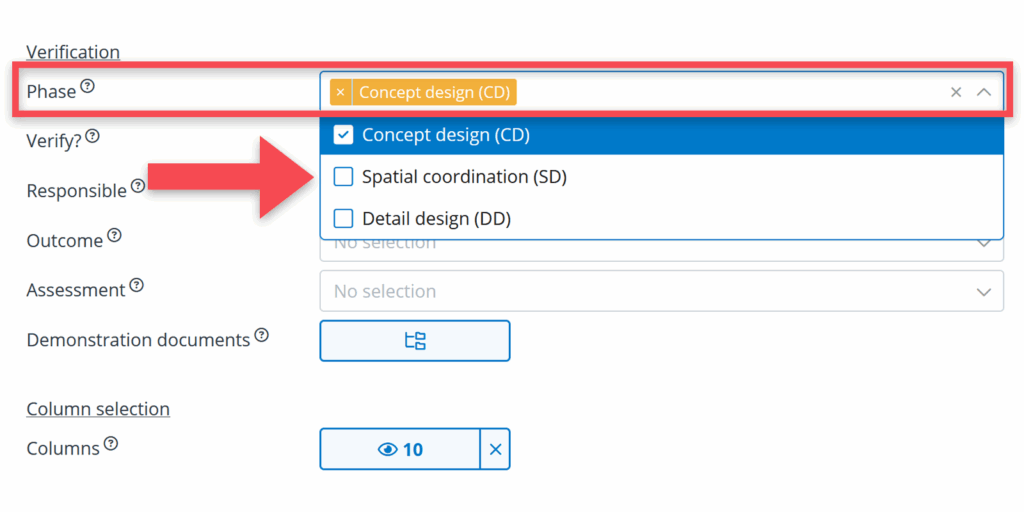
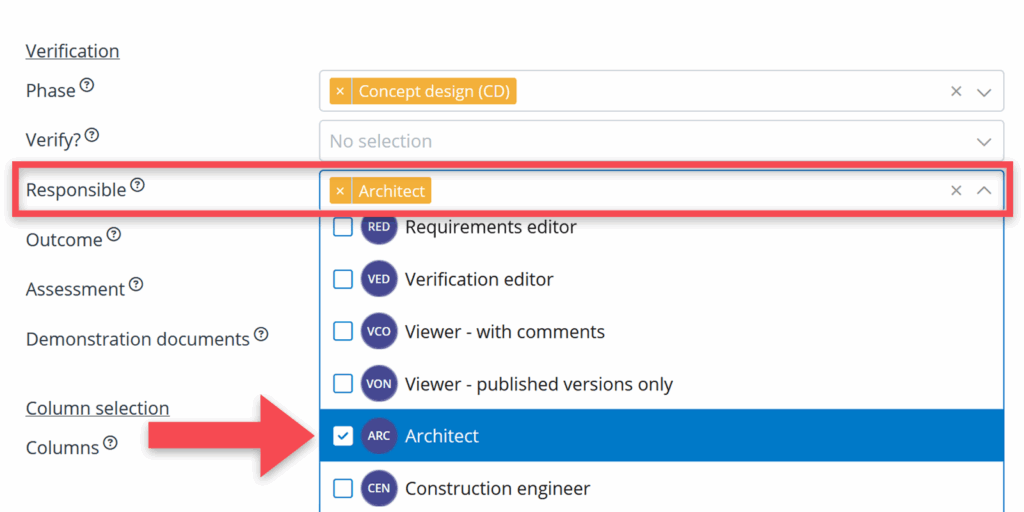
3. In the same window, also select your own account (or role or organisation) for responsible.
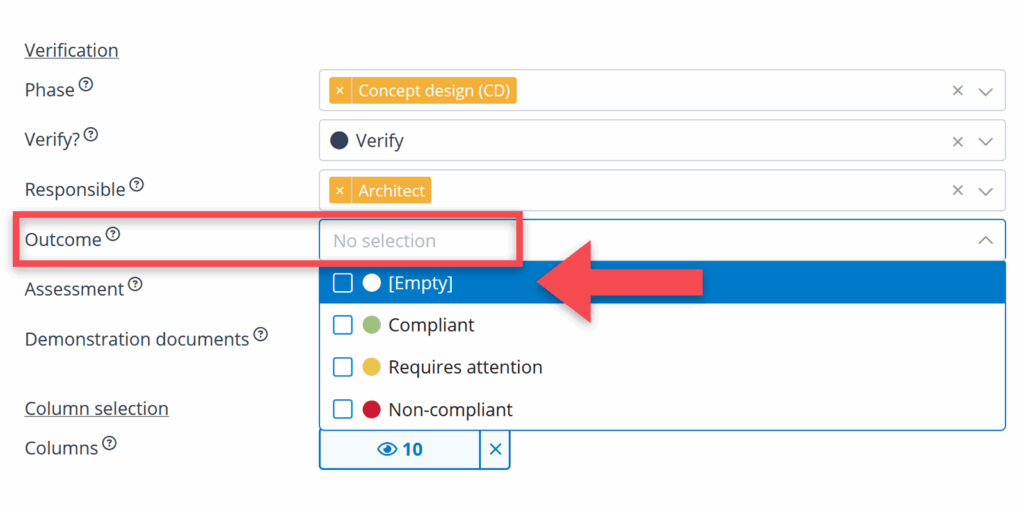
4. And, still in the same window, select empty for outcome (assuming that you are looking for those verifications that you haven’t done yet).
5. If relevant, use the other filters, e.g. tree(part) or requirement type, to select a particular set of requirements.
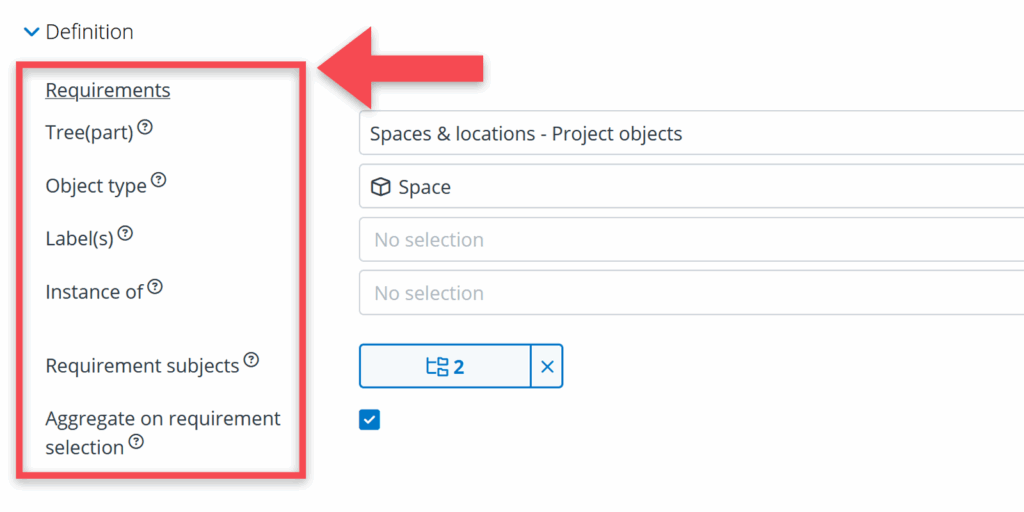
As option to this step, consider using the aggregate function to aggregate all requirements of a particular type in one row. More info about this function can be found here.
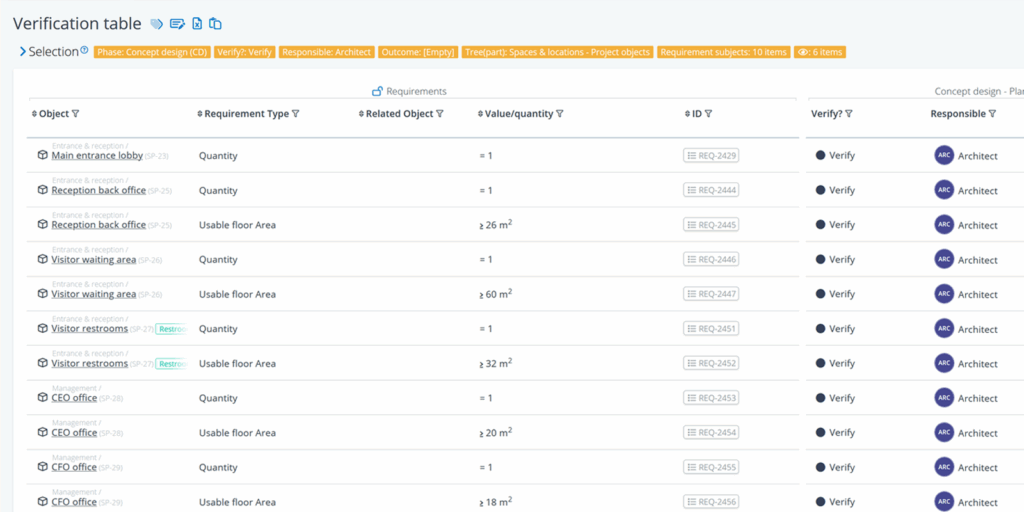
6. Click on Show and you’ll get a tabular overview of the verifications that you are looking for.
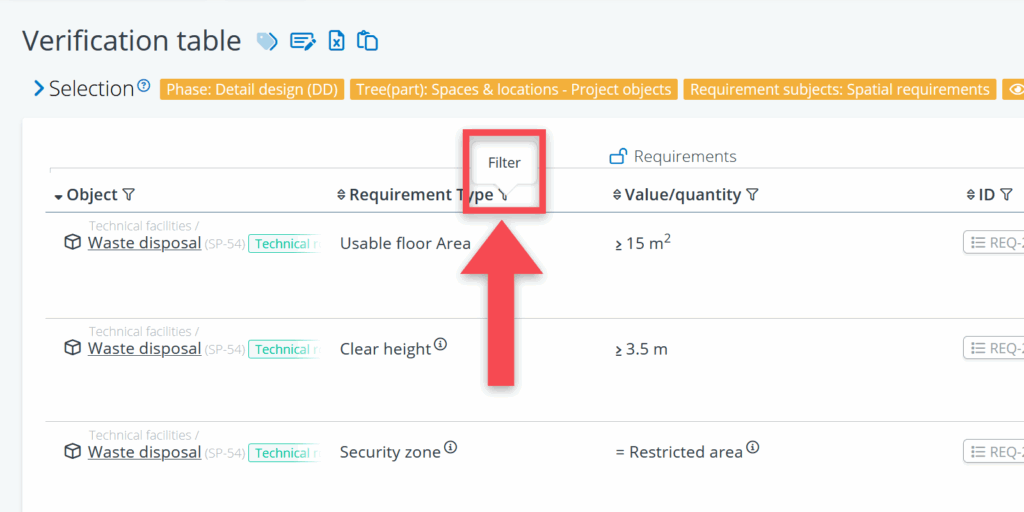
Once you are in the verification table, you may want to further narrow down the set of verifications that you are interested in. This can be done by using the filters that can be found at the top of each column.
Step 2: Add verification outcomes
Once you have selected or filtered out the set of requirements that are relevant to you, you can add the outcomes of your verifications.
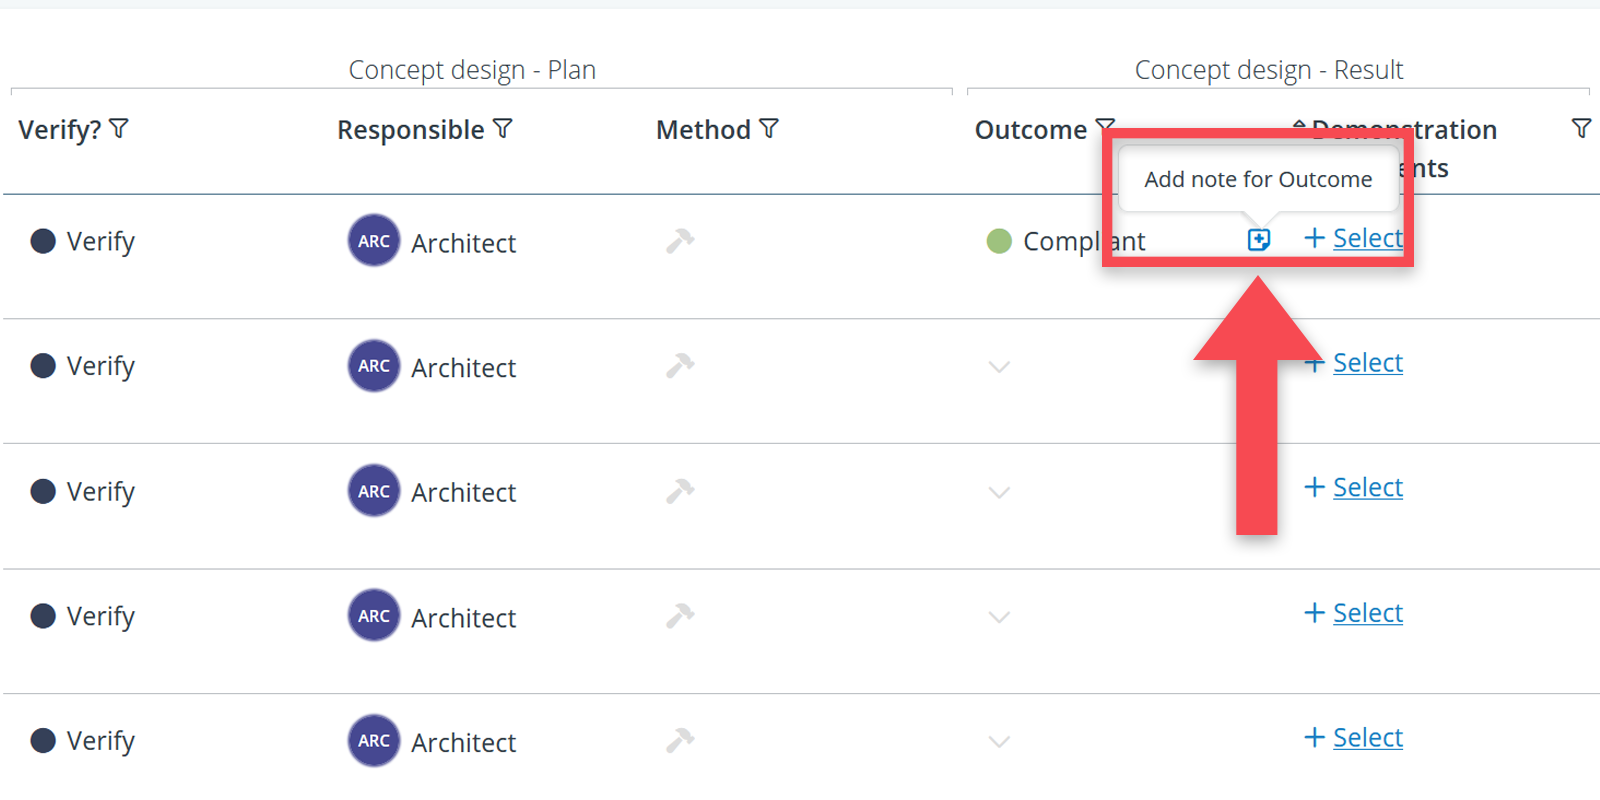
1. To add an outcome, click in the Outcome column in the column and choose the relevant outcome option.

2. Optionally: add a note to your outcome by clicking on the icon.
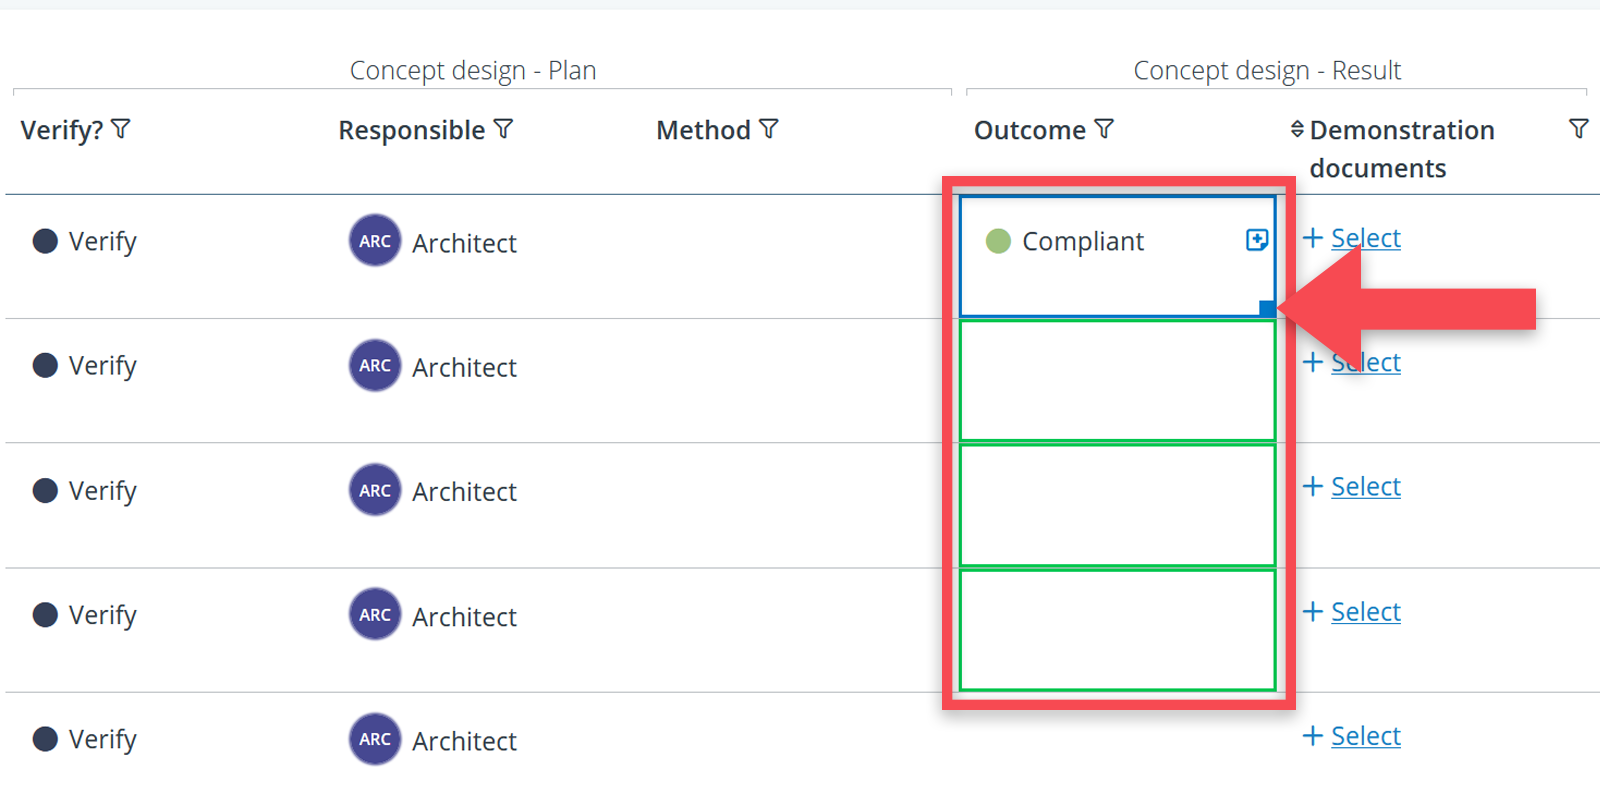
If the same outcome applies to the other verifications in your selection, you may want to pull down the outcome by means of the small blue corner in the outcome (click on it and pull it down).
Step 3: Add demonstration documents
Where relevant, you can also link a verification result to a demonstration document: a document or file that acts as ‘proof’ for the stated compliance with a requirement.
This can be done in the demonstration documents column.
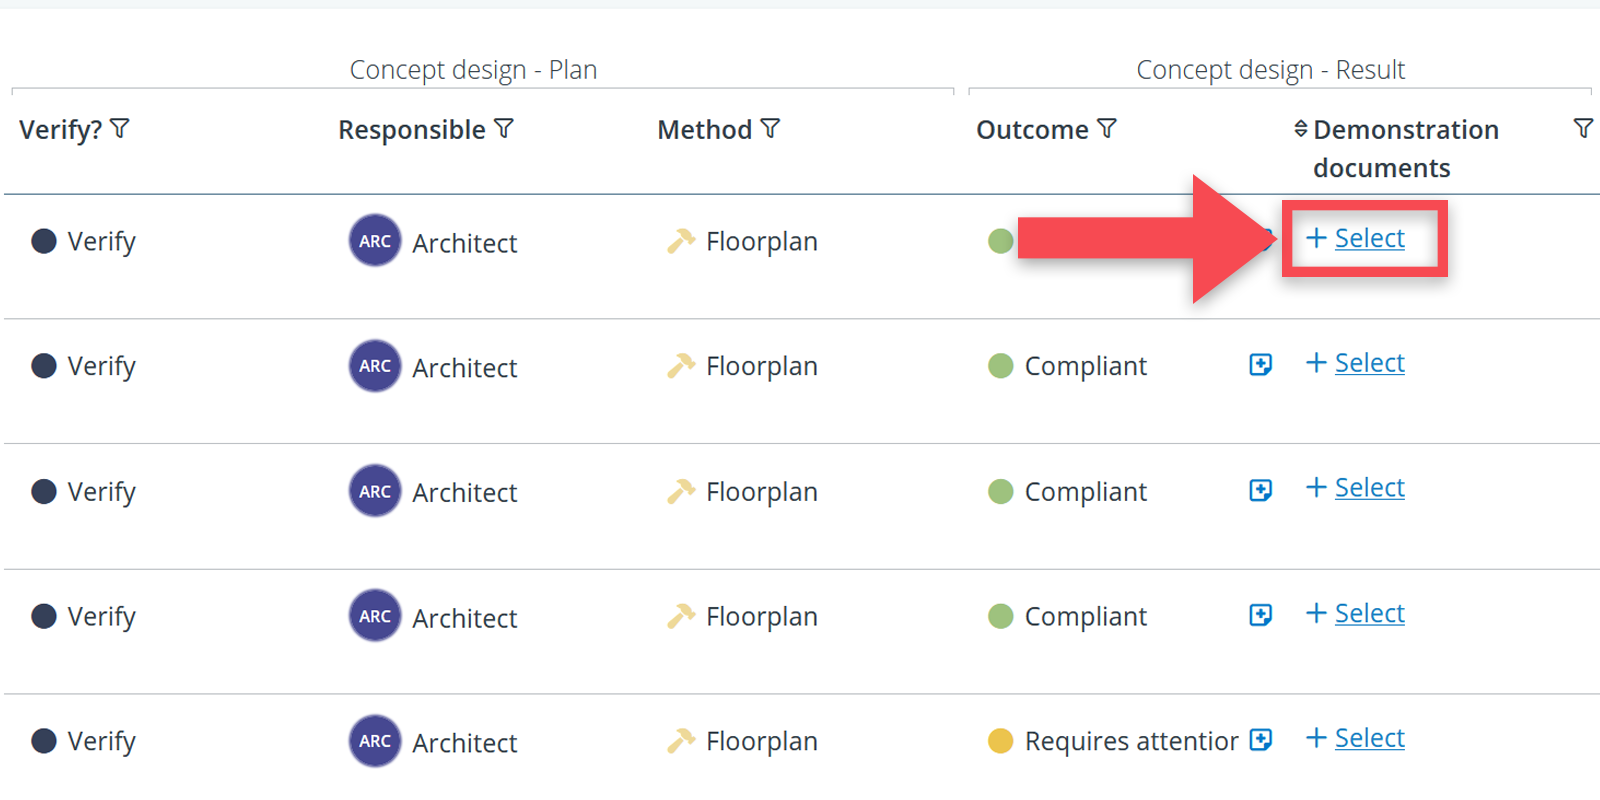
When clicking on Select, there are potentially three possible ways to link a demonstration document to a verification result:

1. Upload: you upload your demonstration document from your device. This document will then automatically be placed in the demonstration documents tree in BriefBuilder.
2. Select from DMS (document management system): if your BriefBuilder model is linked to a DMS (e.g., Microsoft Sharepoint), you can select documents directly from that system. This document will then automatically be placed in the demonstration documents tree in BriefBuilder.
3. Select existing demonstration documents: with this option you can select files that are already present in the demonstration documents tree in BriefBuilder.
Step 4: Check whether you are done
When working on your verifications, you may want to check whether you are fully done: did you add all the verification results that you were supposed to, for that particular project phase?
This is something that you can easily check on the dashboard or in the verification table.
On the dashboard
1. Select the relevant verification phase.
2. Look for your name (or role or organisation) in the bar chart Verifications per responsible.
3. Check if there relevant bar still has any grey parts (‘Not added’).
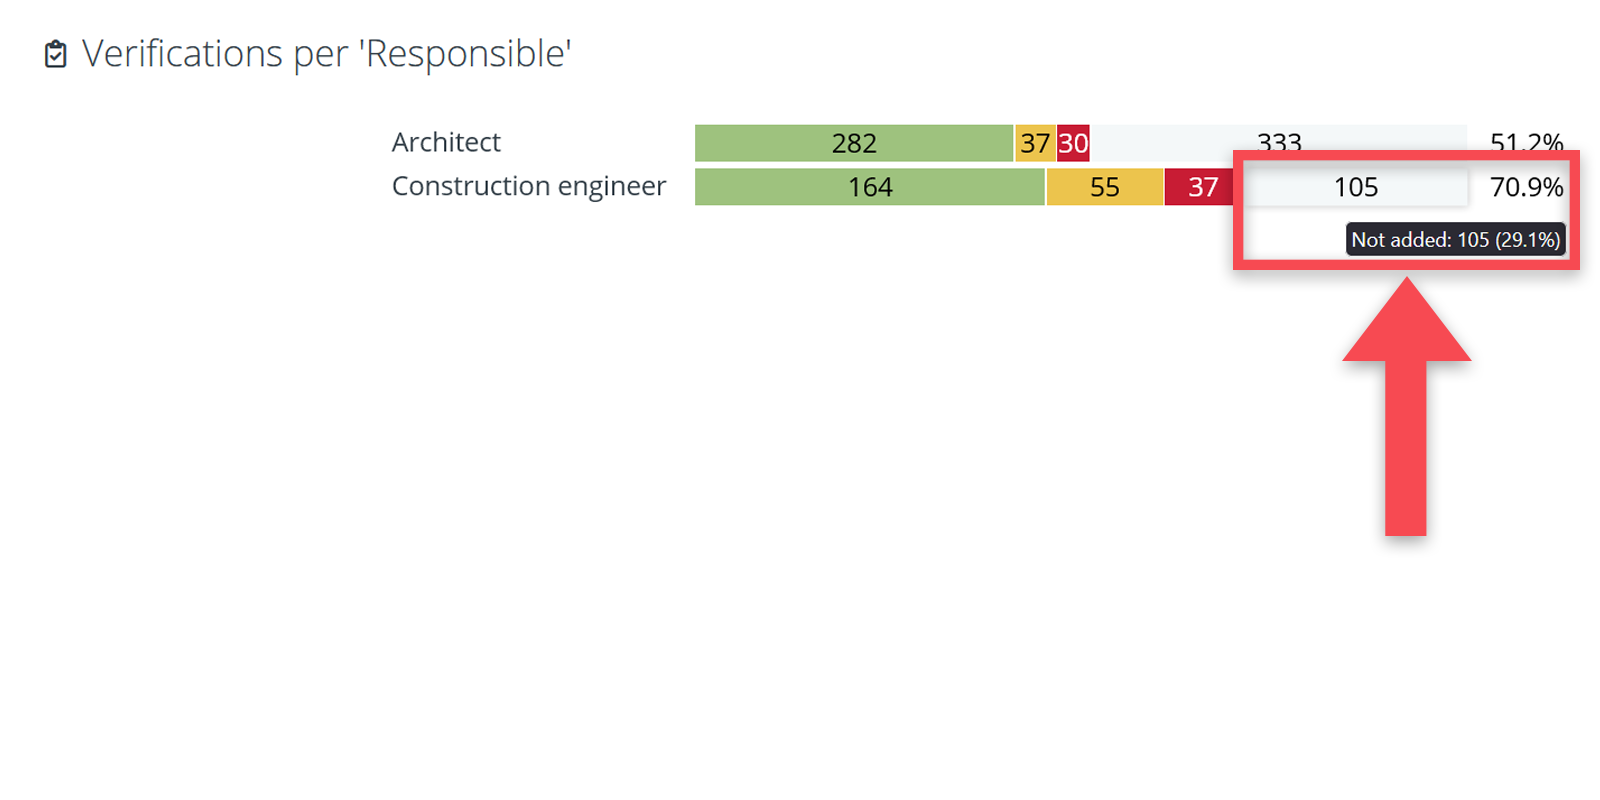
If there are grey parts in your bar, there still work to be done.
In the verification table
1. Select the relevant verification phase.
2. Select the relevant name, role or organisation for responsible.
3. Select empty for outcome.
And that’s how you can enter your verification outcomes in BriefBuilder!