
The verification settings allow you to customize the verification set-up to the specifics of your project for the following topics:
- Verification phases (when should verifications be executed?)
- Verification plans (how and by who should verifications be executed?)
- Verification results (what are the outcomes of the verification?)
- Verification assessments (are the verification outcomes accepted or rejected?)
- Demonstration documents (what is the documentation for compliance?)
You can find the verification settings in the Attributes part of the Settings menu. Please note: you will only see these settings if you have the appropriate permissions or role.

The settings are organized as a ‘settings tree’, with the topics on the left hand side and the details on the right hand side.
Below, we’ll explain all of them, starting from the top (verification phases).
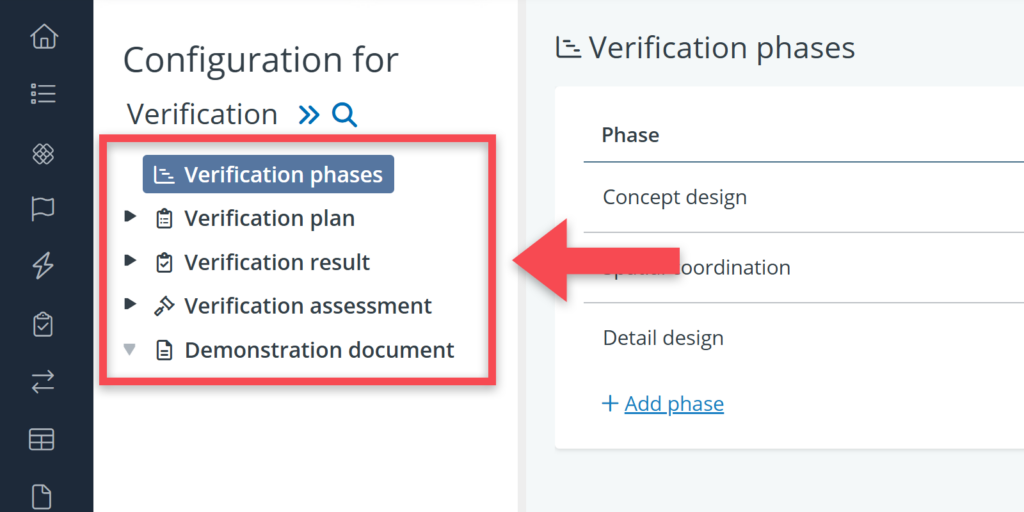
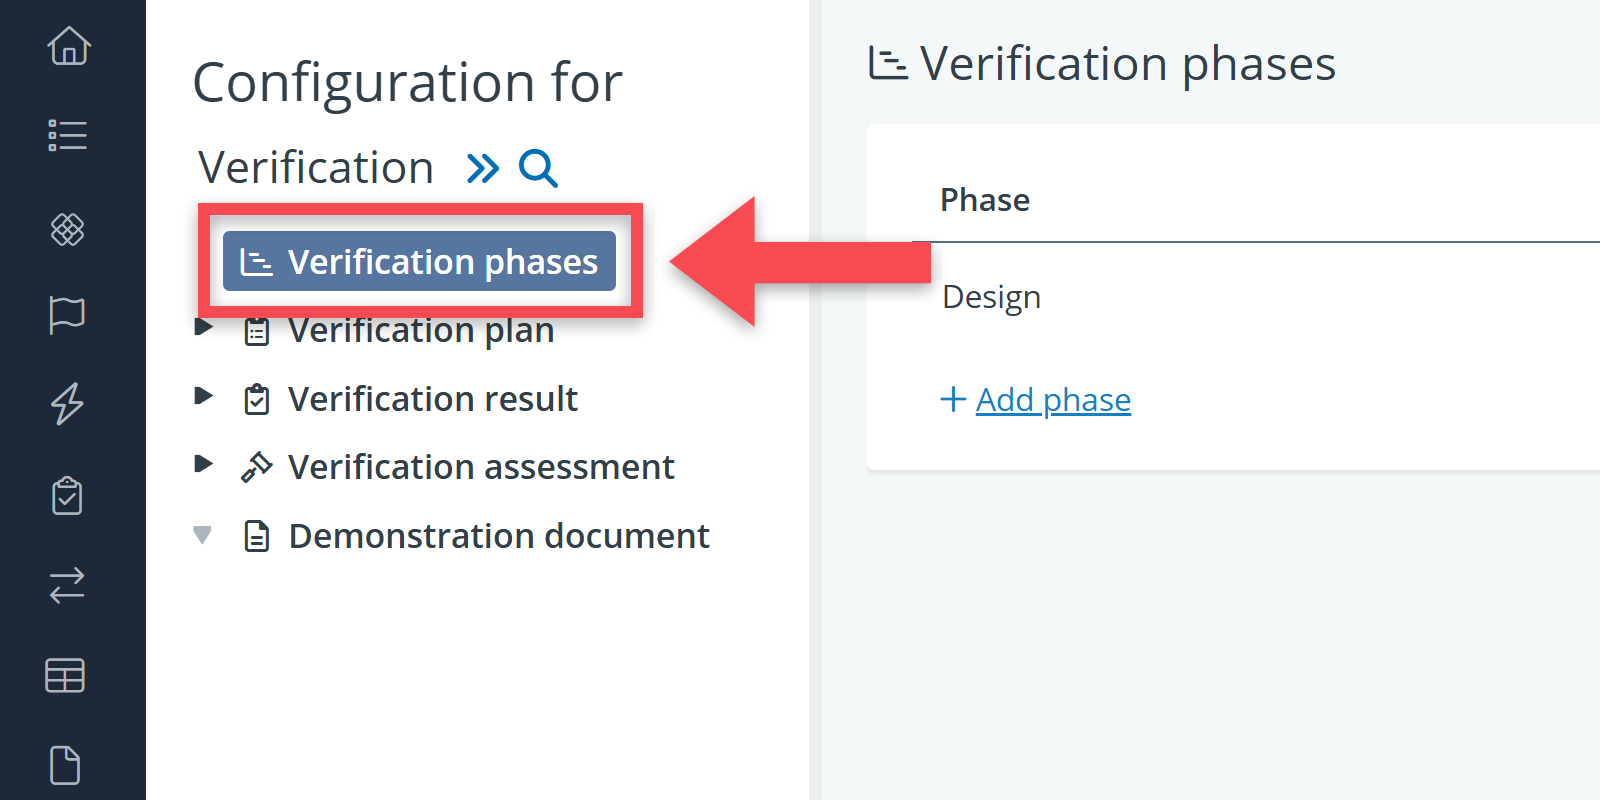
Verification phases
In this part of the settings tree you can define and manage the verification phases that indicate when a verification has to take place.
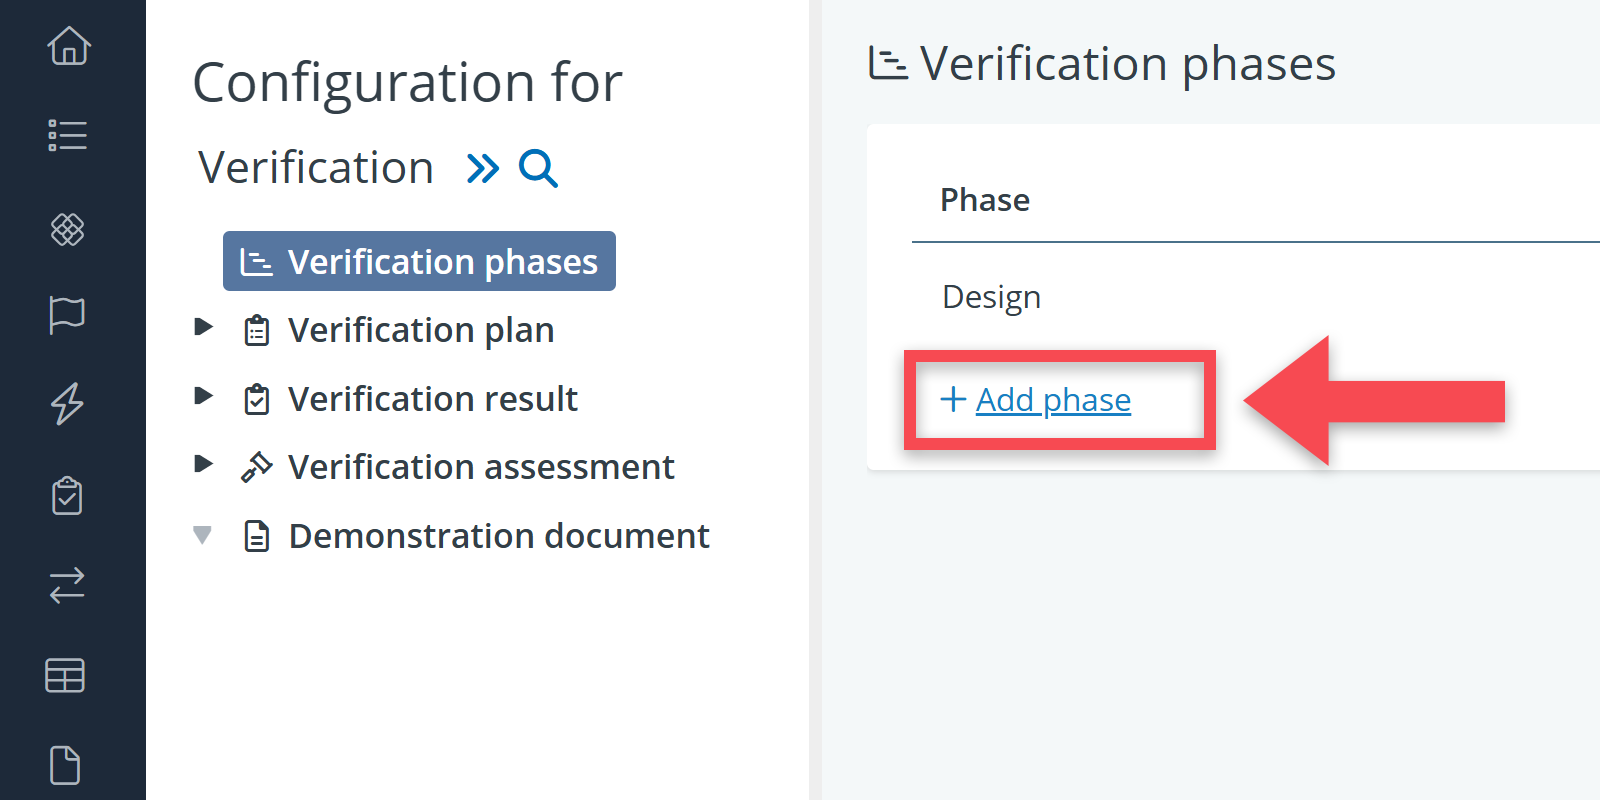
To add a phase, do the following:
1) In the settings tree, go to Verification phases.
2) On the detail view, click on Add phase to add a phase.
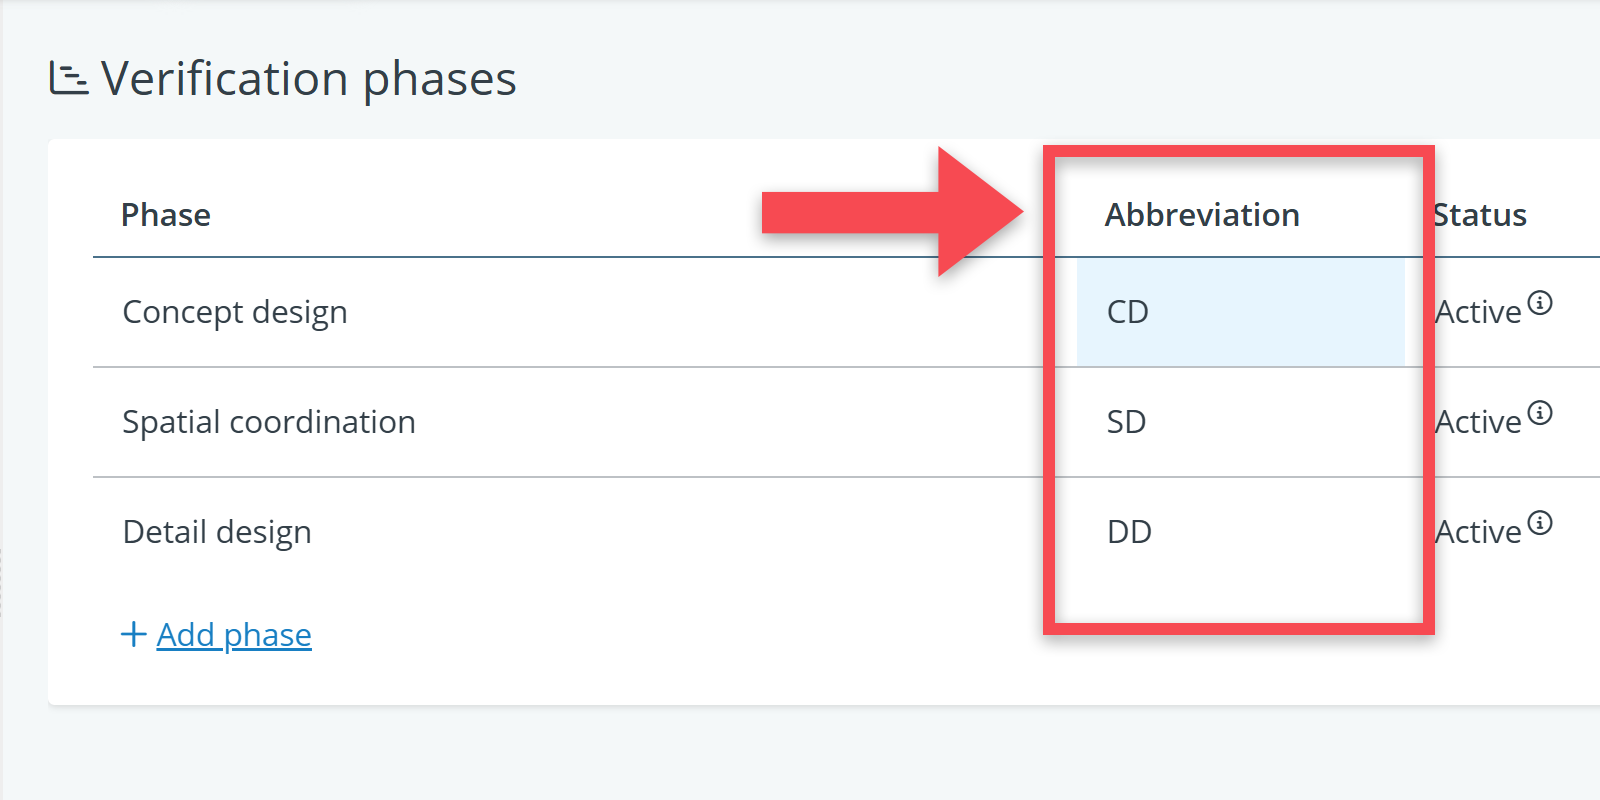
3) Give your phase a name and also take a look at the abbreviation (the abbreviation is being used in the verification columns on the detail views of objects).
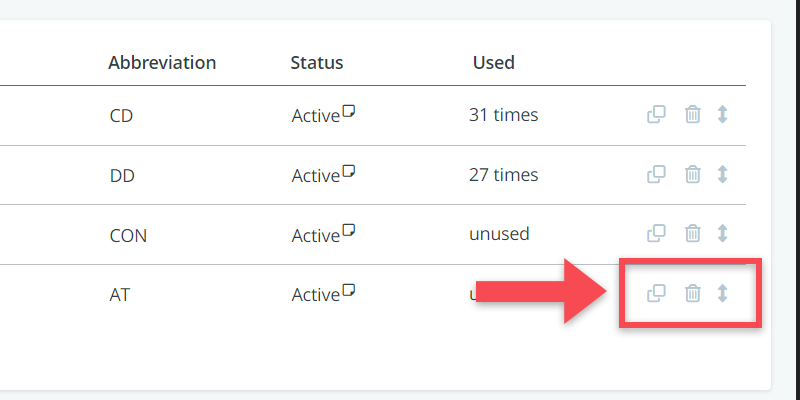
4) Note the various action buttons behind the phases:
- By clicking on the , you can clone an entire phase.
- By clicking on the , you can delete a phase.
- By clicking on the , you move a phase up or down in the sequence.
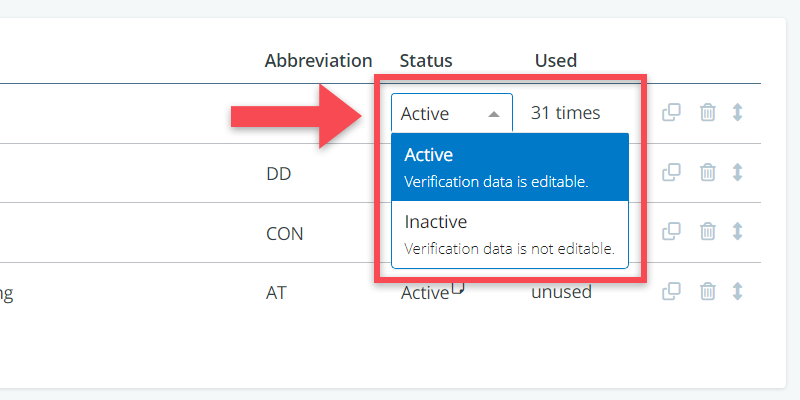
(De)activate verification phases
In the verification phase settings, you can also activate and deactivate verification phases.
When a phase is inactive, this means that the verification data for that particular phase cannot be edited. For example, you can deactivate a phase once the verification process for that phase has finished or you can deactivate a phase if you do not want anyone verifying it for now.
You can activate or deactivate a phase via the column Status.
Verification plan
Verification plans can be used to define who should verify a requirement and what kind of verification method should be used. Steps to define verification plan properties:
1) Click on Verification plan in the settings tree and click on the table called Properties.
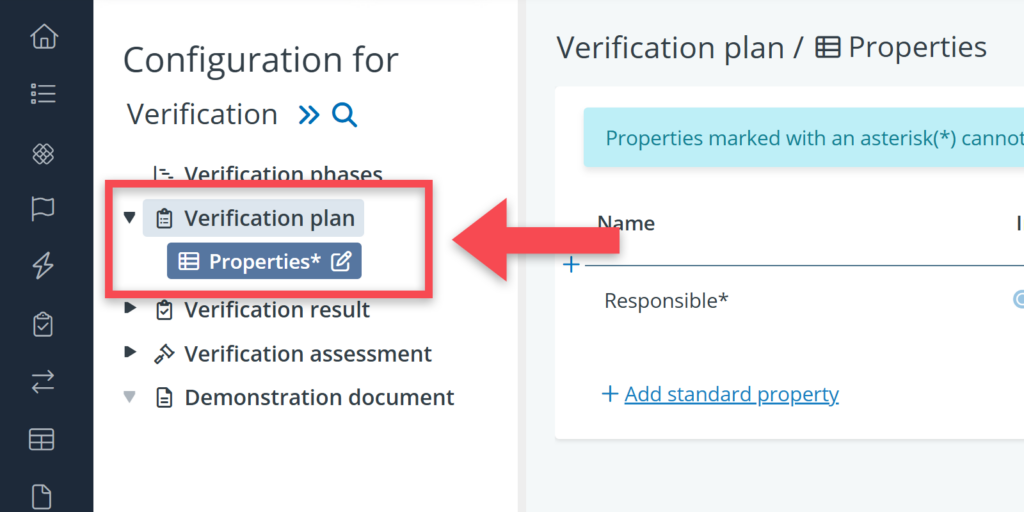
2) Click on + Add standard property.
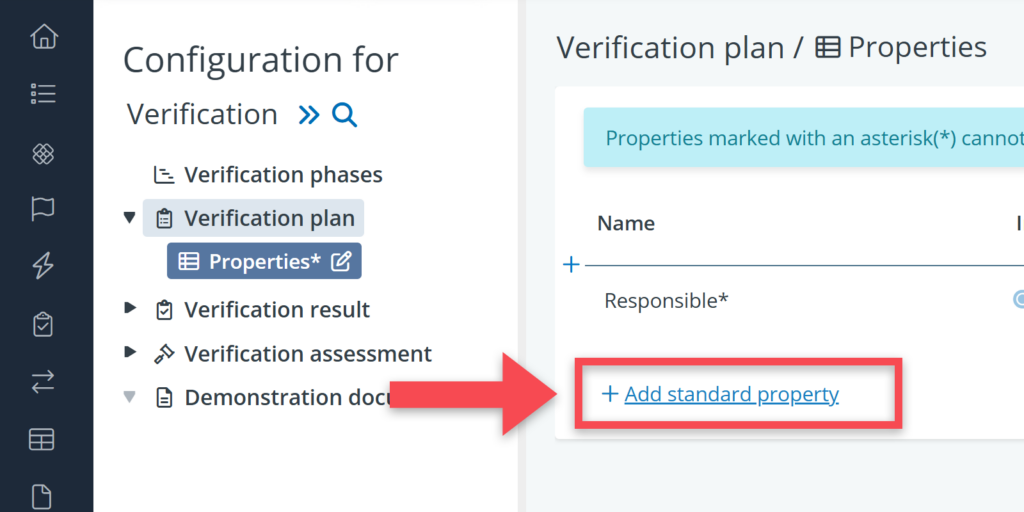
3) Define the relevant attributes for your property in the table.
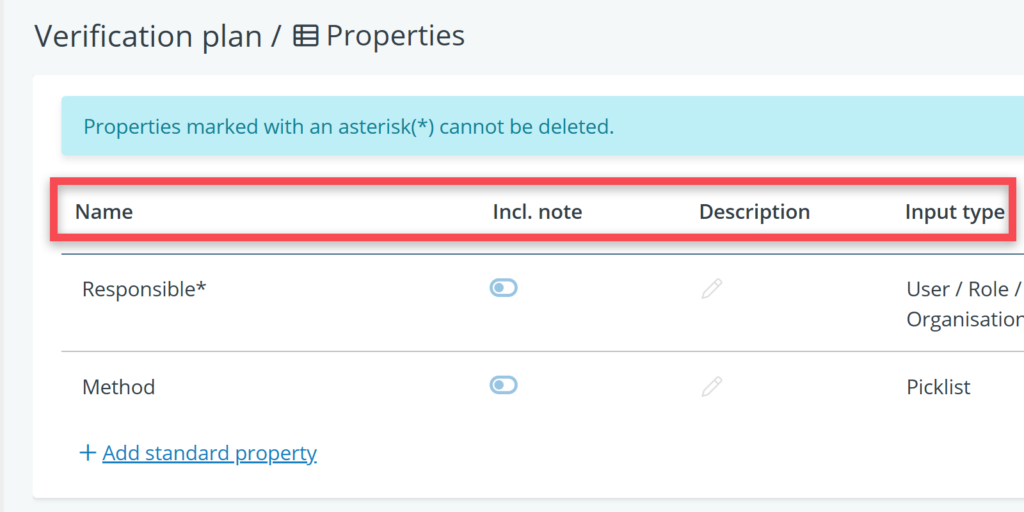
Per property you can define the following attributes:
- Name: the property’s name (e.g. method).
- Incl. note: when checking this box, you allow users to add a note to the value of this property (e.g. some more explanation about the chosen method).
- Description: some explanation or a definition of the property (e.g. “the method that must be used to demonstrate compliance”).
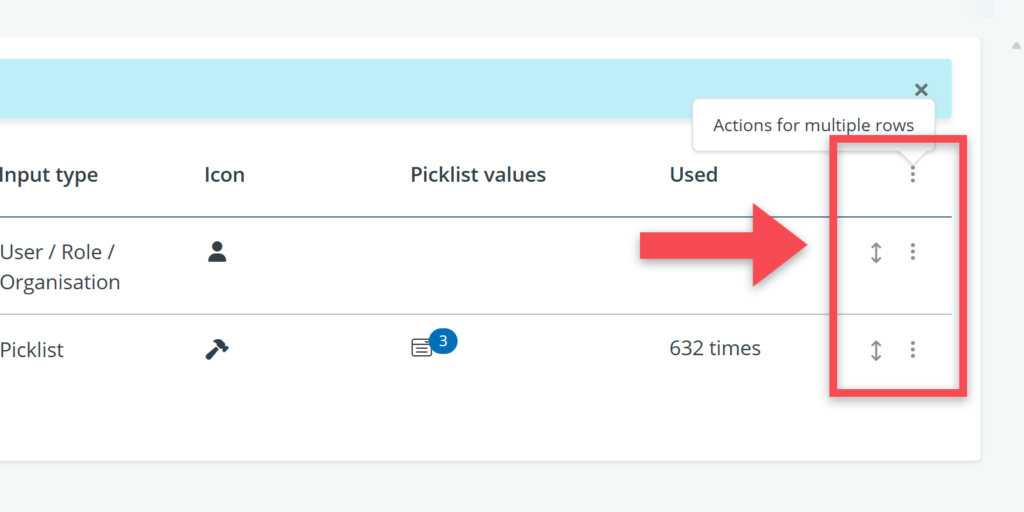
- Input type: define what kind of values should be possible. For verification properties, it is usually the picklist that is relevant (e.g. when you want to define a list of methods) or the user/role /organisationoption (when you want to create a property for assigning responsibilities).
- Icon: the icon that will be used to visualise this property on the detail view.
- Picklist values: the relevant value options (e.g. different kinds of methods). Only relevant when you have chosen picklist as input type earlier.
Note the action buttons at the end of the table:
- By clicking on More actions( ), you get the option to delete a property or to move it to another table (if there).
- By using click + drag on the arrows ( ), you can move a property up or down the order.
Verification result
The verification result reflects the outcome of the compliance check: has a requirement been met or not. In the settings, you can define additional properties for the verification result, a field for follow-up actions for example.
Adding properties here, works in the exact same way as for verification plan:
1) In this case, click on Verification result in the settings tree and then on Properties.
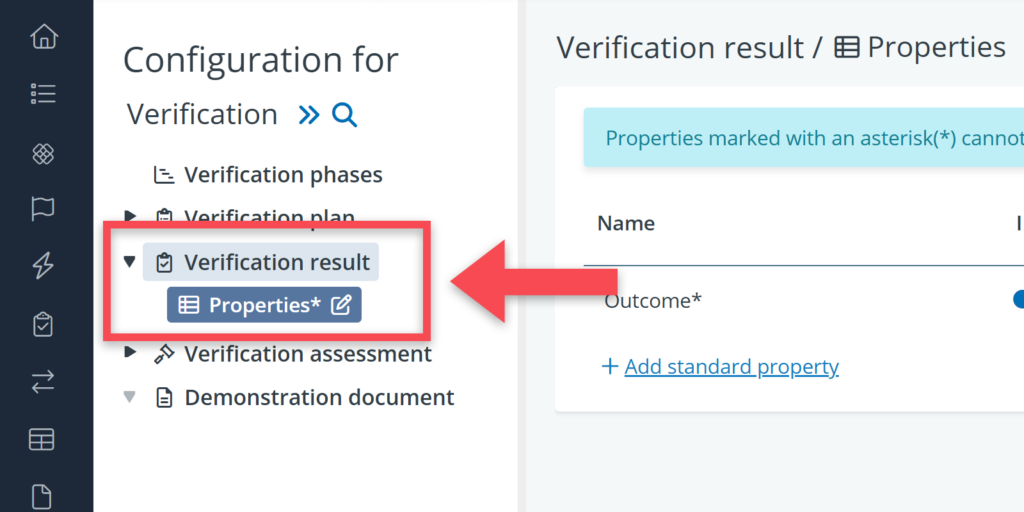
2) Click on + Add standard property on the detail view of this setting

3) Define the relevant attributes for your property in the table (a name, input type etc.).
For a more elaborate explanation of the different property attributes, see the earlier explanation for verification plan.
Verification assessment
Verification assessment is about reviewing or approving the verification results and the related demonstration documents. Typical properties are follow-up actions (e.g. re-verification, adjustment of requirements, adjustment of the (design)solution) and assessment outcomes (e.g. accepted versus rejected).
Again, you can add these properties via the following steps:
1) Click on Verification assessment in the settings tree and then on Properties.
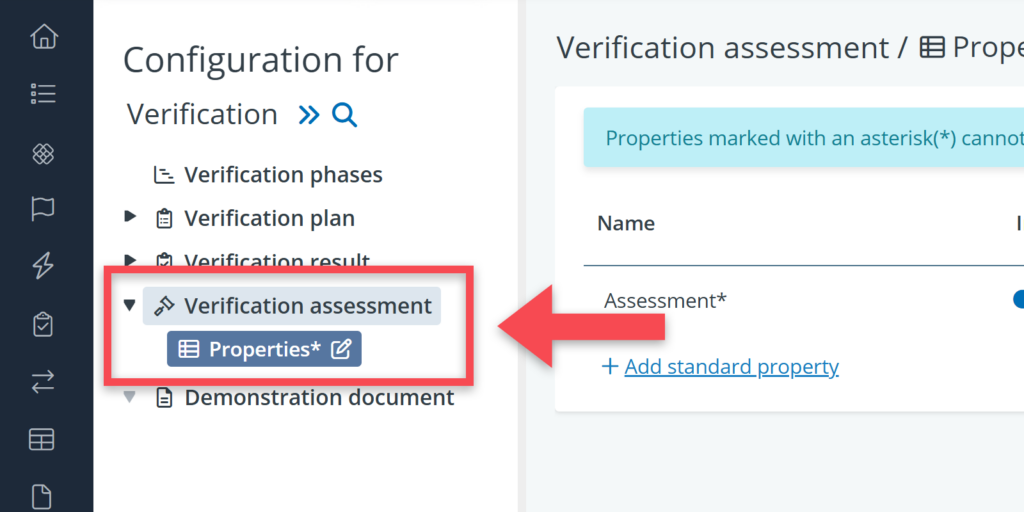
2) Click on + Add standard property on the detail view of this setting
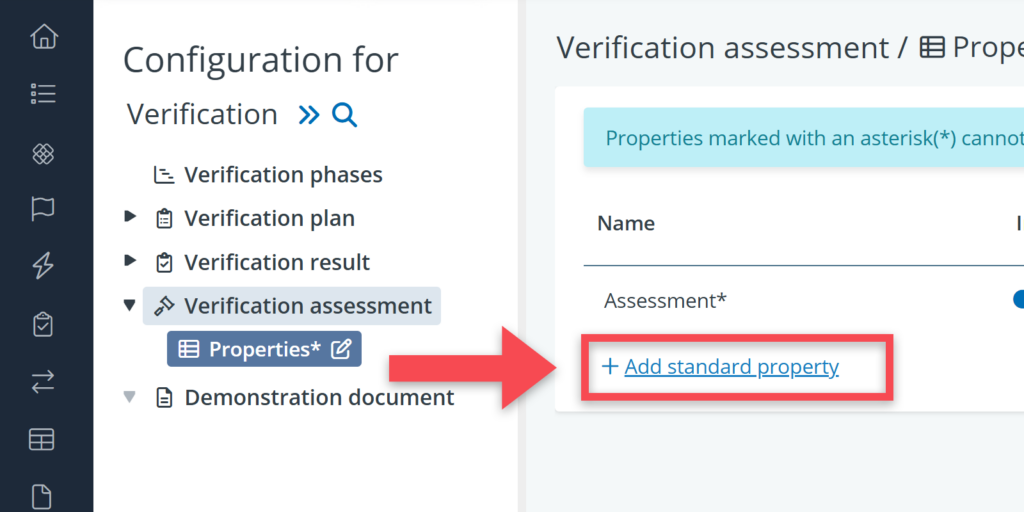
3) Define the relevant attributes for your property in the table (a name, input type etc.)
For a more elaborate explanation of the different property attributes, see the earlier explanation for verification plan.
Demonstration documents
Demonstration documents are documents or files that can be linked to a verification result for demonstrating compliance. Examples of demonstration documents are test reports, inspection reports, and compliance certificates.
Also for demonstration documents, it is possible to define blocks, tables and properties.
1) Click on demonstration document in the settings tree and click on the plus-icon (Add block)
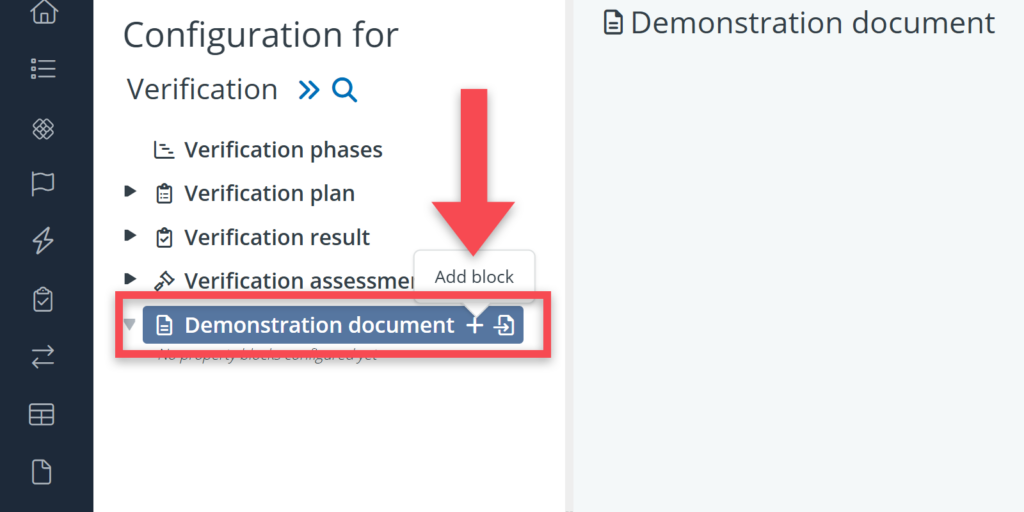
2) Go to the table that is automatically created for that block (called Default table).
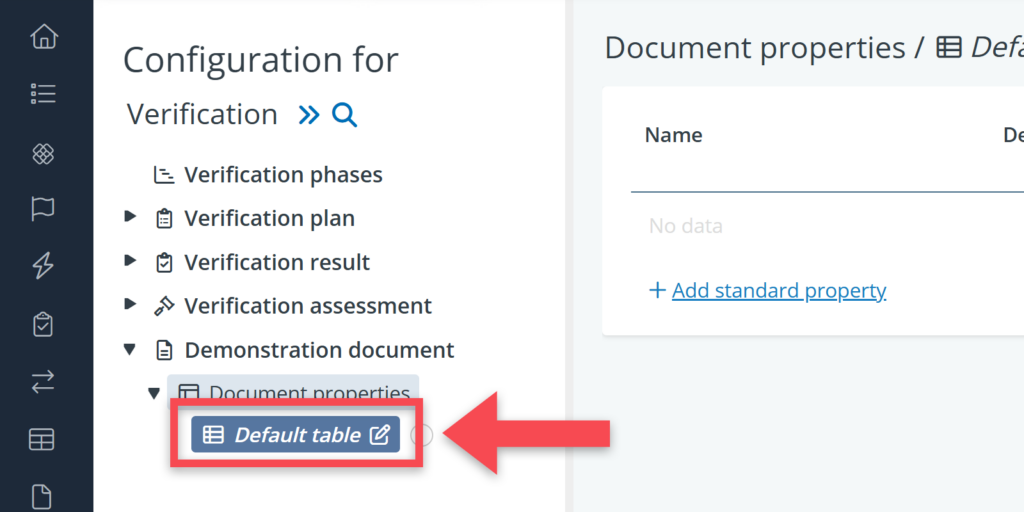
3) In that table, click on + Add standard property

4) And for that property, add a name, a unit of measure, an input type and so on.