
Just like in a traditional report, it is possible to add a glossary to a BriefBuilder model. A glossary is a list of specific terms that are explained by a short description.
The objective of adding a glossary is to make sure that all project participants understand the terminology that is being used in the model.
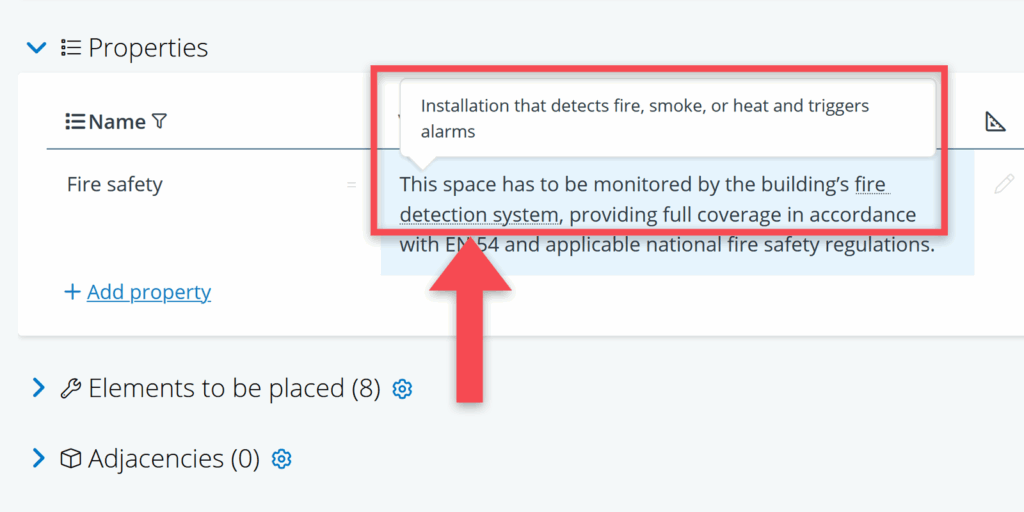
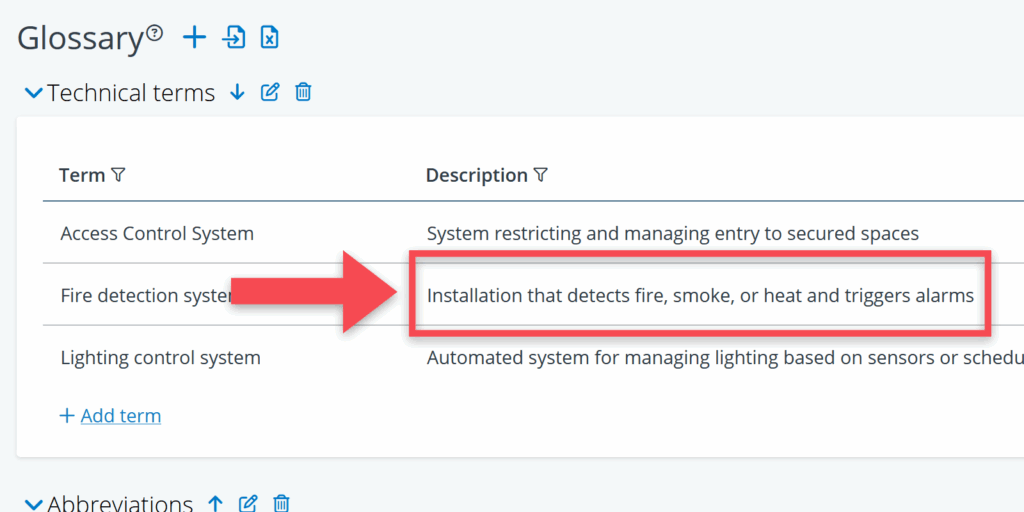
Terms that are listed in the glossary, are highlighted in the model by a dotted line under the relevant term (see screenshot below). Hovering with the mouse pointer over the term, will show a tooltip with the relevant description.
Creating a glossary
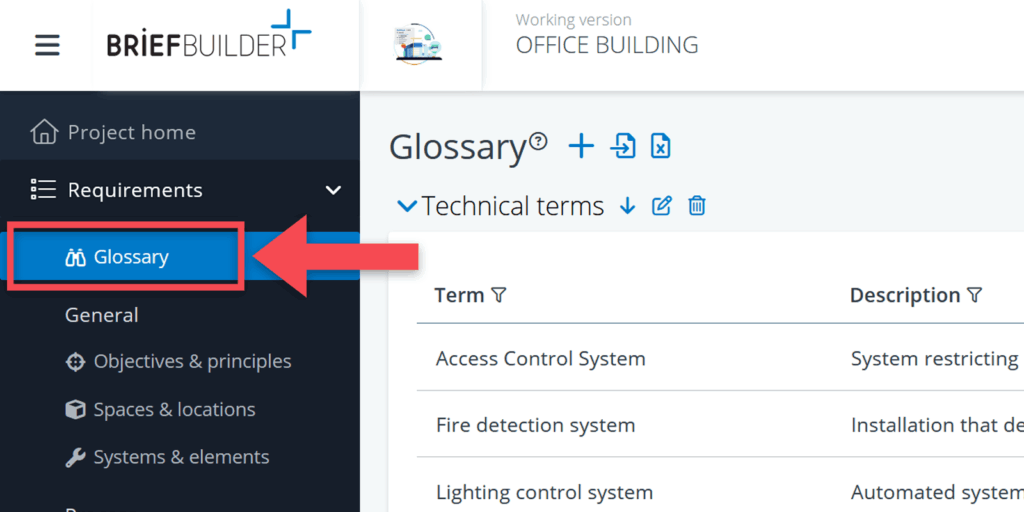
The glossary feature can be found in the navigation menu, as the first menu item under requirements.
Glossary groups
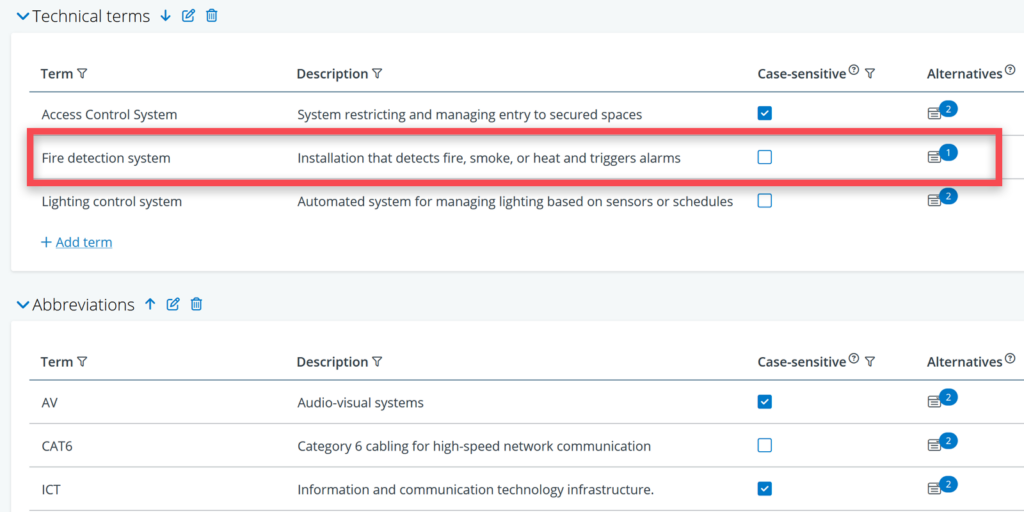
Glossary terms are organized into glossary groups. These groups make it easier to create separate lists for different purposes, such as abbreviations, standards, technical terms, descriptions etc. Groups can be expanded or collapsed on the glossary page for improved readability, especially when managing larger glossaries.
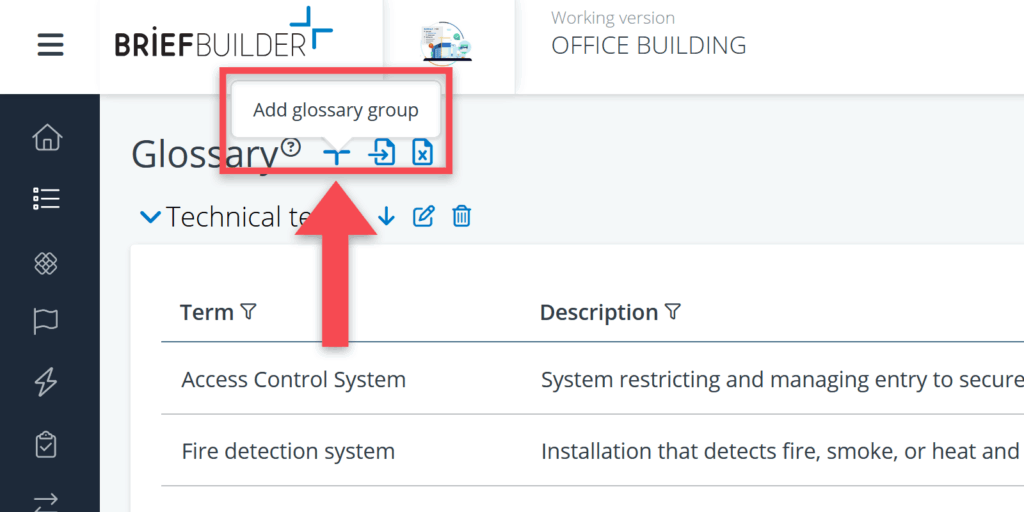
To add a group, click on + Add glossary group.

Adding terms and descriptions
Now terms can be added to the group. To add a term, click on + Add term.
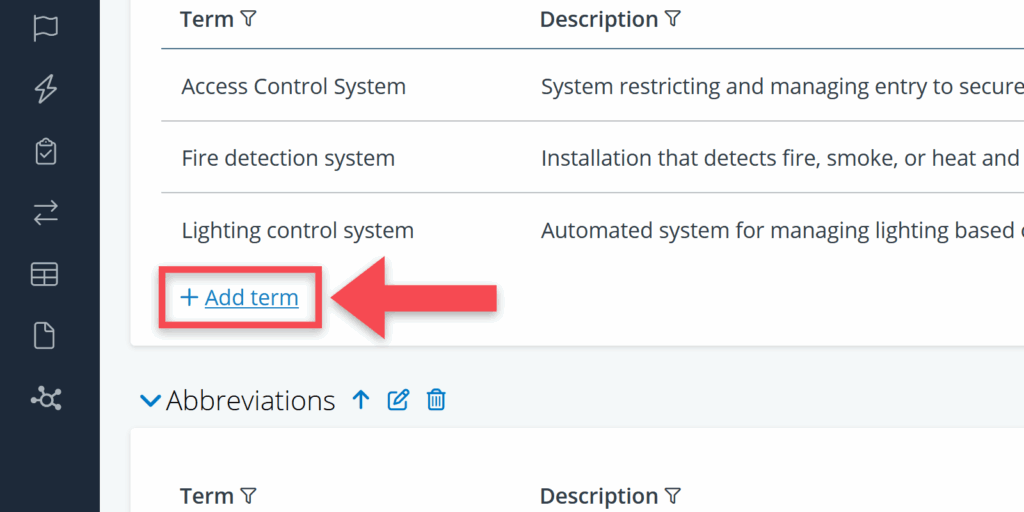
Add a description for the term with its meaning or explanation in the column description next to the term.
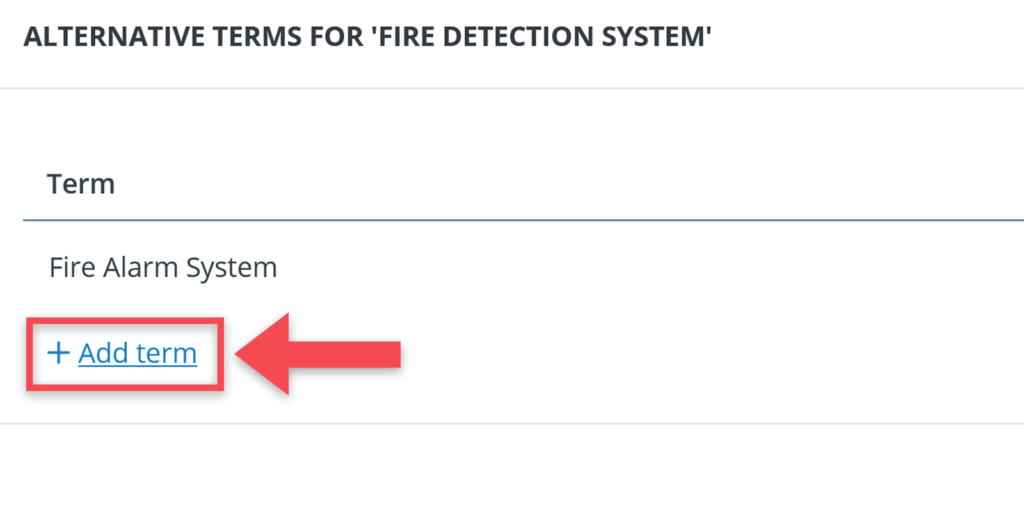
Alternative terms
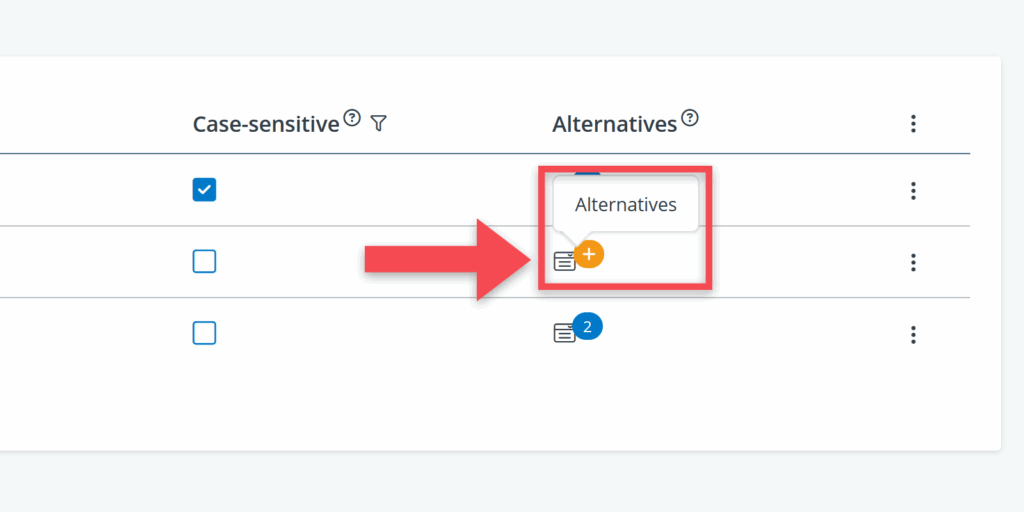
Each glossary term can also contain alternative terms. Alternatives can be added in the alternatives column, using a picklist. These alternatives behave as equivalent terms in the model and are highlighted in the same way. Terms are automatically sorted alphabetically within their group.
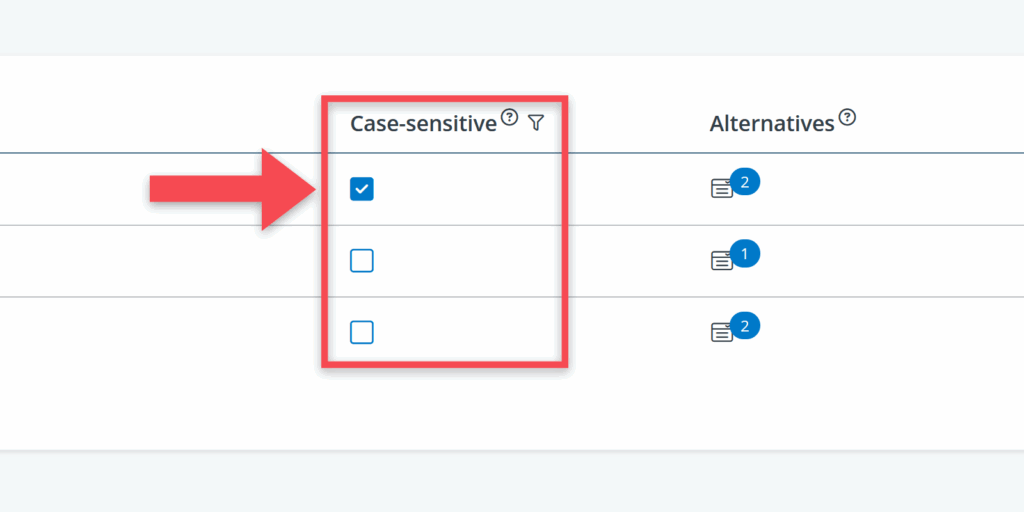
Case sensitivity
Optionally, it is possible to specify whether the list of terms should be case sensitive. Case sensitivity can be enabled for each term individually by selecting the checkbox next to that term in the case-sensitive column.
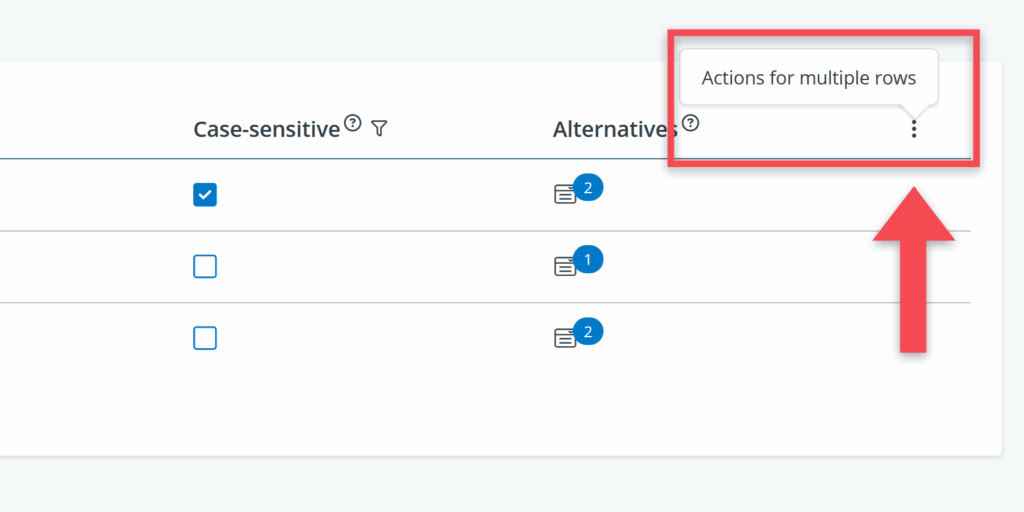
Deleting and moving glossary terms
Terms and can be deleted or moved individually, or in bulk. A multi-select tool can be opened by clicking the three dots in the top right corner of a glossary group. This menu offers the option to move or delete terms.
Or if you want to do it for a single row, click on the three dots to the right of the row itself.
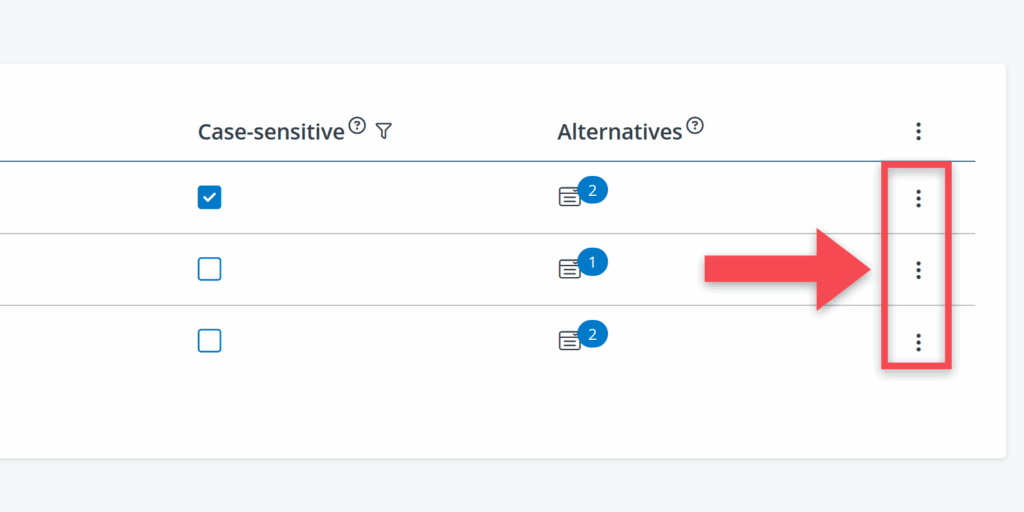
When you click the dots you will be presented with the option to delete or remove.
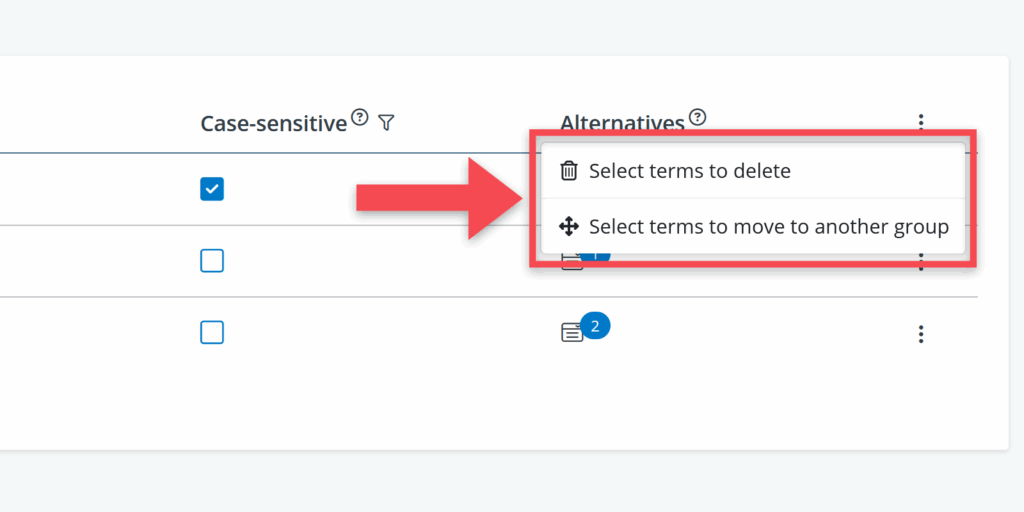
After selecting one of these options, checkboxes will appear next to each term.
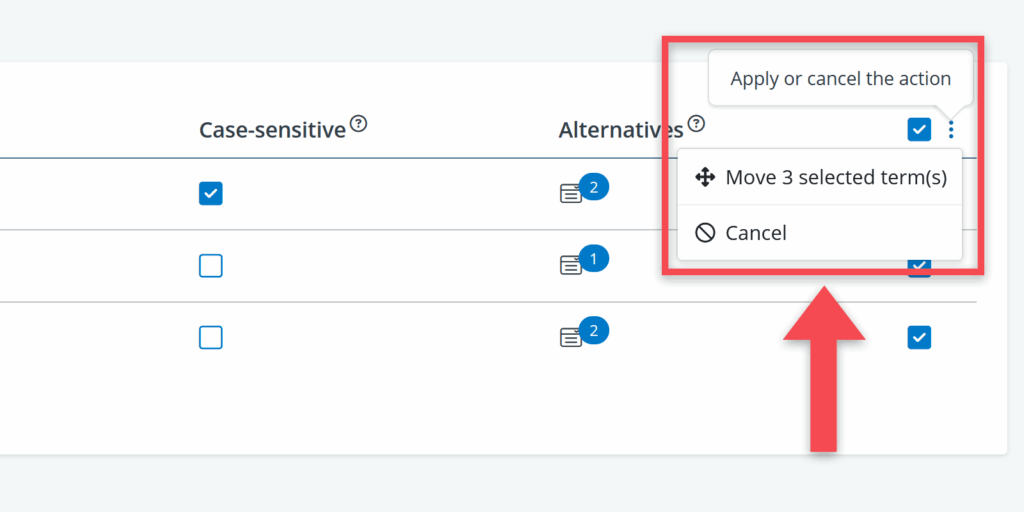
After selecting the terms, click the three dots again and choose delete or move. Choosing move will open a pop-up window in which the group can be selected where the terms need to be moved to.

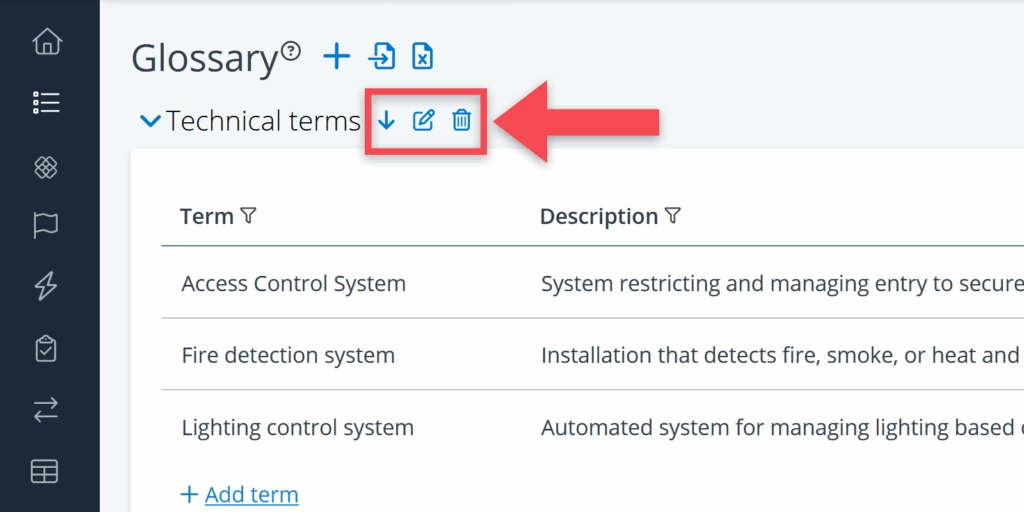
Editing, deleting and moving glossary groups
Next to the name of each glossary group are a couple options to edit the group.
- click this to open a pop-up window where the group name can be edited.
- use the up or down arrows to move a group higher or lower in the list.
- click this to delete a group and its terms as a whole.
Glossary in Word reports
When making a Word report, you will have the option to include or exclude the glossary. By default, it is included. It will is placed at the end of the report and will contain only those terms that are present in the report.

Export & import
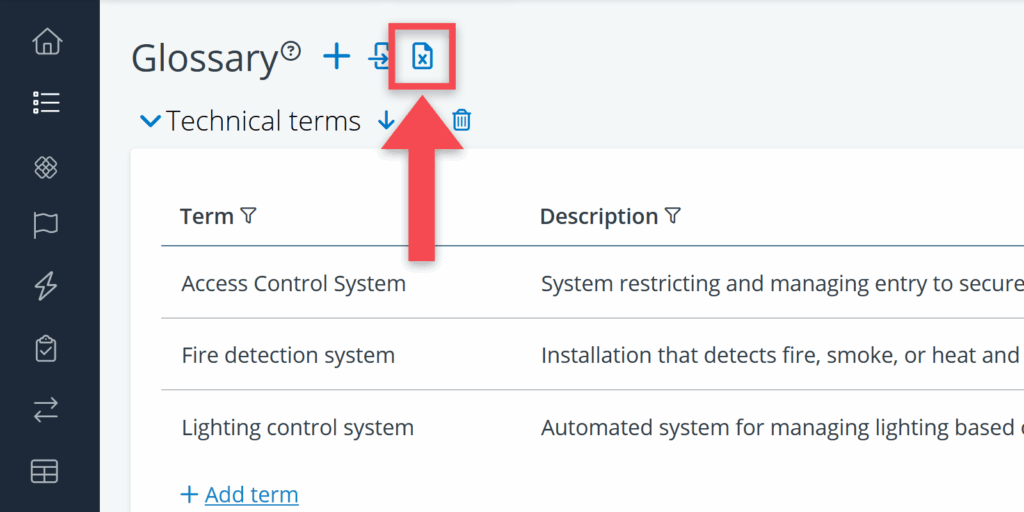
Exporting glossary to Excel
Glossaries can be exported to an excel sheet by clicking the export button in the top left corner of the page.
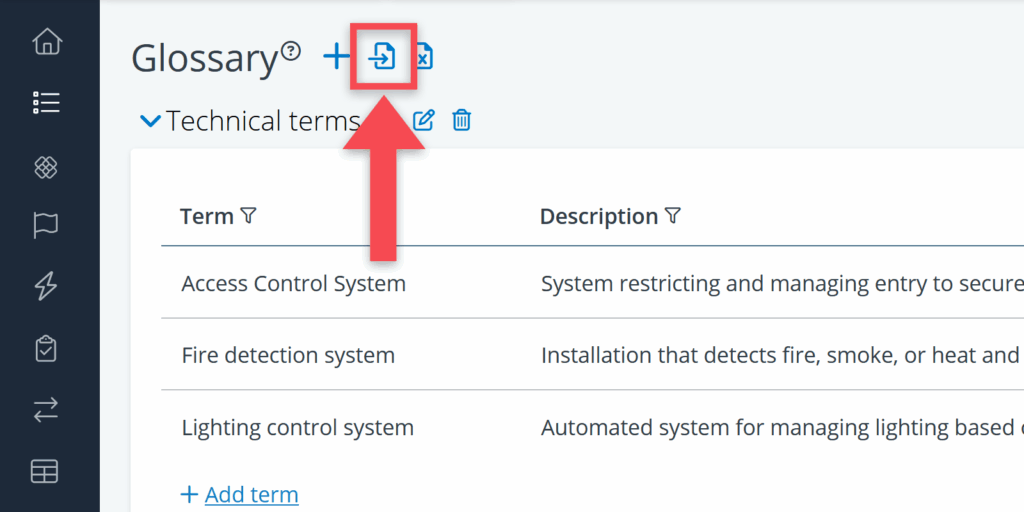
Importing terms from Excel
To efficiently add multiple glossary terms without manually entering them one by one, you can use the Excel import function.
To be able to import an Excel sheets, it needs to feature five columns. For English models, you need one for Group, one for Term, one for Description, one for Case-sensitive and one for Alternatives. You can download templates with these columns at the bottom of this page.
In the Excel, list your terms and descriptions in their respective columns. For every term, define what group they have to be in by listing the group name in its respective column.
To turn case-sensitivity on or off for a term, simply fill in Yes or No in the Case-sensitive column.
To add alternatives, simply list each alternative one after the other separated by semicolons ( ; ).

To import glossary terms, click the Import button at the top of the glossary page, select your Excel file and click on Import. The import file will be processed automatically after that.

Glossary import template per language
As mentioned above, to be able to import terms, your Excel sheet must adhere to BriefBuilder’s format to make sure that it is compatible. To help with this, we have developed empty templates for all supported languages: