When working in the requirements table, analysis table or verification table, requirements can be added in bulk to an existing or new RFC or risk. Your action then applies to all the requirements that are part of your selection (created by using the column filters and/or table selections).
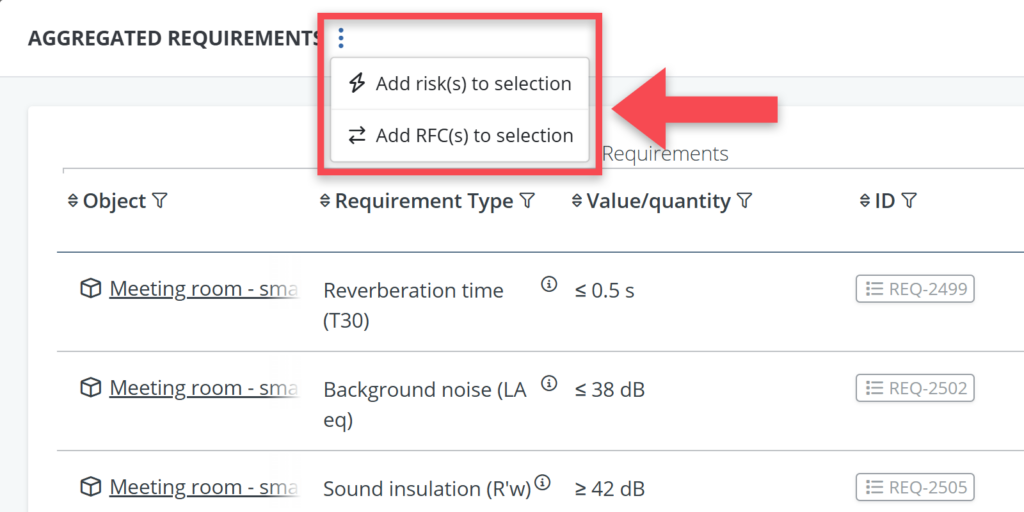
This is done via the more options menu ( ) at the top of the table.
This article explains how both actions work.

Add Risk(s) to selection
To add the selected requirements to a risk object:
- Use filters and/or selections to get the set of requirements that you want to link to a risk.
- Click the More actions menu ( ) at the top of the table.
- Select Add risk(s) to selection.
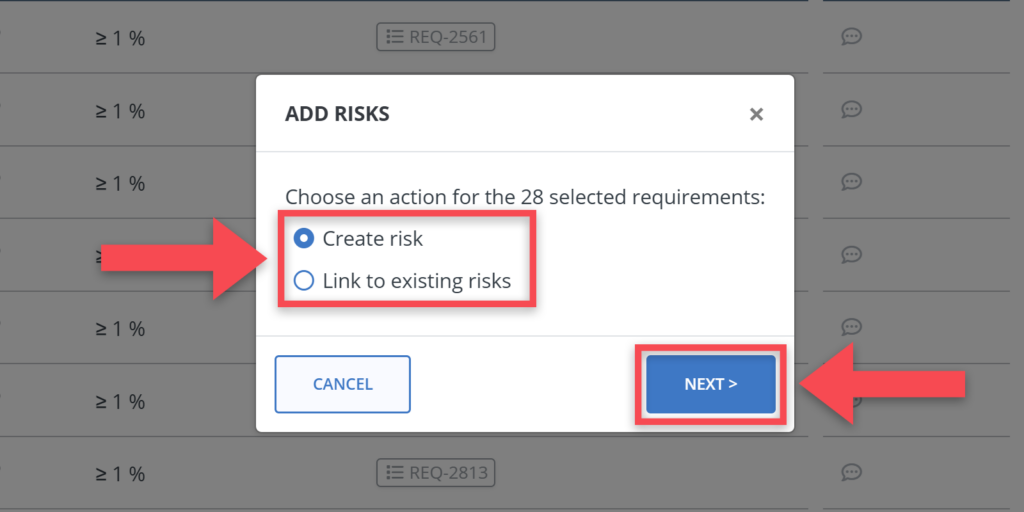
- In the popup, choose one of the following options:
- Create new risk: enter a name for the new risk and click next. The risk is created and all requirements in your selection are linked to it.
- Link to existing risk: click next to see a list of existing risks. Select one and confirm. All requirements in your selection are linked to the selected risk.
- Close the pop-up to return to the table. Risk counters on affected requirements update accordingly.
Add RFCs to selection
To add the selected requirements to an RFC:
- Use filters and/or selections to get the set of requirements that you want to link to an RFC.
- Click the More actions menu ( ) at the top of the table.
- Select Add RFC(s) to selection.
- In the popup, choose one of the following options:
- Create new RFC: after selection click Add. The RFC is created and all requirements in your selection are linked to it.
- Link to existing RFC: click next to see a list of open RFCs. Select one and confirm. All requirements in your selection are linked to the selected RFC.
- Close the pop-up to return to the table. RFC counters on affected requirements update accordingly.

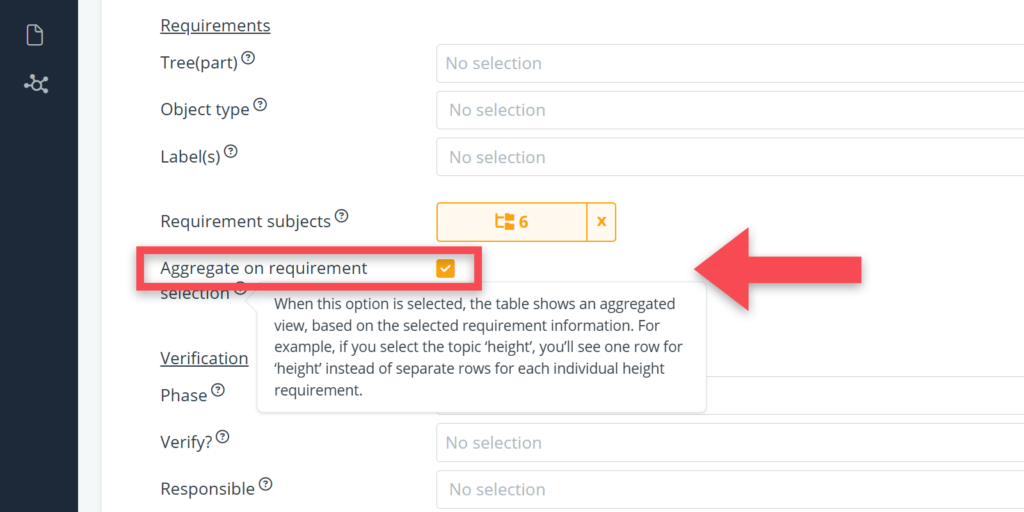
Using bulk RFC or Risk in an aggregated table
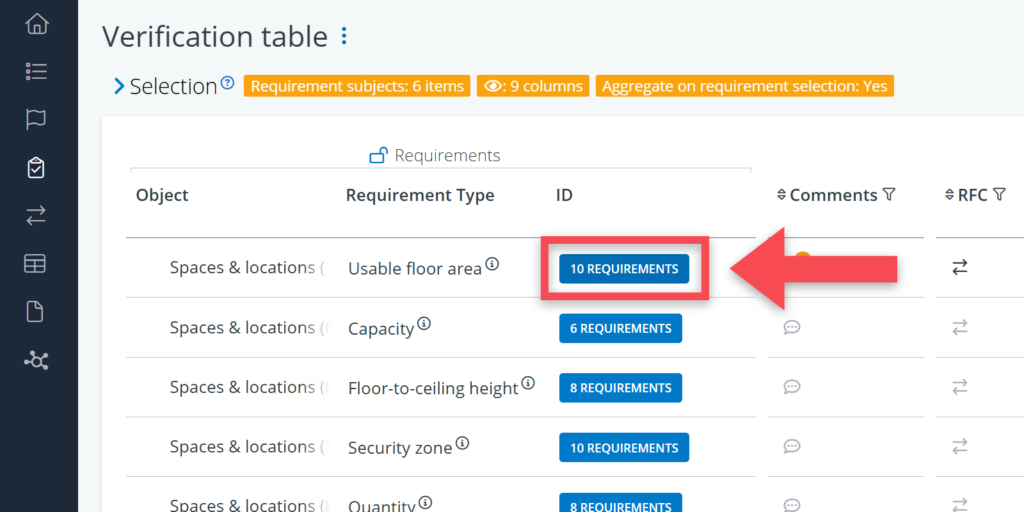
When using the aggregate option in your table selection (see screenshot below), adding RFCs and risks to your selection works a bit differently.
In an aggregated table, you can only do the action per row. You first have to click on the blue requirements counter in the ID column (see screenshot below), and then you can do the bulk action in the pop-up.