
There are two ways of adding files (images, diagrams, …) to BriefBuilder, both of which will be explained in this article.
- Uploading an image, diagram, document or other file to an object
- Uploading an image, diagram, document or other file to a property
Both of these options allow you to preview an image or a file without downloading it first.
Uploading a file for an object
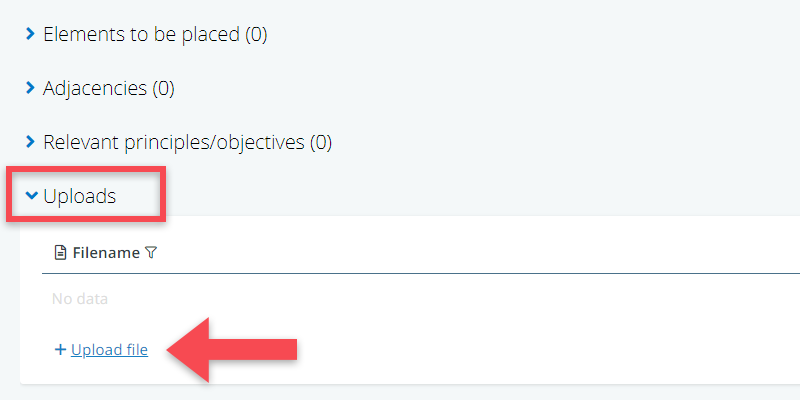
If you have an image, diagram or other type of file that is applicable to an object as a whole, you can use the upload table on an object’s detail view to add this file.
Steps to follow:
- Save the image that you want to use (in Word: click on the right mouse button when standing on the image and then select “save image as”), or look up the file that you want to upload on your device or your DMS if you are using one.
- Go to the table Uploads, which is the last table on the detail view (bottom of page)
- Upload the file
- If relevant, add an explanation or page reference in the Note field.
Uploading a file for a property
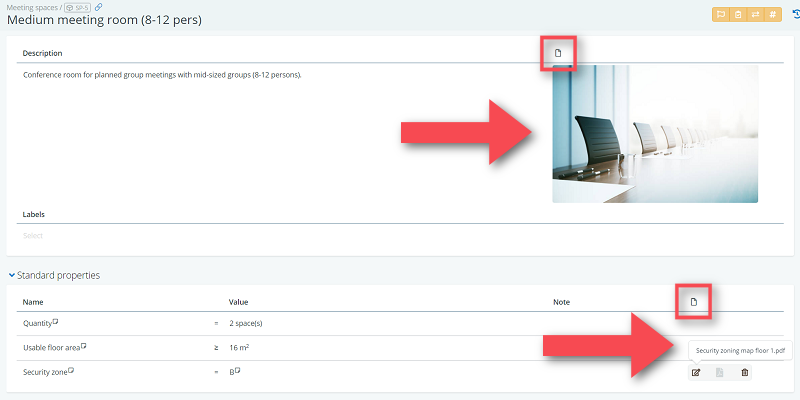
Images or other files can also be added to a description or a specific property as a supporting file. This can be very useful if you have a requirement about, for example, a room’s layout: you will be able to add a visual representation of that layout to supplement that requirement.
You can add any file type as a supporting file, but images (with extensions such as .PNG or .JPEG) will actually show a preview image once uploaded. The icon of the supporting file will also change according to file type (i.e., a file with a .PDF extension will have a document icon).
Steps to follow:
- Save the image that you want to use (in Word: click on the right mouse button when standing on the image and then select “save image as”), or look up the file that you want to upload on your device or your DMS if you are using one.
- Go to the description or property that you want to upload the file to and click on the final column with the file icon
- Upload the file
- Optional: refer to the file by name or by naming ‘supplementary file’ in property value text (e.g. “See supplementary file”)