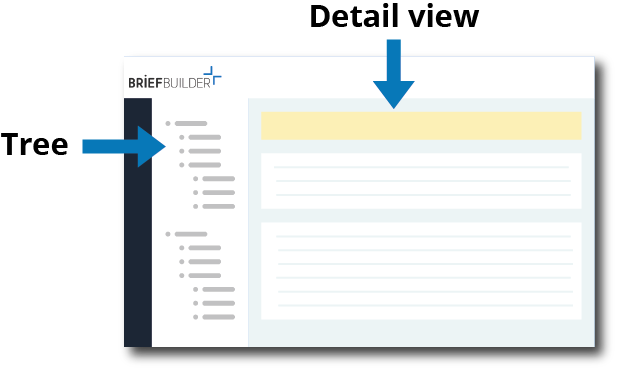
All the core content in BriefBuilder is presented in the same way: on the left side there are ‘trees’ of objects (e.g. spaces) and on the right side there are ‘detail pages’ that show an object’s details (e.g. floor area, indoor climate requirements etc.). In this article, we will explain what trees are.
The word ‘tree’ is database speak for a break-down or decomposition of a particular parts of a project, using particular types of objects. In the space tree, for example, the object ‘building’ can be broken down in the spaces that should be part of that building. Likewise, in the technical tree, the object ‘power system’ can be broken down into smaller objects such as ‘power sockets’ and ‘cabling system’.
There are a number of things you can do in/with a tree. See below for a brief overview.
Creating objects
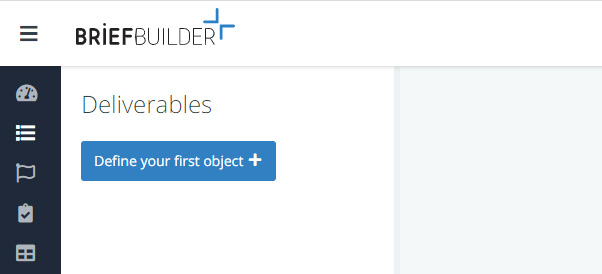
Assuming you have edit rights, you can start with building your ‘tree’ by clicking on the button ‘Define your first object’.
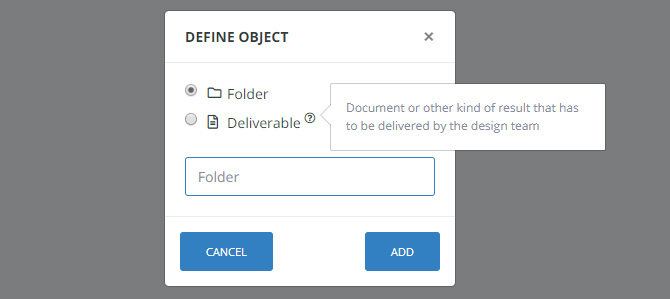
If you click on this button, you will get a pop-up that shows you what kinds of objects you can create. You have to choose an object type and then add a name. You click on the ‘ADD’ button to actually create the object.
Actions for objects
Once you have created an object, there are various possible actions that can be done by using the action buttons that appear behind the object’s name when you click on it.

The possible actions are:
| Add | Add new (sub)object | |
| Rename | Edit the name of the object | |
| Clone | Make a clone (‘copy’) of the object. NB with the ‘advanced options’ you can clone an object as a different type (e.g. turning a system into a spatial element) | |
| Delete | Delete the object |
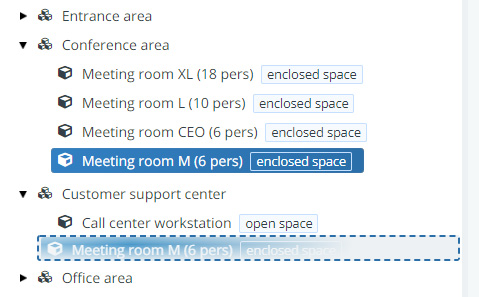
Re-positioning objects
To move an object to another spot in the tree, you have to click on the object and hold on to your mouse button. While holding on to your mouse button, you can move the object.
The blue dotted line indicate where the object will be ‘dropped’ if you release your mouse button.
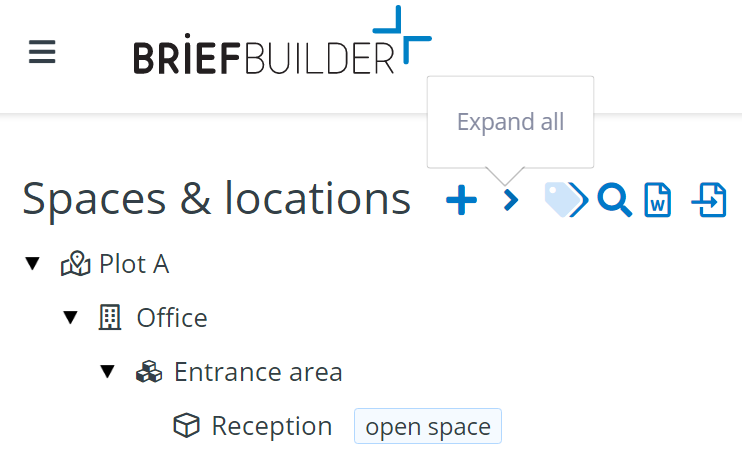
Expanding / collapsing the tree
To expand (show all objects) or collapse (only show top object) the tree, you have to click on the icon at the top of the tree.
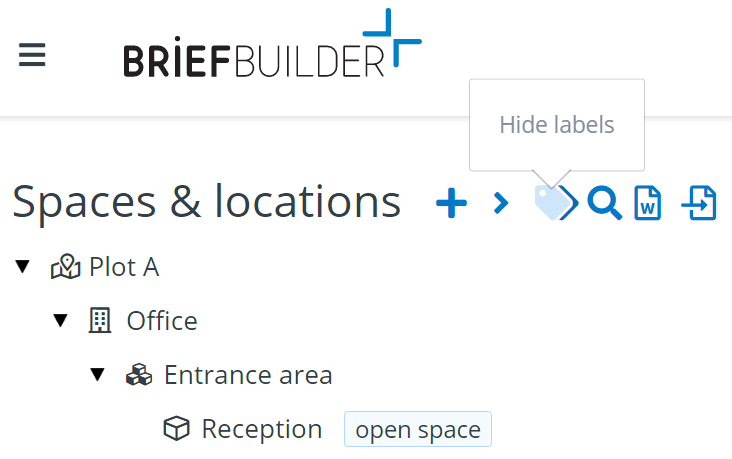
Hiding / viewing labels
It’s possible to add labels to objects in the tree. If there are a lot of labels present in your project, the tree can sometimes start to look a little crowded. To hide or view labels, you have to click on the icon.
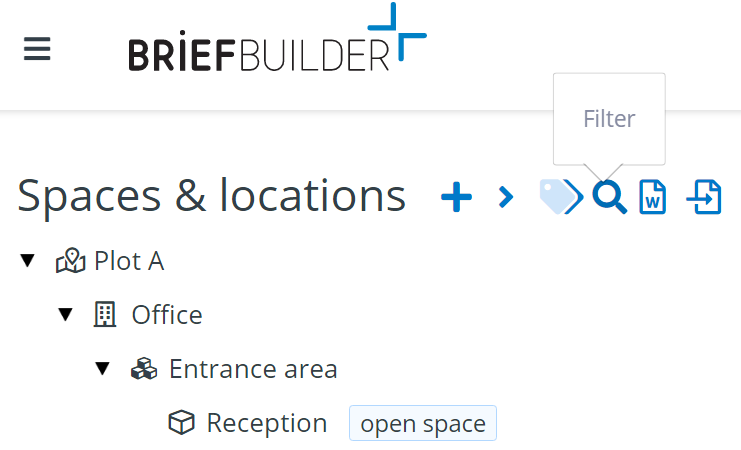
Searching / filtering in the tree
When clicking on the icon, you will get a search window that you can use search in the tree on object names and/or object labels.
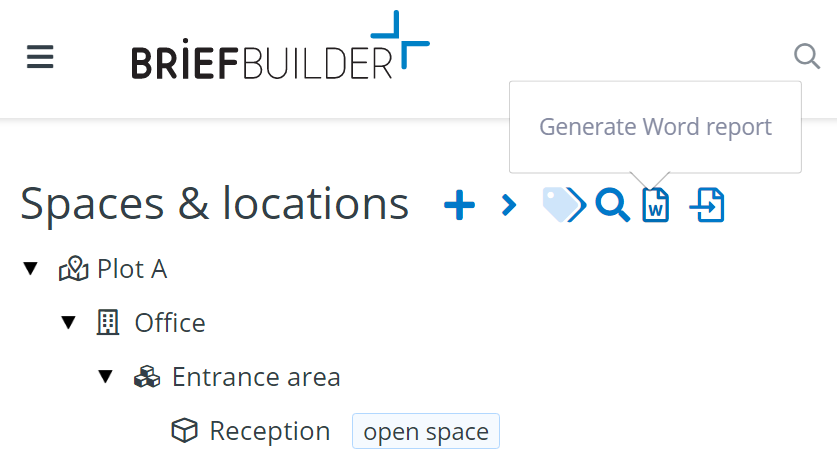
Making a Word report per tree
You can download a Word version of all the information in the tree (the detail views of all the objects that are in the tree) by clicking on the icon. Depending on the size of the tree, it may take some time to download the report. You can find the report in the download folder of your computer.
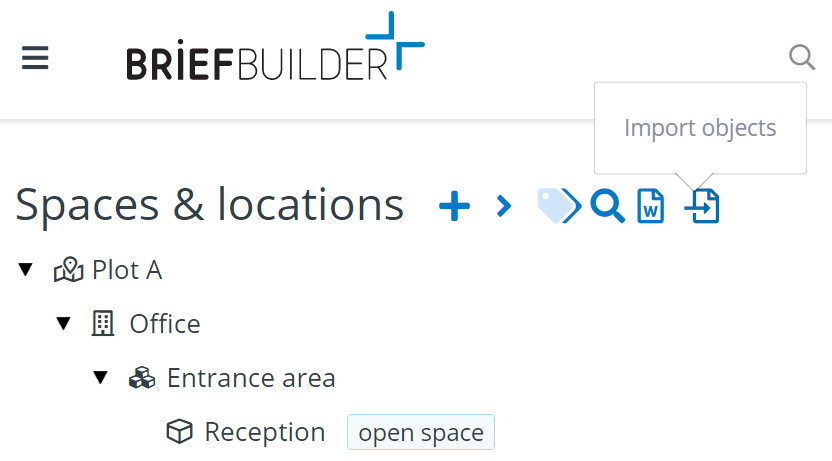
Importing objects into the tree
You can import objects from different projects in your environment or even via a special import Excel file by clicking on the icon. Depending on the size of the import (and especially if including related objects), it may take some time to add all new objects to your tree.