
When creating a new project model, you may not want to start from scratch, especially not if you have already done a number of projects in BriefBuilder.
It can, for example, be that you have specified an excellent set of requirements for a conference room in one model, which you then want to re-use for another model. Or, that you have made a requirements library for a particular type of asset (a school building, a bridge, a bicycle path, …) which you want to use as a source for own model.
To make this possible, we have developed an import function. That sounds very technical, but it is an easy-to-use feature that allows you to pick and choose objects from other models and to copy these to your own model. When doing so, you will get the properties, labels and description of those objects, and – optionally – also all the related objects.
See below for an explanation for how this works.
Steps
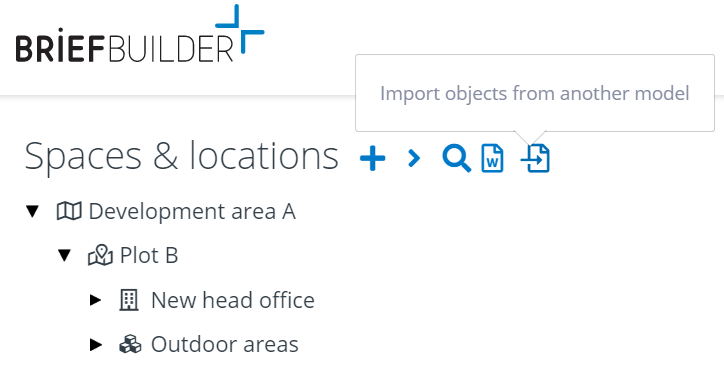
The import button () can be found in header menu of a tree.
When clicking on this button, you have to go through four steps:
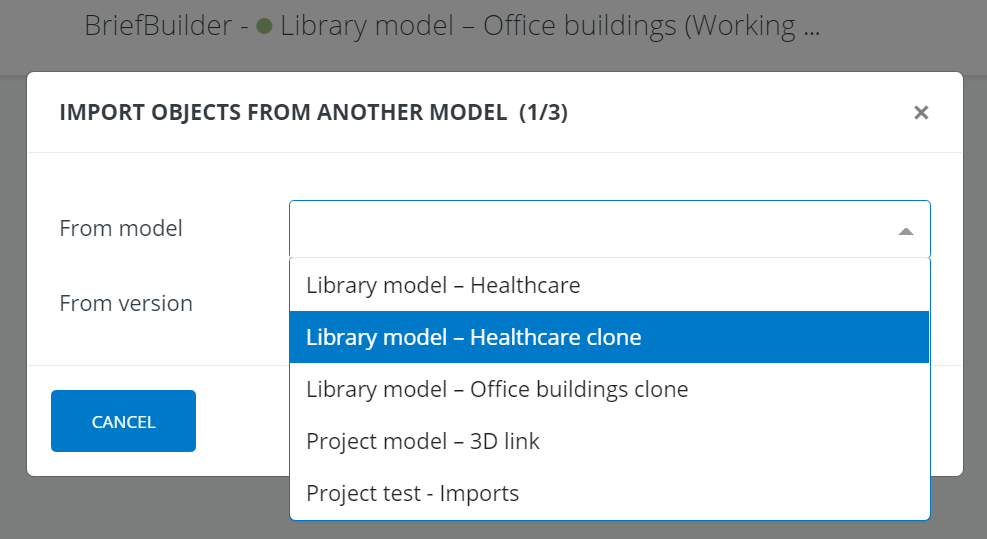
Step 1: Select model
First, you have to select from which model you want to import objects. This can be another project model or some kind of library model.
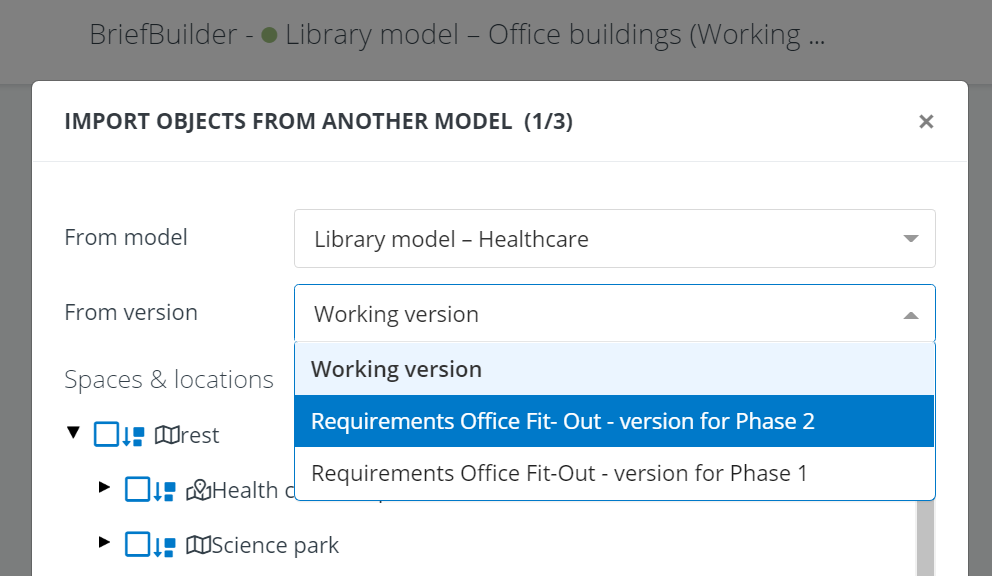
Step 2: Select version
Project models and library models may have different versions. So the second step is to select from which version of the model you want to import data.
(NB if you first want to check how versions differ from one another, you can go to the project models overview and use the compare function)
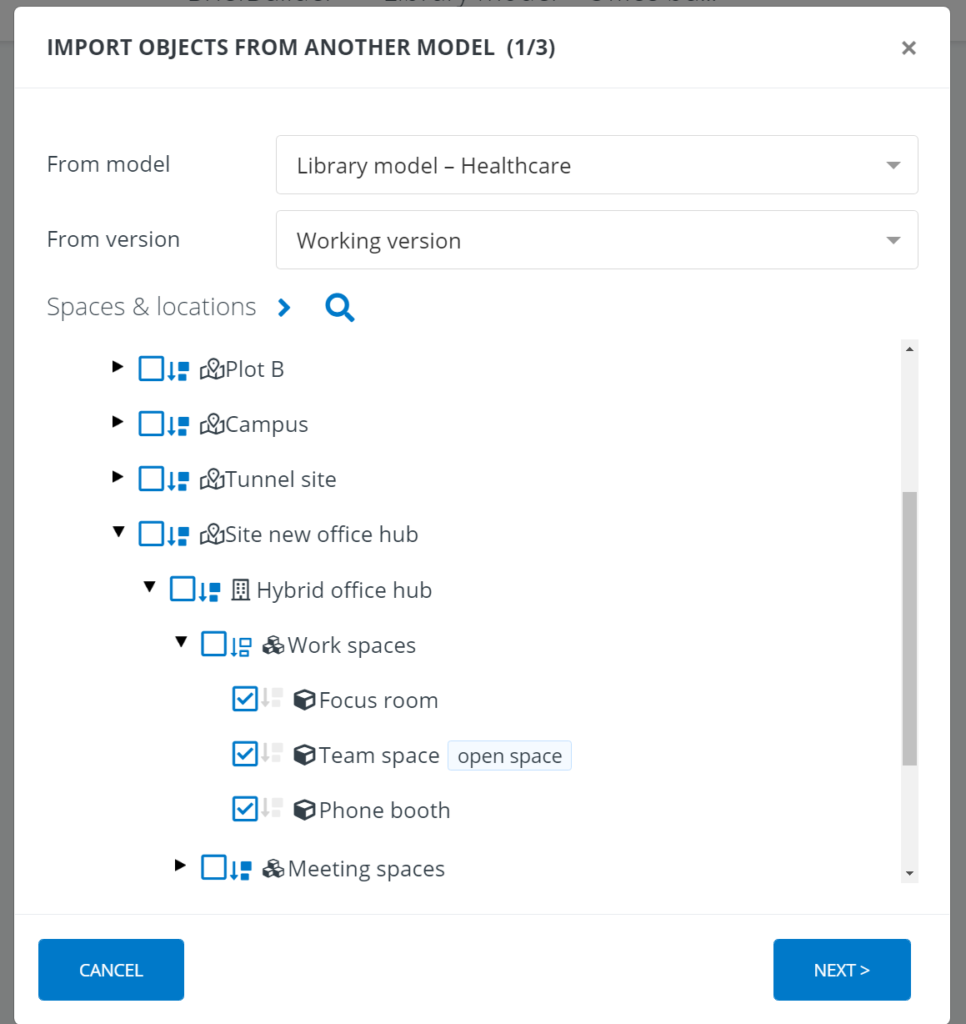
Step 3: Select objects
And then, the most important step, which is the selection of the objects from the source model that you want to use in your model. You can select one object, a few, or even an entire tree (although when you are importing multiple trees from the same model, you may want to consider cloning a model rather than importing data).
Step 4: Select whether you want related objects as well
When importing an object from one model to another, you will automatically get its descriptions, its labels and its properties.
The question is whether you want more than that. You probably do. In BriefBuilder, objects are typically related to other objects and those relations are just as important as the properties of an object. The question is how far you want to go in this.
There are four options you can choose concerning related objects (as shown in image below):
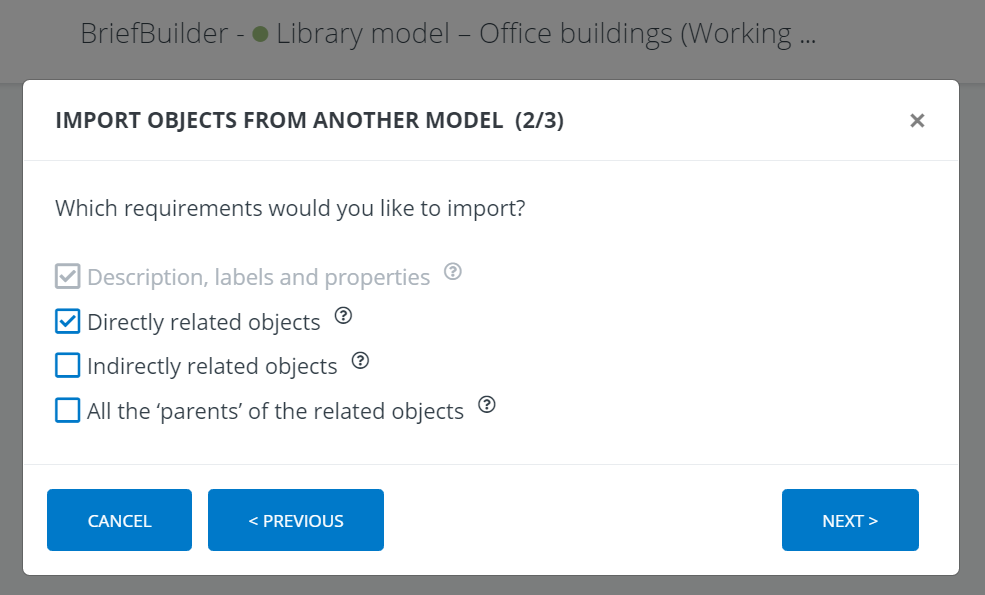
Option 1: No related objects
You only get the selected objects’ description, labels and properties. Nothing else. This is the default option.
Example: if you want to import a meeting room, you will get its properties (e.g. concerning size, acoustics and temperature levels). But, you will not get the spatial elements that are linked to that space (e.g. meeting chairs or power sockets).
Option 2: Directly related objects
When selecting this option, you will get all the objects that are directly related to the object that you have chosen.
Example: if you want to import a meeting room, and you will not only get that room but also all the spatial elements that are related to it – for example meeting chairs and power sockets.
Option 3: Indirectly related objects
With this option, you not only get the directly related objects, but also all the objects that are related to those objects. You get the entire network of objects so to say.
Example: when importing that meeting room, you not only get that meeting chair with it, but also the standards that are possibly related to that chair.
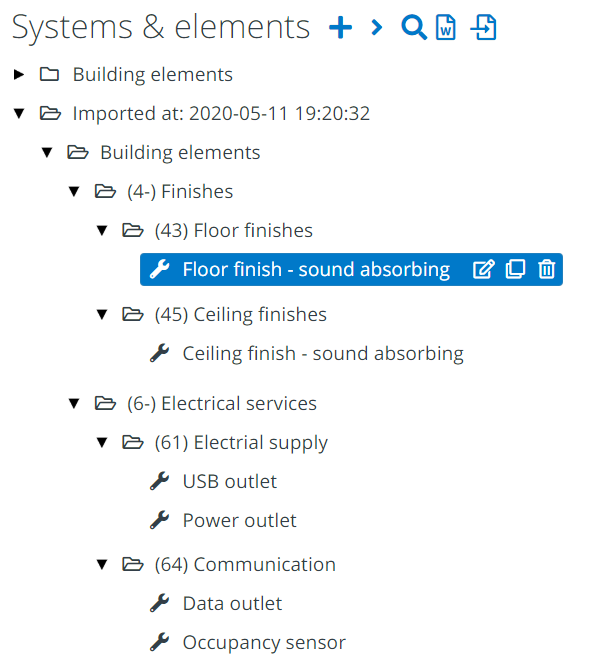
Option 4: All the parents of the related objects
When adding this option to the other ones, you also get all the ‘parents’ of the related objects. Parent is database speak for the object that is above another object in tree structure. Typically it is the folder structure of which the object is a part, but for a spatial element it may also be the system of which it is part.
This option is very handy in the sense that the related objects will be imported in a ‘neat’ structure, instead of just being placed in a long list. This is particularly useful when starting up a new project model. Please note however that this option comes with potentially lots of new objects.
Example: when getting the earlier mentioned meeting chair, you do not only get those chairs, but also the folders above it, which may be called seating, furniture, fit-out elements, and so on.
See the two images below to see the difference between including parent objects or not.
As a rule of thumb, we recommend that you include the parents when you want to import data into an empty model. If you are importing data in a model that already has an extensive tree structure, you probably not interested in the parent objects.

Step 5: Select which additional info you want to import
Requirements may be linked to analysis items, to verification plans and to verification outcomes.
You can choose whether you want to incorporate any of this information in your import.
It can, for example, be practical to include the verification plans in your import.
