In BriefBuilder, objects can be related to other objects. For instance, a space might be related to spatial elements, equipment items, activities, etc.
In some cases, the number of relations can be quite extensive, resulting in long lists on an object’s detail view. To create a better overview, you can divide relation tables into relation subtables, e.g. making subtables per discipline.
This process helps users organize large sets of related items into manageable groups.
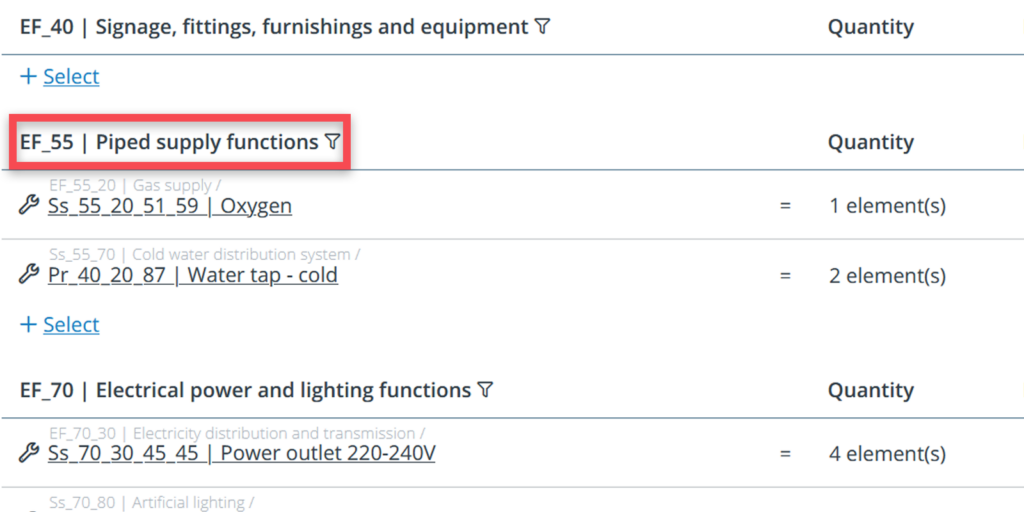
Each subtable is distinguished by its own header and corresponding relations. The subtable header can be selected from the folders that are being used in the tree structure of the related object.
Below, we will explain how to do this.
Subtables settings menu
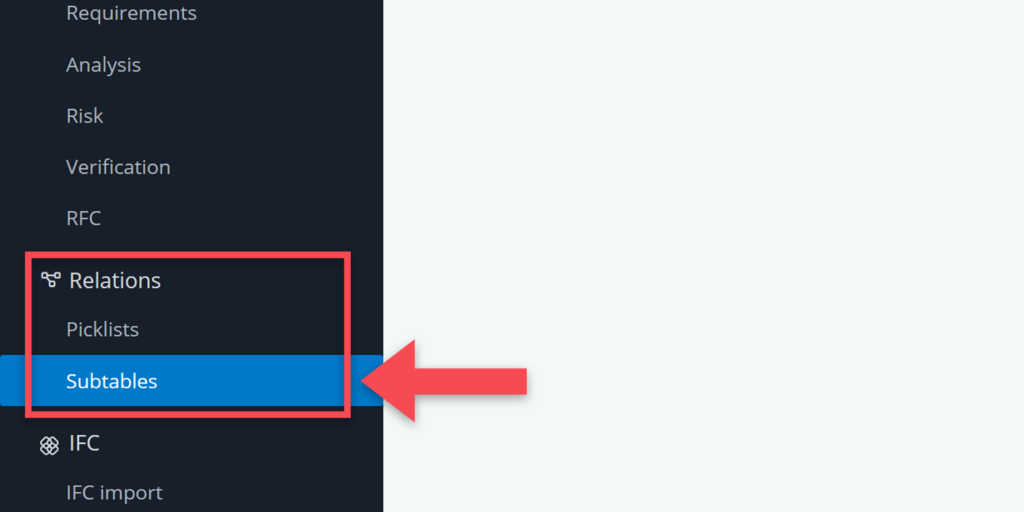
In the default set-up of a BriefBuilder model, there are no subtables configured. To do so, you have to go to Relation subtables under settings in the navigation menu.
Navigating to settings
There are two ways to get there. One way, like we mentioned earlier, is to use the navigation menu on the left-hand side of your screen and select Relation subtables.
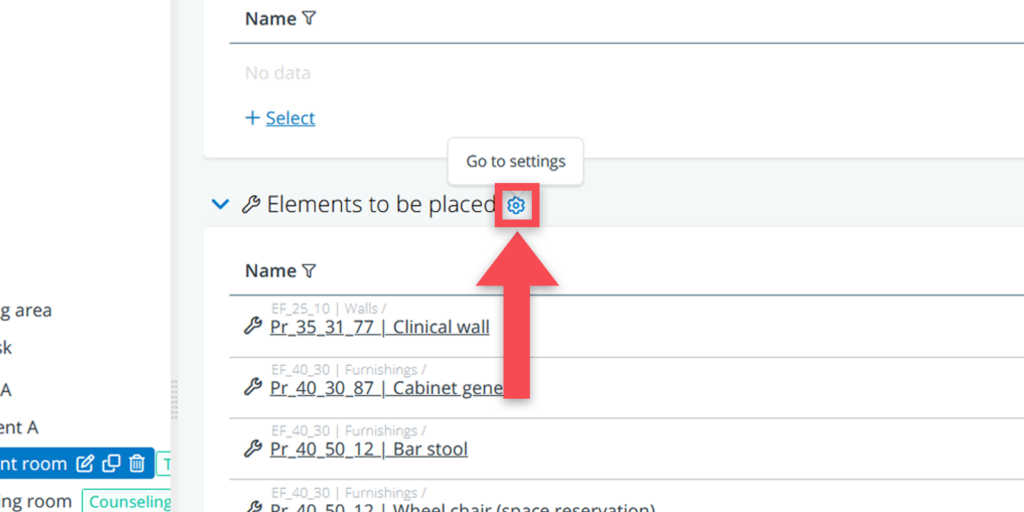
The other way is to click on the small cogwheel icon above the relevant relation table on the object’s detail view. This action will direct you immediately to the relevant settings menu for further adjustments.
Making your selection
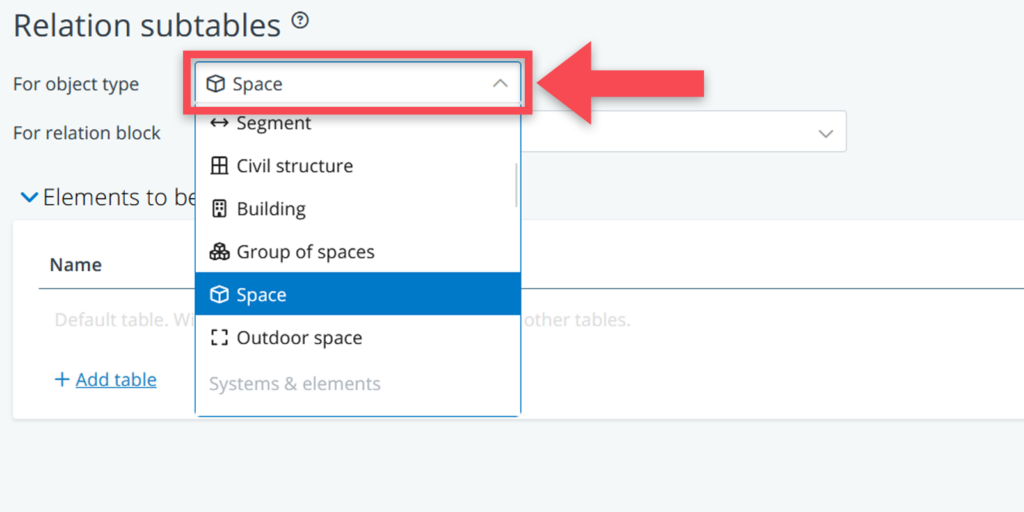
Once inside the menu, you can start configuring how relation subtables should be displayed. We begin with selecting the object type and it’s relation.
You will find two selections with drop-down menus for configuring the relation subtables. The first, labelled For object type, is where you choose the object for which you want to configure relation subtables.
The second selection, called For relation block, allows you to select the relation block for which you want to add or modify subtables.

Configuring subtable headers
You are now ready to select and configure your subtable headers.
Adding subtables
Click on +Add table to start selecting.
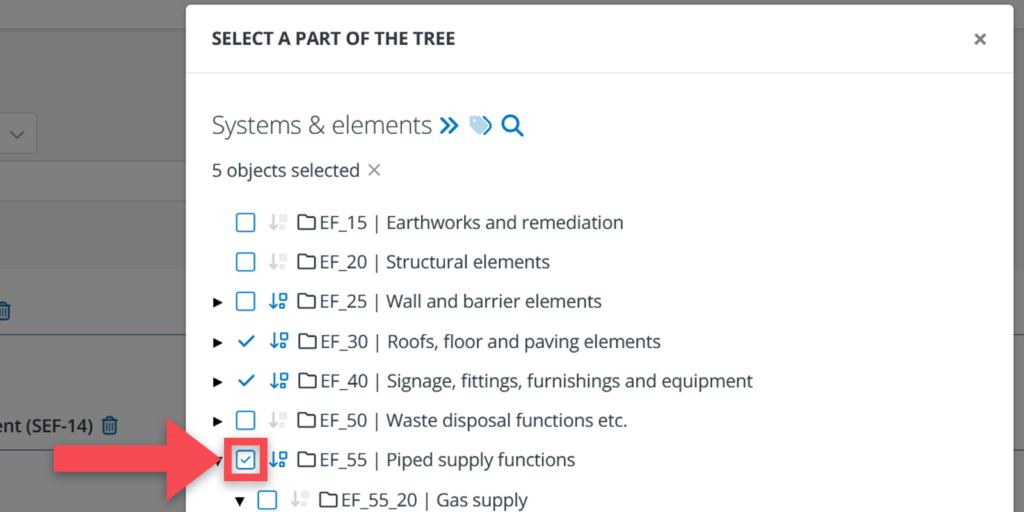
A menu will open in which you can select the folders that you want to use as subtable headers. To confirm click on Select at the bottom of the menu. The folders will now be used as subtable headers.
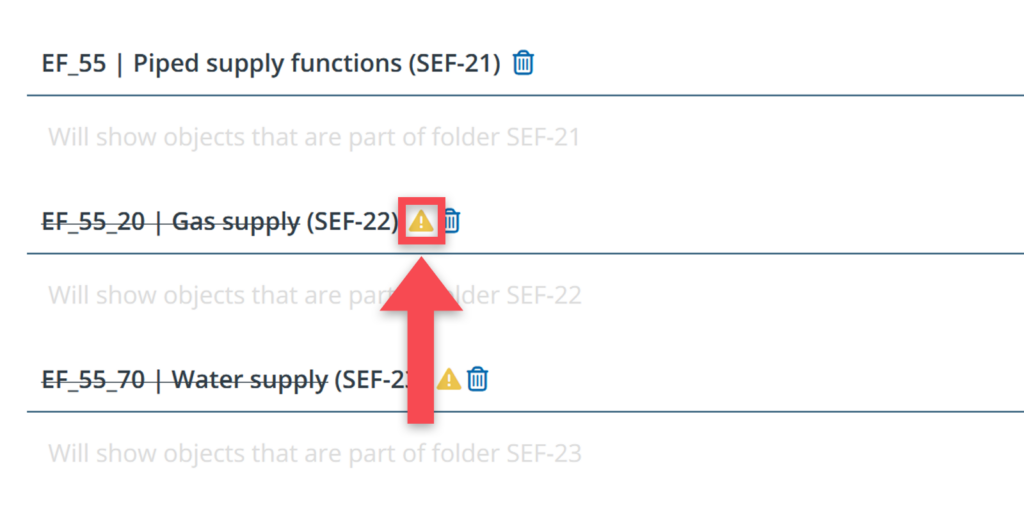
Please note: a subtable won’t work if you have selected a folder that is already part of another subtable. If you select such a folder, you will see a warning icon next to it (saying This table will not be shown because its content is already part of another table.)
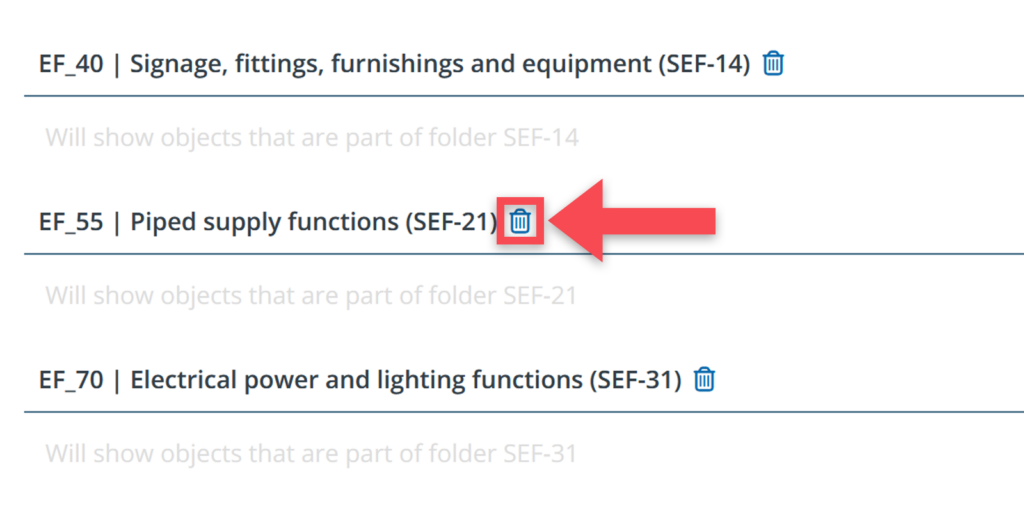
Removing subtables
To remove a header you simply click the trash bin icon next to it. A warning will appear on screen, notifying that you are about to remove a subtable from the list.