
As explained in the requirements analysis article, the analysis feature in BriefBuilder enables users to define ‘tags’ for requirements. Think of tags concerning the requirement’s topic, relevance or the related discipline.
You can define the analysis properties for requirements in the attribute settings, located at the bottom of the navigation menu.

Below, the most important actions within the analysis settings are explained.
Adding analysis properties
The analysis attributes that can be added to requirements are called analysis properties in BriefBuilder terminology. They can be added in the property table of analysis.
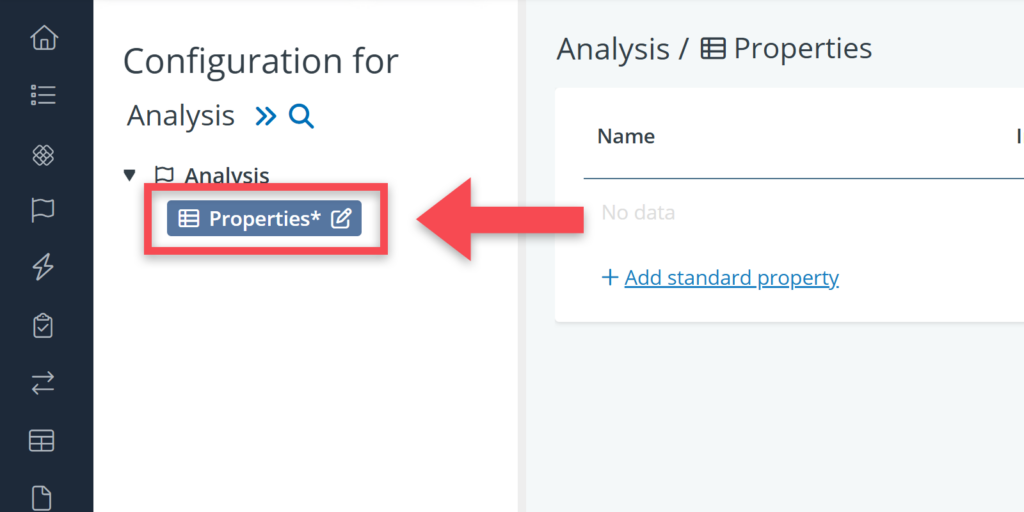
Steps to add analysis properties:
- Click on the default property table in the analysis settings tree (called Properties).
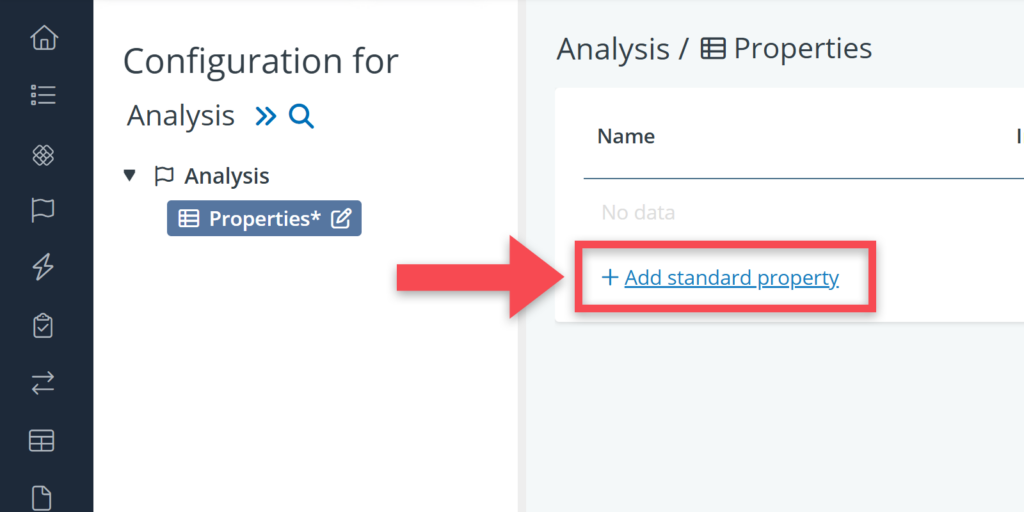
- Click on + Add standard property in the table on the detail view.
- For the new property, add a name, set the input type, icon and so on (see below).
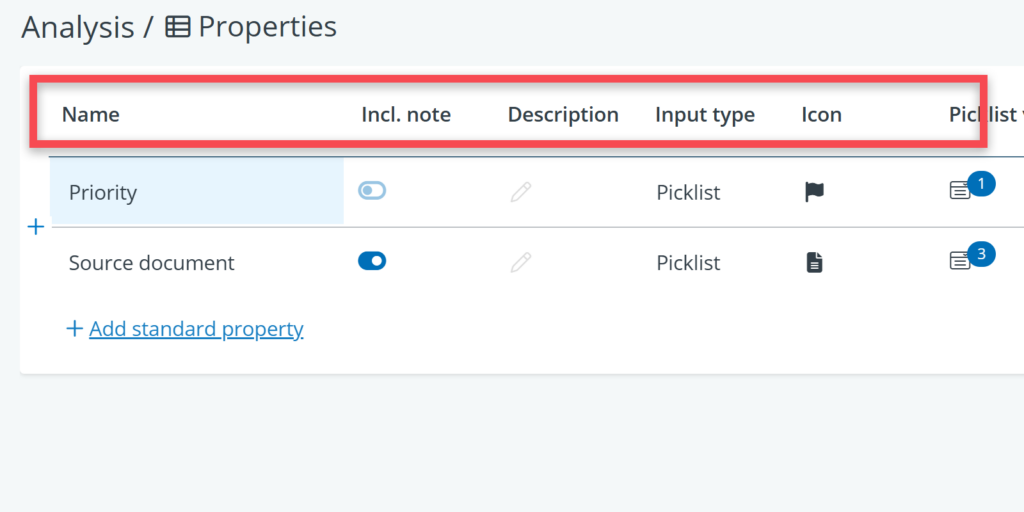
For analysis properties, you can define a number of attributes:
- Name: name of the analysis property, e.g. Source, Stakeholder or Status.
- Incl. note: option to allow users to add a note to the analysis property or not.
- Description: a few explanatory words about the property.
- Input type: the format of values that are allowed, e.g. text or picklist.
- Icon: the icon that will be shown when using analysis on the detail-view of objects.
- Picklist values: the list of values to choose from in case you have chosen picklist as input type. Note that once you have added a value you can also assign a color to it.
Deleting analysis properties
To remove one or more analysis properties, click on More actions ( ) on the right side of the table and select the delete option.
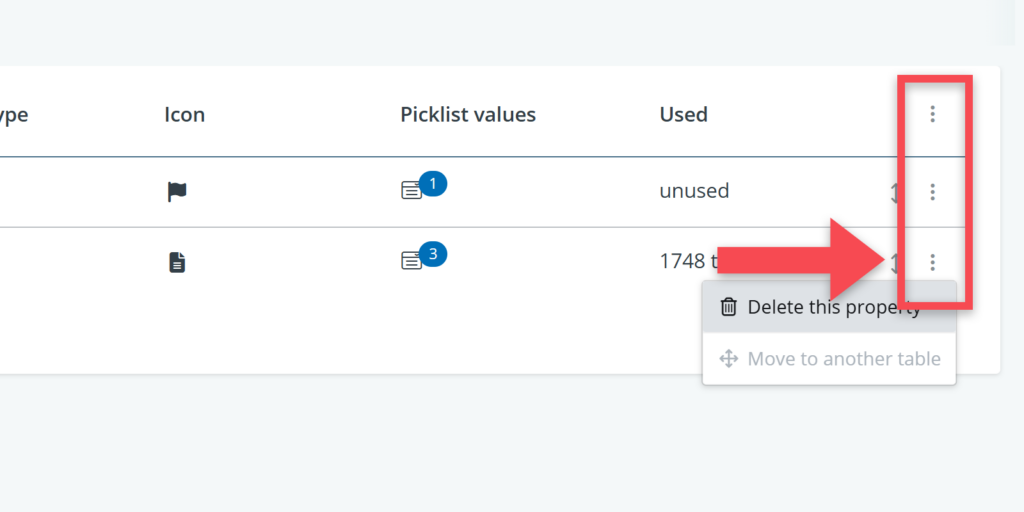
You can delete a single property, but also various properties at the same time if you you click on the More actions ( ) in the table’s header.
Changing the sequence
The change the sequence of the analysis properties use the button at the right side of the table. If you click and hold it you can drag a standard property up or down.

Importing analysis properties
You might have a good set of analysis properties in another model that you want to reuse in your own. In that case, you can choose to import these properties. This can be done via the import property table button () that you see when clicking on the Analysis object (see image below).

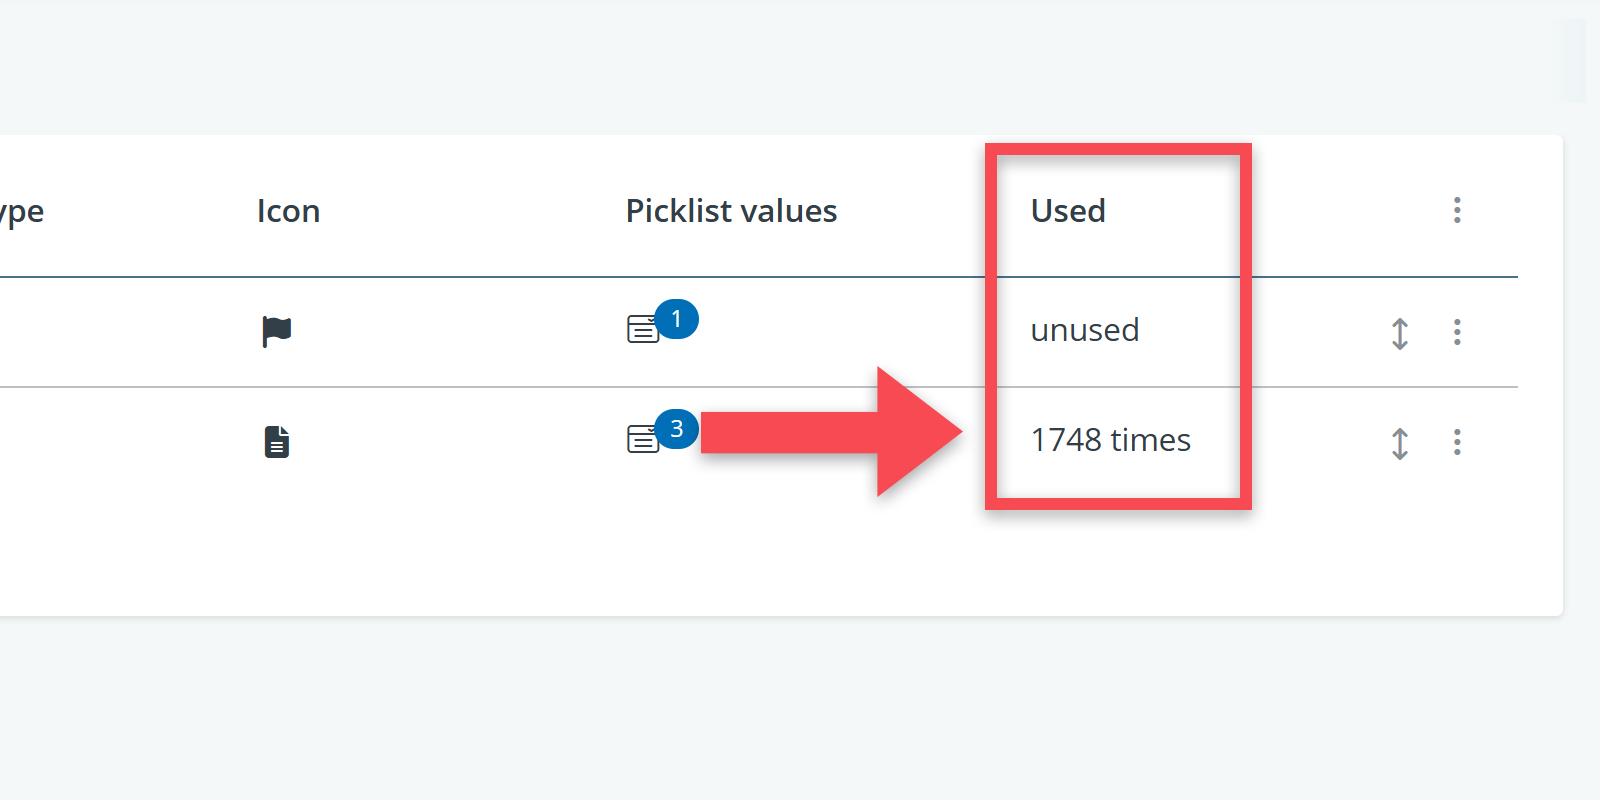
During the import process, the software checks for properties in both the source and target models that share the same name.
If matching properties are found and already in use in your model; none of your property attributes (description, input type, …) will be overwritten. This prevents unintended changes to current data.
However, if the properties have not yet been used in your model, all property attributes from the source model will be imported.