
As explained in the theory section, objects in BriefBuilder (spaces, systems, processes etc.) can have particular properties (e.g. size, capacity or width). You can create these properties on the detail view of an object, but you can also predefine them as standard properties in the requirements settings menu.
You may, for example, want to predefine that spaces should have a property Minimum floor-to-ceiling height, that technical systems should have a property Warranty or that deliverables should have a property Submission moment.
Below, we will explain how to do this. You can also watch the video.
Settings menu
Standard properties can be defined in the requirements settings menu, which can be found at the very bottom of the navigation bar.

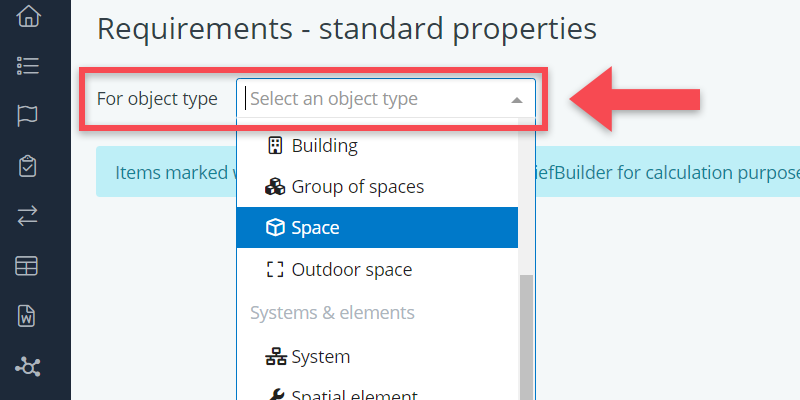
When you have clicked on standard properties you get to see a selection window in which you can select the object type (systems, spaces, spatial elements etc.) for which you want to define standard properties.
Creating blocks
To create standard properties, you first have to create a block. A block is a group of standard properties, usually covering the same topic (e.g. functionality, sustainability, maintenance) under a shared header.
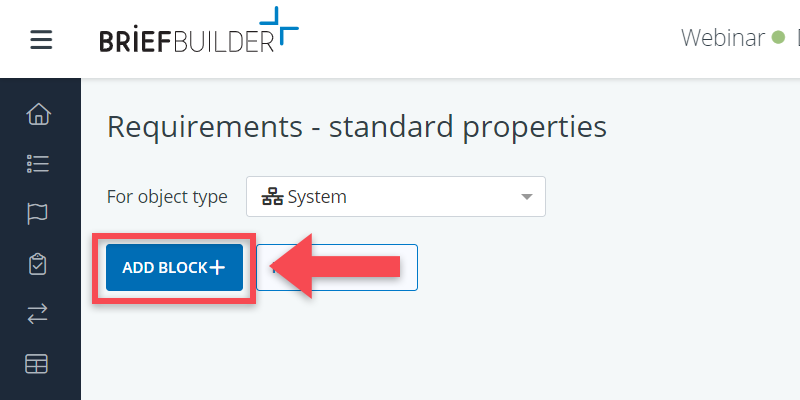
You create a block by clicking on the Add block button.
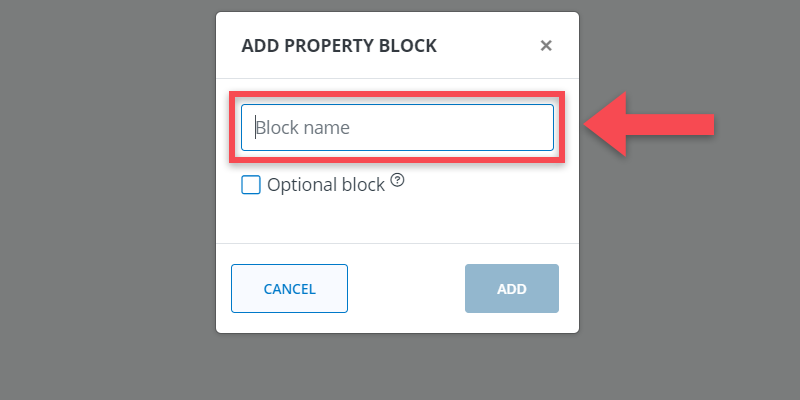
Next, you have to give the block a name. Note: this will also be the name that features on the objects’ detail view.
Next to adding a name, you can indicate whether the block is optional or not.
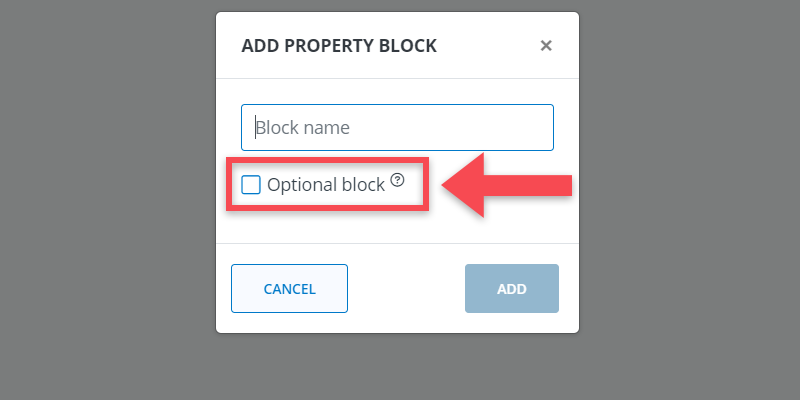
An optional block is a block that it will not automatically appear on the detail view of an object. It can, however, be selected from an object’s detail view, as explained here.
The general recommendation is to make a block optional if it is relevant to only a subset of the objects. For example: when working a university building, and you have a set of properties that are only relevant to the teaching spaces (e.g. with properties concerning sight lines), and not to all the other spaces (office spaces, lab spaces etc.), it is best to make it an optional block.
Creating standard properties
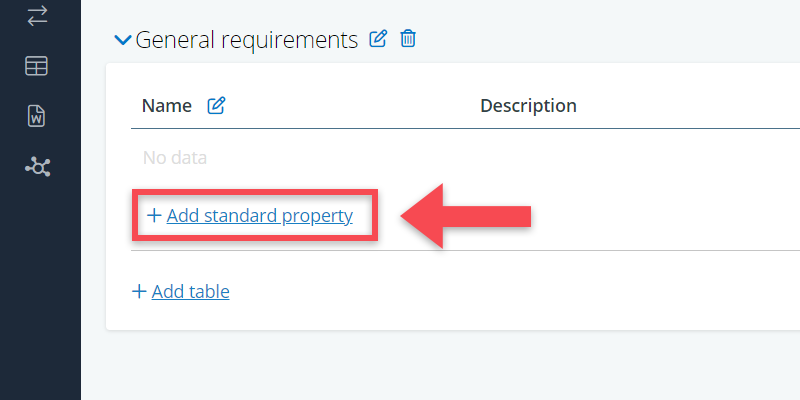
Once you created your block, you can add standard properties to it by clicking on Add standard property at the bottom of the table.
If you do so, you get a row in which you can define the following property attributes:
Name
The name of the property, indicating the quality or topic for which you want to define a requirement. For example, ‘energy usage’ or ‘floor area’.
Description
Some explanatory words about the property, if relevant. Preferably the description is a formal definition from an accepted standard (e.g. an ISO or EN standard).
Comparator
A symbol (>, <, =, etc.) that explains how the property’s value should be understood. Does it, for example, concern a minimum value (e.g. floor size ≥ 30 m2) or a maximum value (e.g. temperature level ≤ 20 °C).
Input type
The type of input that is allowed in the value field. There are four options:
- Text: allows the entry of text values (the most flexible option).
- Integer: allows only whole numbers (e.g. relevant for quantities of elements).
- Decimal number: allows decimal numbers.
- Picklist: enables you to predefine values (e.g. class A, B and C).
- User/role/organisation: allows you to select (BriefBuilder) users, roles or organisations that are tied to your project model (Please note: these are not really property values. This option is only relevant in very specific cases, such as when defining verification settings)
- Date: allows the entering of dates in the format of yyyy-mm-dd.
Unit of measure
The unit in which a value is expressed. For example: is the property value for floor area referring to square meters or square feet?
Picklist values
If you have chosen picklist as input type (see earlier), this is where you can define the value options by clicking on Add value in the pop-up. You can also add a (short) description for each picklist option.
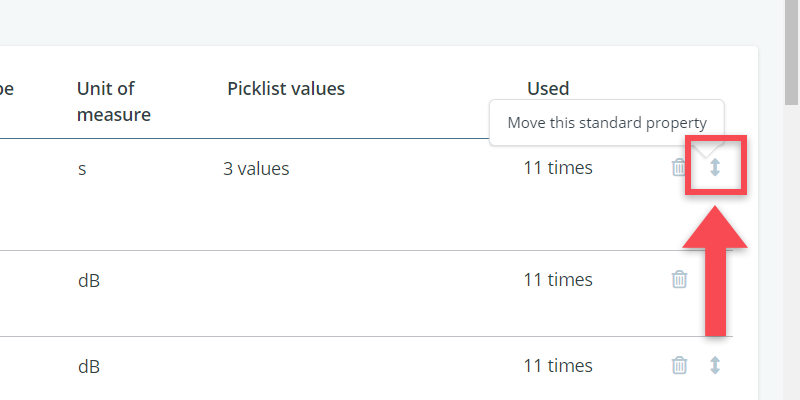
Changing the sequence of properties
You can change the sequence of standard properties in the table by means of the little arrows behind it (). When clicking on those arrows and holding on to your mouse button, you can move properties up and down.
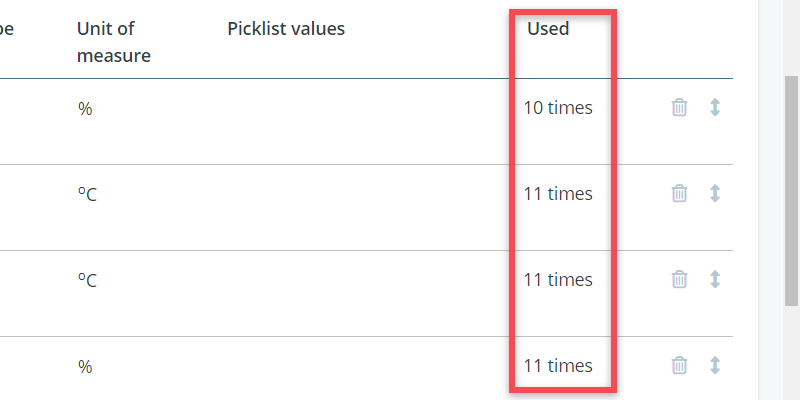
Deleting standard properties
It is possible to delete a standard property by clicking on the icon. You will get a warning notification to ensure that you actually want to delete that property.
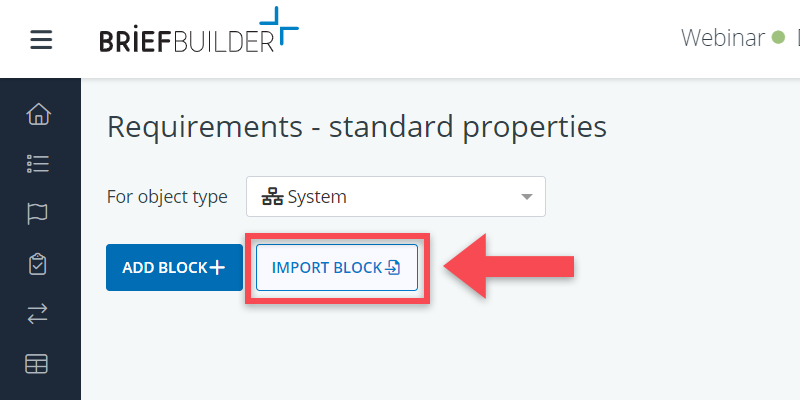
Importing standard property blocks
If you have a good set of standard properties in another project or in a library model, you can easily import these into your own model.
This can be done via the import property block button () at the top of the page.
When doing the import, the software checks whether there are properties in the source model and the target model that have the same name.
If that is the case—and if these properties are already in use in your model—none of your property attributes (description, input type, …) will be overwritten. The import action will only add data. This is to avoid changes to existing data.
But when properties have not yet been used in your model, you will get all the property attributes from the model from which you are doing the import.
Subdividing blocks into tables
It is possible to subdivide a block into smaller tables by clicking on the Add table button.
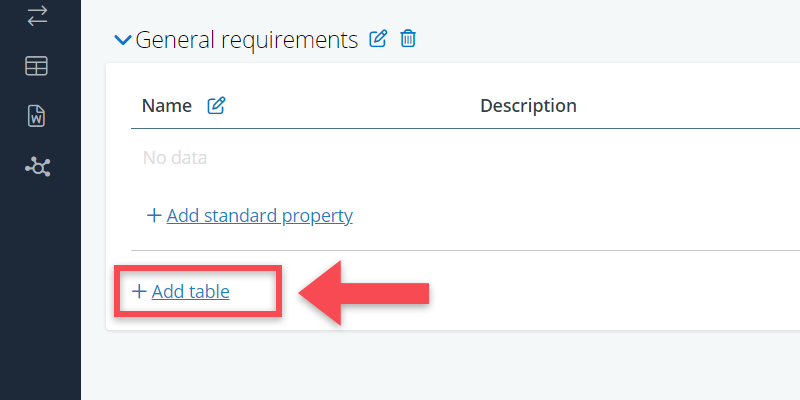
This can be relevant when you have a long list of standard properties in your block and your prefer to group those e.g. by discipline or topic.
A good example are indoor climate properties for spaces , which are usually presented in one block, but subdivided into separate tables for acoustic comfort, thermal comfort, visual comfort and air quality.
